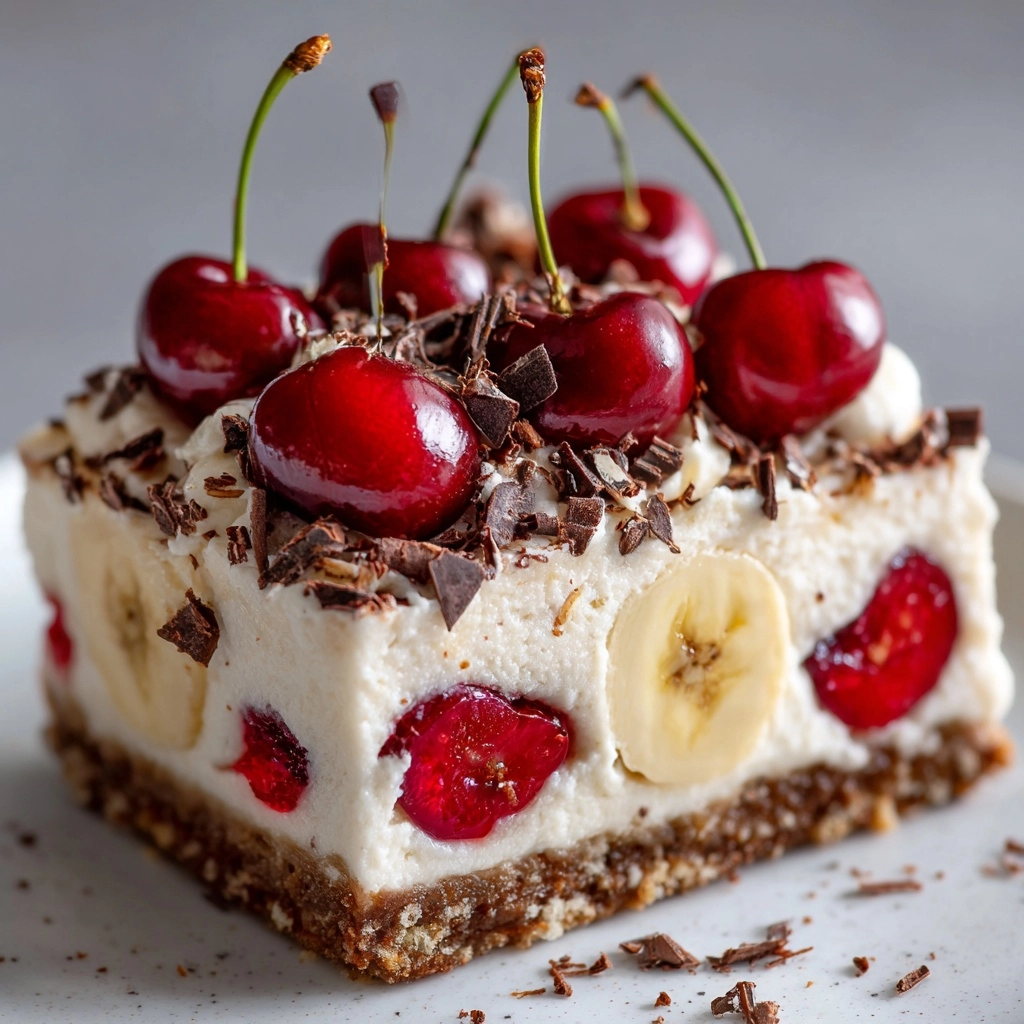
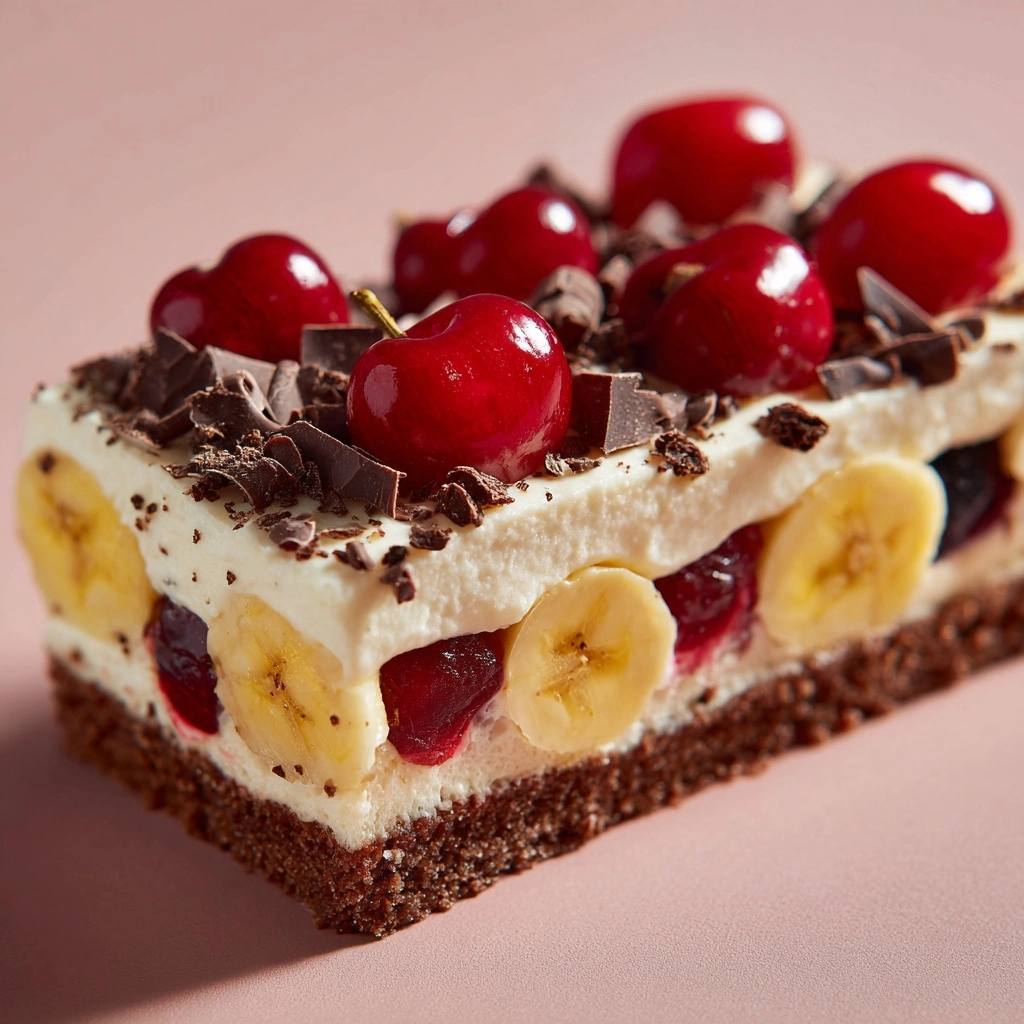
If you’re craving summer in dessert form, this No-Bake Banana Split Cheesecake is everything you love about the classic ice cream treat, transformed into a cool, creamy slice of heaven—no oven required! Layers of luscious cheesecake filling, bright and fruity toppings, a buttery graham cracker crust, and playful touches like mini chocolate chips and maraschino cherries make this recipe feel instantly nostalgic and completely irresistible. Whether you’re gathering friends for a backyard cookout or need a make-ahead treat for family night, this dessert will have everyone begging for seconds.
Ingredients You’ll Need
The beauty of a No-Bake Banana Split Cheesecake is how each ingredient plays its part—simple, classic components combine to bring you a dessert with just the right amount of creamy, fruity, crunchy, and sweet. Here’s what you’ll need, and why each one matters:
- Graham cracker crumbs: These form the perfect sturdy, slightly sweet base for all those luscious layers—don’t skip chilling the crust.
- Unsalted butter (melted): Melted butter binds the crust together so it slices cleanly every time.
- Granulated sugar (2 tablespoons + ½ cup): Adds subtle sweetness in both the crust and the creamy filling.
- Cream cheese (softened): The heart of the cheesecake layer, providing tanginess and creamy texture—room temperature cream cheese blends much more smoothly.
- Vanilla extract: One teaspoon is all it takes to round out the flavors with the warmth of vanilla.
- Whipped topping (like Cool Whip): This gives that airy, light lift that keeps the cheesecake layer ultra-creamy and not too dense.
- Bananas (sliced): Fresh bananas bring their signature sweetness and the “split” part of this classic dessert to the forefront.
- Crushed pineapple (drained): Tart, juicy bursts of pineapple create that classic contrast to the sweet cheesecake base.
- Strawberries (chopped): Their color and freshness pop in every bite, just like the best banana splits.
- Mini chocolate chips: These add little pockets of chocolate throughout—go for minis for better texture and coverage.
- Chopped walnuts: Just enough crunch and toasty flavor; skip them easily for a nut-free treat.
- Maraschino cherries (for topping): Every slice deserves a bright, cheerful cherry on top—who could resist?
- Chocolate syrup (for drizzling): Brings the whole look and flavor home; a zig-zag drizzle is the finishing flair!
How to Make No-Bake Banana Split Cheesecake
Step 1: Build the Buttery Graham Cracker Crust
Combine your graham cracker crumbs, melted butter, and 2 tablespoons of sugar in a medium bowl. Mix until every crumb is moistened and the mixture resembles wet sand. Press it firmly and evenly into the bottom of a 9×13-inch baking dish. Don’t be shy—really pack it down so it holds up for slicing later. Slide the crust into the refrigerator to chill and set while you move on to the next step.
Step 2: Make the Dreamy Cheesecake Filling
In a large bowl, beat your softened cream cheese with ½ cup sugar and vanilla extract until the mixture is creamy and absolutely lump-free. This can take a few minutes, but it’s worth the effort for that smooth cheesecake texture. Gently fold in the whipped topping, being careful not to deflate it too much. You want a cloud-like, airy filling that’s the star of your No-Bake Banana Split Cheesecake.
Step 3: Layer the Cheesecake Over the Crust
Once your filling is smooth and fluffy, spoon it over your chilled graham cracker crust. Use an offset spatula to coax it into the corners, spreading it out in an even, gorgeous layer. This cheesecake base is like a blank canvas for all the vibrant toppings waiting to go on next!
Step 4: Add Fruit and Fun Toppings
Now, for the toppings: Arrange fresh banana slices right on top of the cheesecake filling, then scatter over the drained crushed pineapple and chopped strawberries. Sprinkle mini chocolate chips and chopped walnuts all over. Every layer brings flavor, color, and texture reminiscent of a traditional banana split, but in fork-and-plate form.
Step 5: Chill and Decorate
Pop the baking dish back into the refrigerator and let everything chill for at least 4 hours, or until the cheesecake is set and the flavors have had time to mingle. Before serving, crown each slice with a bright maraschino cherry and give it a playful drizzle of chocolate syrup. Now you’ve got a showstopper No-Bake Banana Split Cheesecake that’s ready to be devoured!
How to Serve No-Bake Banana Split Cheesecake
Garnishes
No slice of No-Bake Banana Split Cheesecake is complete without its signature garnishes. Don’t just settle for a cherry on top—add an extra swirl of whipped cream, a generous drizzle of chocolate or caramel syrup, and even a dusting of rainbow sprinkles if you’re feeling festive. These finishing touches make each piece party-perfect and absolutely Instagram-worthy.
Side Dishes
Since this dessert is rich, pair it with lighter side options like a crisp fruit salad or some sparkling lemonade to balance things out. If serving at a party, a platter of salty snacks, fresh berries, or even a cheese board can complement the sweetness and keep everyone coming back for just one more bite.
Creative Ways to Present
For extra fun, try serving No-Bake Banana Split Cheesecake as individual parfaits in cups or mason jars for easy sharing. You could even use a round springform pan for a more classic cheesecake look, or make mini versions using a muffin tin—adorable for picnics or kids’ birthday parties!
Make Ahead and Storage
Storing Leftovers
Leftover No-Bake Banana Split Cheesecake will keep beautifully covered tightly in the refrigerator for up to 3 days. As bananas tend to brown over time, it’s best to enjoy within the first day or two for the freshest look and flavor. If you know you’ll have leftovers, consider adding banana slices just before serving rather than to the entire dish.
Freezing
This cheesecake is surprisingly freezer-friendly, though the fruit toppings may lose a bit of texture after thawing. To freeze, wrap the cheesecake tightly in plastic wrap, then foil. Store for up to one month. Thaw overnight in the fridge before serving, and wait to garnish with fresh bananas, strawberries, and cherries until you’re ready to serve.
Reheating
No-Bake Banana Split Cheesecake is meant to be enjoyed cold—no need to reheat! If your slices have been chilled a little too long, let them sit at room temperature for about 10 minutes before serving to soften just enough for the best flavor and texture.
FAQs
Can I make No-Bake Banana Split Cheesecake gluten-free?
Absolutely! Swap out the graham cracker crumbs for a certified gluten-free variety or even use crushed gluten-free vanilla cookies. Always double-check your other ingredient labels to ensure everything is safe for gluten sensitivity.
What’s the best way to keep bananas from browning?
Slice the bananas just before assembling the cheesecake and consider brushing them lightly with a bit of lemon juice. This simple trick helps preserve that sunny yellow color until serving time.
Can I use homemade whipped cream instead of whipped topping?
You can substitute freshly whipped cream (whipped to stiff peaks) for the store-bought whipped topping if you prefer. Just keep in mind that homemade whipped cream may not hold up as long, especially if making ahead for a crowd.
How far in advance can I make No-Bake Banana Split Cheesecake?
You can prepare the cheesecake base and most toppings up to a day ahead. Add the banana slices and final garnishes just before serving for the best texture and presentation.
Can I leave out the nuts for allergies?
Definitely—No-Bake Banana Split Cheesecake is just as delicious without walnuts. Skip them altogether, or swap in mini chocolate chips or toasted coconut for that signature crunch.
Final Thoughts
If you’re looking for the ultimate no-fuss, joyfully nostalgic dessert, you simply have to try this No-Bake Banana Split Cheesecake. It’s cheerful, bursting with fresh flavors, and easy enough for anyone to make—even on a busy weeknight. Invite your friends, slice up this beauty, and watch it disappear. Here’s to happy, sweet memories with every bite!