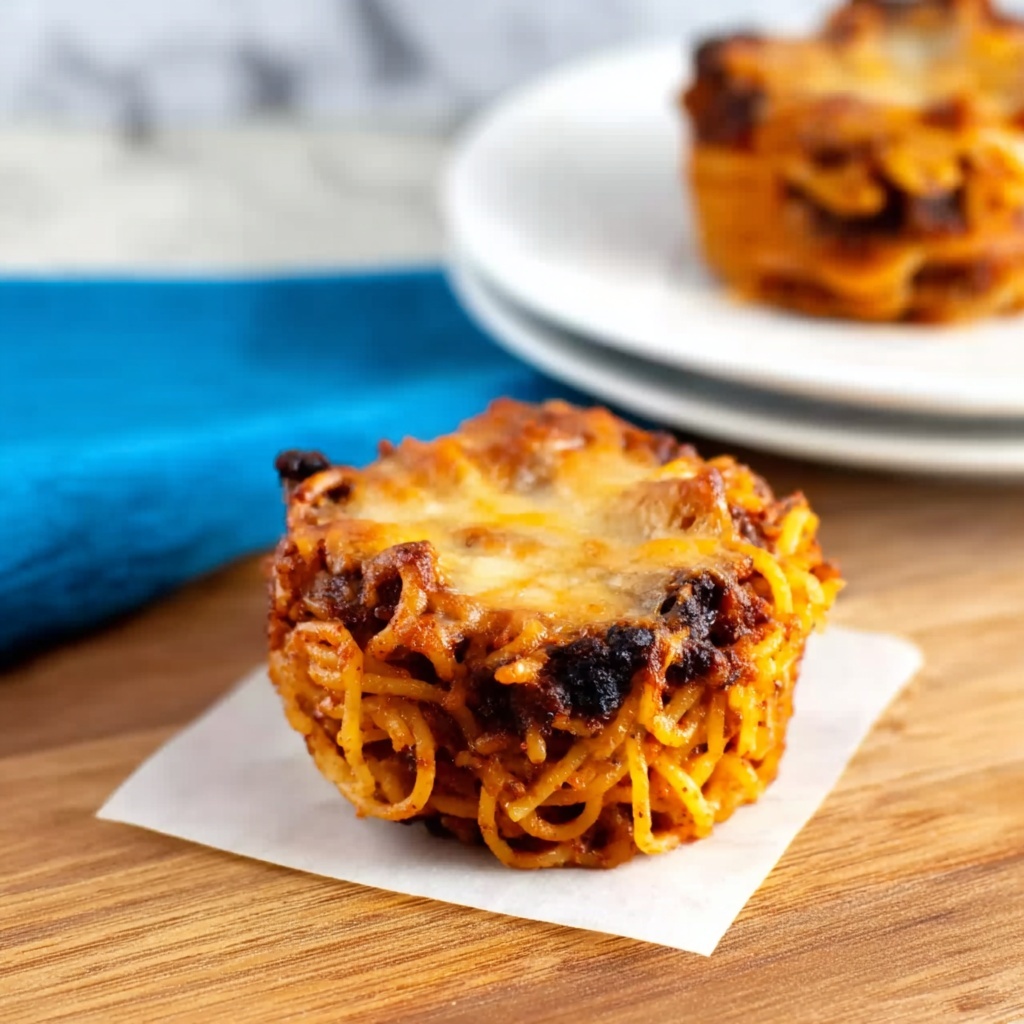
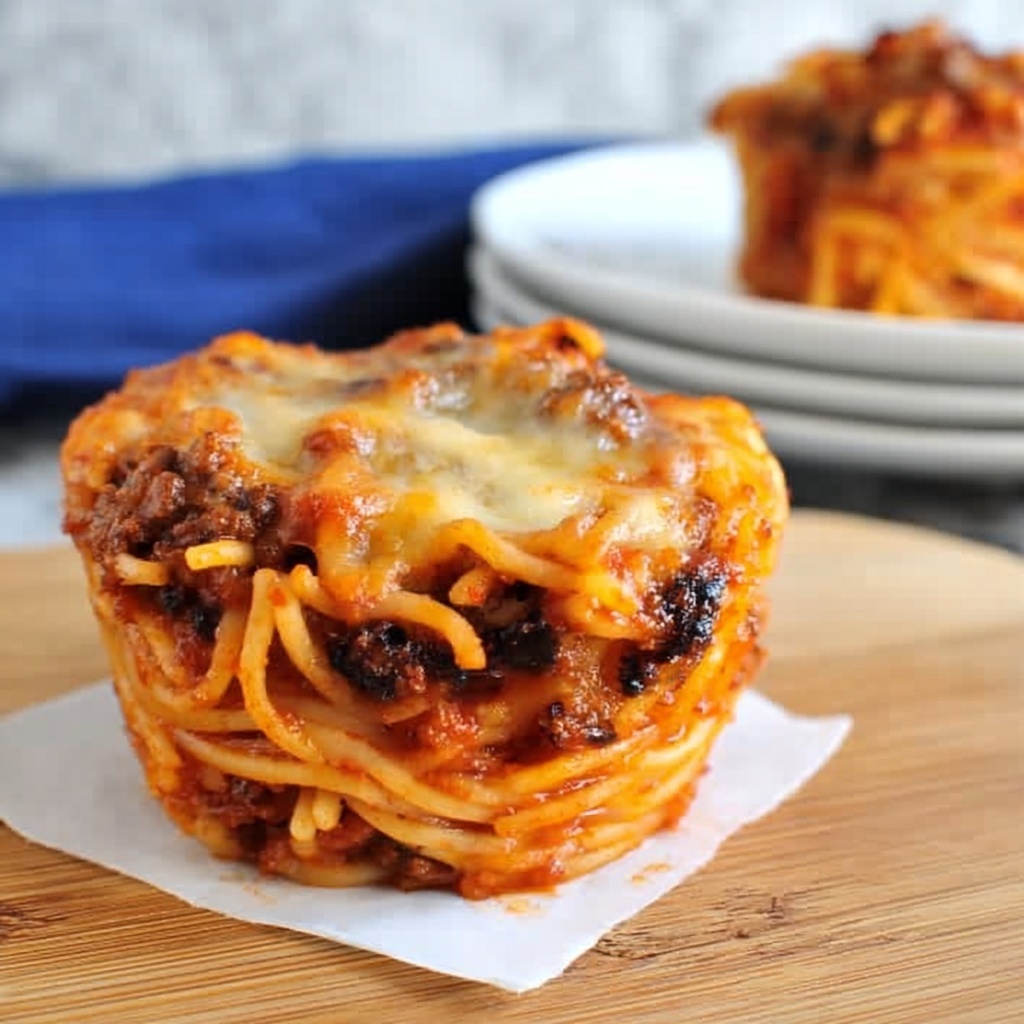
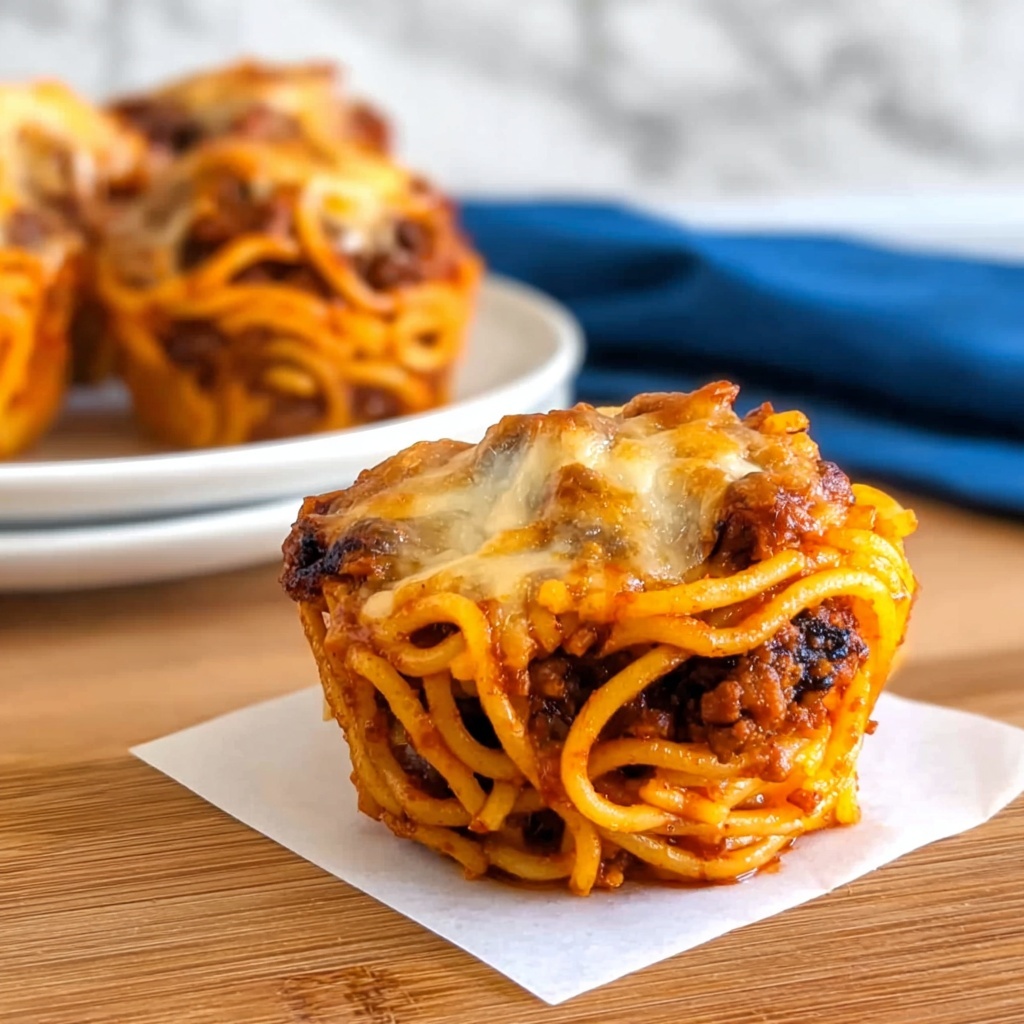
If you’ve ever wondered how to transform leftover pasta into something irresistibly fun and delicious, you’re in for a treat with this Muffin Tin Spaghetti Nests with Cheesy Topping Recipe. These charming little nests are a perfect blend of crispy edges, melty cheese, and comforting pasta that come together quickly and easily. Not only do they breathe new life into your leftovers, but they also make for an impressive dish whether it’s a family dinner or a casual gathering. Get ready to discover a creative way to enjoy pasta that’s as delightful to eat as it is to make!
Ingredients You’ll Need
Gathering the right ingredients is the secret to creating these perfect Muffin Tin Spaghetti Nests with Cheesy Topping Recipe. Each component plays a key role: the pasta forms the hearty base, the egg acts as a binder for structure, and the cheese adds that luscious, golden finish that everyone loves.
- Leftover pasta and sauce mixed together: This is the main ingredient, offering flavor and texture without extra fuss—perfect for using up any pasta on hand.
- Egg per 3 packed cups of pasta: The egg helps hold the nests together, giving them just the right firmness when baked.
- Grated melting cheese: Adds a gooey, savory topping that melts beautifully and browns just right under the oven’s heat.
How to Make Muffin Tin Spaghetti Nests with Cheesy Topping Recipe
Step 1: Preheat Your Oven
Start by heating your oven to 350°F (180°C). This moderate temperature ensures that the pasta nests bake evenly, developing a lovely crunchy texture without burning the cheese. Preheating is essential for that perfect golden finish.
Step 2: Combine Egg and Pasta
Mix the egg evenly into your leftover pasta and sauce mixture. The egg acts as a binder, which is especially important because leftover pasta can be a bit loose. Thorough mixing will help your nests hold their shape beautifully once baked.
Step 3: Prepare and Pack Muffin Tins
Spray your muffin tins generously with oil to avoid sticking. Then, pack the pasta mixture tightly into each muffin cup. This step cannot be rushed as loosely packed pasta won’t hold its shape and may crumble apart. Press it down firmly so your nests come out neat and tidy.
Step 4: Bake Until Crunchy and Golden
Pop your muffin tin into the oven and bake for 5 to 8 minutes. Keep an eye on the nests—they should develop a crispy, golden top that adds a delightful contrast to the soft pasta inside. This texture is what makes these nests so addictive!
Step 5: Add Cheese and Finish Baking
Remove the muffin tin from the oven and sprinkle a generous amount of grated melting cheese onto each pasta nest. Return to the oven just long enough for the cheese to melt and bubble. The melted cheese topping is where this Muffin Tin Spaghetti Nests with Cheesy Topping Recipe truly shines, making every bite a gooey, indulgent delight.
How to Serve Muffin Tin Spaghetti Nests with Cheesy Topping Recipe
Garnishes
Fresh herbs like parsley or basil add a bright, fresh note that contrasts wonderfully with the cheesy richness of the nests. A sprinkle of crushed red pepper flakes can introduce a gentle kick for those who enjoy a bit of spice.
Side Dishes
A crisp green salad with a tangy vinaigrette pairs perfectly, cutting through the richness of the cheese. Roasted vegetables or a light tomato soup are also fantastic companion dishes that round out the meal deliciously.
Creative Ways to Present
Serve these nests on a beautiful platter arranged in a circle for a stunning presentation, or add little flags as fun markers if you’re serving a party crowd. You could even try using different cheeses or add-ins in the pasta for personalized flavor adventures.
Make Ahead and Storage
Storing Leftovers
Keep any leftover nests in an airtight container in the refrigerator for up to three days. They make a wonderful next-day snack or easy lunch option that just needs a quick reheat.
Freezing
You can freeze these nests by placing them on a baking sheet until firm, then transferring to a freezer-safe bag or container. Frozen nests last up to one month, making them an ideal make-ahead treat.
Reheating
Reheat your nests in the oven at 350°F (180°C) for about 10 minutes, or until warmed through and crispy again. Avoid microwaving if you want to preserve that delicious crunch and golden cheesy topping.
FAQs
Can I use fresh pasta instead of leftover cooked pasta?
It’s best to use cooked pasta that has had some time to cool and firm up, as fresh, freshly-cooked pasta may be too soft to hold the nest shape. Leftover pasta works perfectly because it’s already well coated and set.
What types of cheese work best for the topping?
Mozzarella, cheddar, or a blend of melting cheeses are excellent choices. You want a cheese that melts smoothly and bakes to a golden finish without becoming oily or separating.
Do I need to add extra sauce before baking?
If your leftover pasta is on the dry side, you can stir in a bit more sauce before mixing with the egg. However, avoid adding too much liquid to prevent the nests from becoming soggy.
Can I make these gluten-free?
Absolutely! Just use gluten-free pasta for the base. The rest of the recipe stays the same, and you’ll have yummy gluten-free spaghetti nests.
What’s the best way to ensure the nests hold together?
Packing the pasta tightly into the muffin tins and using the correct egg-to-pasta ratio are key. The egg binds everything, so don’t skip it or cut back too far on quantity.
Final Thoughts
This Muffin Tin Spaghetti Nests with Cheesy Topping Recipe is such a fantastic way to reinvent your leftovers with ease and creativity. It’s quick, comforting, and utterly satisfying—everything you want from a cozy homemade meal. Whether you’re cooking for kids, friends, or yourself, these nests will surely become a beloved staple in your kitchen. Give them a try and watch as simple ingredients transform into a crowd-pleasing favorite!