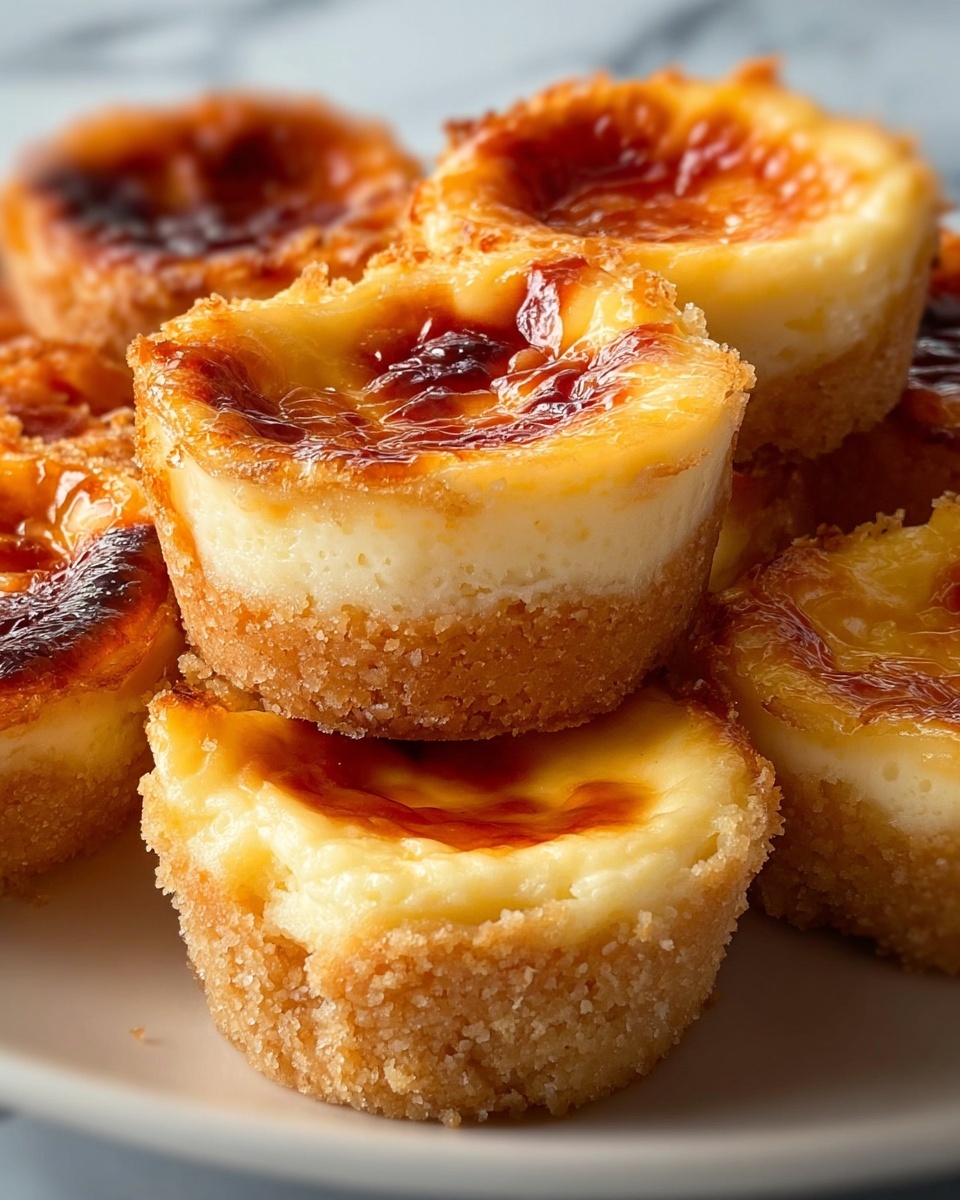
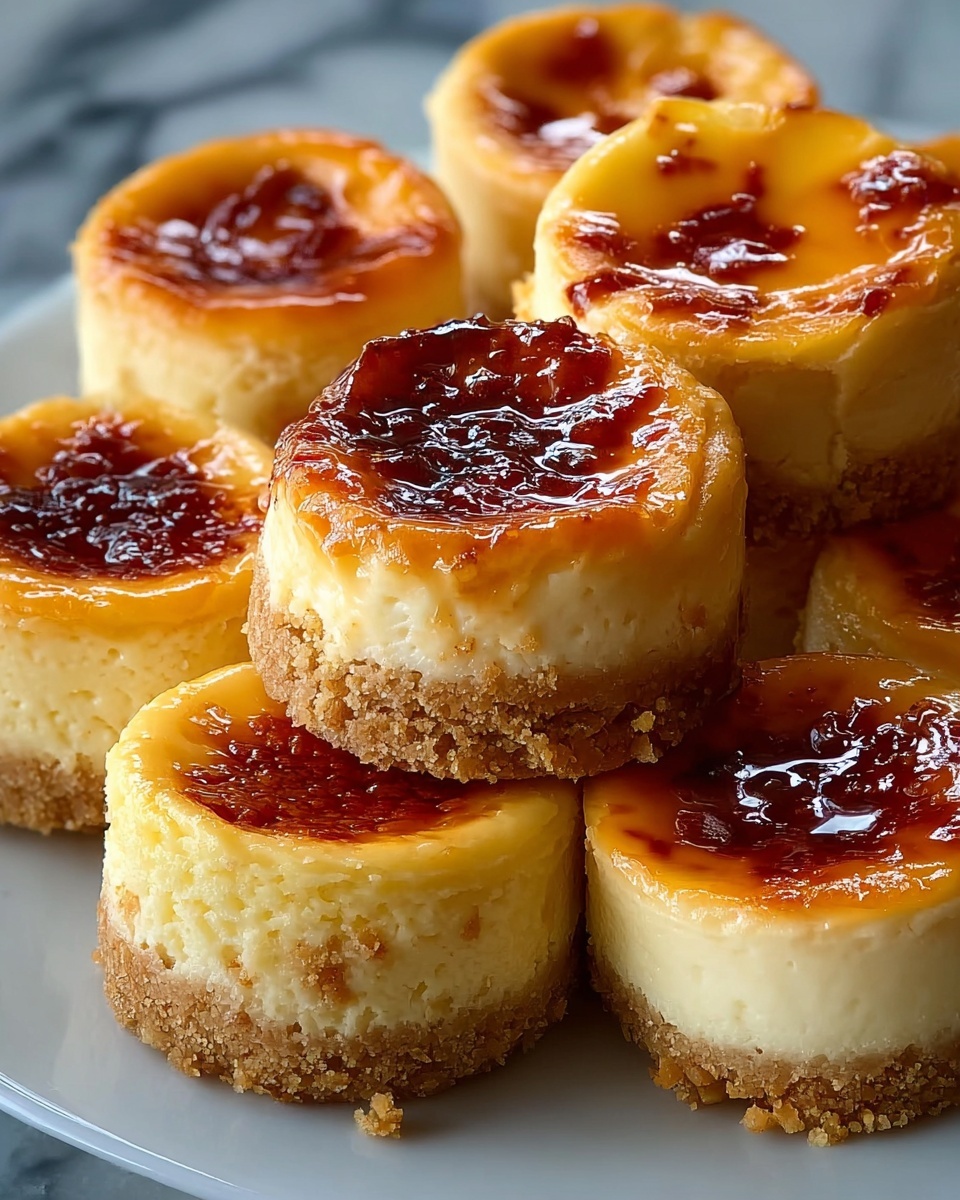
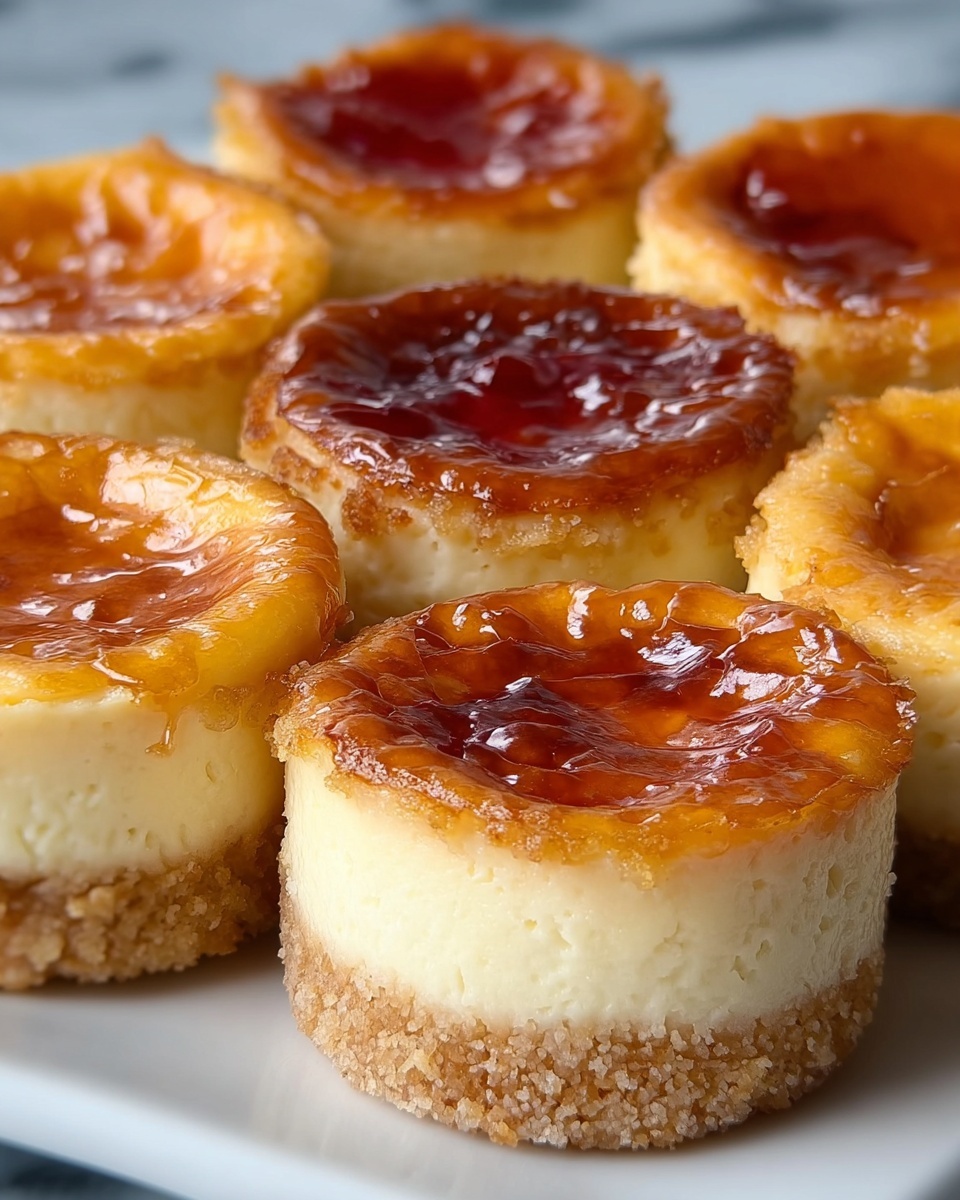
If you’ve been searching for the perfect crowd-pleasing dessert that’s both elegant and irresistibly delicious, look no further than this Mini Cheesecake Tarts Recipe! These petite treats combine a buttery graham cracker crust with a luxuriously creamy cheesecake filling, topped with vibrant fresh berries or your favorite sweet garnishes. Whether served at a party, a cozy family gathering, or just because you deserve a tasty indulgence, these mini tarts promise big flavor in a perfectly sized package that’s sure to delight every palate.
Ingredients You’ll Need
What makes the Mini Cheesecake Tarts Recipe so delightful is how simple yet essential each ingredient is. Every element plays a key role—from the buttery crust giving you that crisp foundation, to the smooth cream cheese filling that melts in your mouth, all crowned with fresh toppings that add the perfect pop of color and flavor.
- Graham cracker crumbs: The base of the crust, providing a crunchy, sweet foundation.
- Granulated sugar: Sweetens the crust just enough without overpowering.
- Unsalted butter, melted: Binds the crust and adds rich flavor and moisture.
- Cream cheese, softened: The star of the filling, delivering that creamy and tangy texture.
- Powdered sugar: Sweetens and smoothens the cheesecake filling and whipped cream.
- Vanilla extract: Adds warmth and depth to the cheesecake flavor.
- Heavy whipping cream: Whipped to fluffy perfection to lighten the filling.
- Fresh berries (blueberries, strawberries, raspberries): Brings vibrant freshness and a juicy bite on top.
- Chocolate shavings or drizzle: Offers a rich, decadent finishing touch.
- Caramel sauce: Adds a sticky sweetness that contrasts perfectly with the cream.
- Fruit preserves: Brings a jewel-like sheen and fruity punch for extra flair.
How to Make Mini Cheesecake Tarts Recipe
Step 1: Prepare the Crust
Start by preheating your oven to 350°F (175°C). Mixing together the graham cracker crumbs, sugar, and melted butter creates the perfect base. Press this mixture firmly into your tart pans or muffin tins to form a sturdy crust that will hold all that luscious filling.
Step 2: Bake the Crust
Bake the crusts for about 5 to 7 minutes, just until they turn a lovely golden brown. This quick bake ensures a crisp texture that won’t become soggy once the filling is added. Allow the crusts to cool completely before moving on to the next step.
Step 3: Make the Cheesecake Filling
Using a hand mixer, beat the softened cream cheese until smooth and creamy—that’s where the magic begins. Add powdered sugar and vanilla extract, blending them in until the mixture looks silky and sweet. Then, in a separate bowl, whip the heavy cream with powdered sugar until fluffy peaks form. Folding this whipped cream into the cream cheese mixture creates a light, dreamy filling that’s not too heavy but intensely satisfying.
Step 4: Assemble and Chill
Once your crusts are cooled, spoon the cheesecake filling into each tart shell, smoothing the tops. Don’t be shy to fill them a little over the edge for a taller, more decadent tart. Refrigerate these beauties for at least 2 hours so the filling sets perfectly, becoming delightfully firm yet creamy.
Step 5: Add Toppings and Serve
When the chilled tarts are ready, it’s time to get creative with your toppings. Fresh berries, chocolate shavings, caramel drizzle, or a glossy dollop of fruit preserves add the finishing touch, making your mini tarts look as good as they taste.
How to Serve Mini Cheesecake Tarts Recipe
Garnishes
Adding the right garnishes is like putting the cherry on top of your mini cheesecake tarts. Fresh berries lend a juicy burst and complement the creamy filling, while chocolate shavings provide a touch of rich bitterness. A drizzle of caramel sauce or a spoonful of fruit preserves can instantly elevate the visual appeal and flavor complexity, ensuring each bite is a celebration.
Side Dishes
Since these mini cheesecake tarts are rich and flavorful, keep side dishes simple and light. Consider serving alongside a fresh fruit salad or a cup of bold coffee to balance sweetness. Alternatively, a scoop of sorbet can add a refreshing contrast for guests who want a little extra chill factor.
Creative Ways to Present
Presentation makes a huge difference, especially for desserts like these. Try serving your Mini Cheesecake Tarts Recipe on a beautiful tiered cake stand for an elegant look, or place them on rustic wooden boards with fresh herbs as garnishes for a more casual vibe. For parties, arranging them with edible flowers or sprinkling powdered sugar before serving creates an irresistible display.
Make Ahead and Storage
Storing Leftovers
If you find yourself with leftover mini cheesecake tarts, don’t fret—they keep beautifully in the refrigerator. Store them in an airtight container to maintain freshness and prevent the crust from becoming soggy. Enjoy them within 3 to 4 days for optimal flavor and texture.
Freezing
Want to prepare these tarts in advance? Freezing is a great option. After assembling and chilling the tarts, place them on a tray to freeze individually. Once frozen, wrap each tart tightly in plastic wrap and store them in a freezer-safe container. They can last up to a month this way without losing their charm.
Reheating
Since these are best enjoyed chilled, reheating isn’t generally recommended for mini cheesecake tarts. However, if you prefer them at room temperature, simply thaw frozen tarts overnight in the refrigerator and then let them sit at room temperature for about 20 minutes before serving to soften up.
FAQs
Can I use a store-bought crust instead of making my own?
Absolutely! Using pre-made graham cracker crusts can save time and still taste delicious. Just make sure to press it firmly and bake briefly if the instructions suggest it, to maintain that perfect crunch in your mini cheesecake tarts.
What if I don’t have tart pans? Can I use muffin tins instead?
Yes, muffin tins work just fine. You can either press the crust directly into the tin or use mini silicone molds. The key is to press firmly to create a sturdy crust that holds the filling well.
Can I substitute the heavy whipping cream with something else?
Heavy whipping cream is best for whipping to stiff peaks, but if you need a substitute, try using full-fat coconut cream for a dairy-free option. Just note this will add a slight coconut flavor to your tarts.
How long will the cheesecake filling keep before it sets?
The cheesecake filling needs at least 2 hours in the refrigerator to set properly. For best results, chilling it longer, such as overnight, will help it firm up even more and make slicing or serving easier.
Can I make these tarts ahead for a party?
Definitely! Mini cheesecake tarts are fantastic make-ahead desserts. Prepare the crusts and filling a day in advance, refrigerate to let them set, and add toppings right before serving for a fresh and impressive presentation.
Final Thoughts
Making these Mini Cheesecake Tarts Recipe at home is a wonderful way to impress your friends and family with a dessert that looks like it came from a fancy bakery but tastes like pure comfort. So, go ahead and try baking a batch—you’ll love how easy and rewarding it is to whip up these little creamy delights. Trust me, once you do, they’ll become a beloved staple in your dessert rotation!