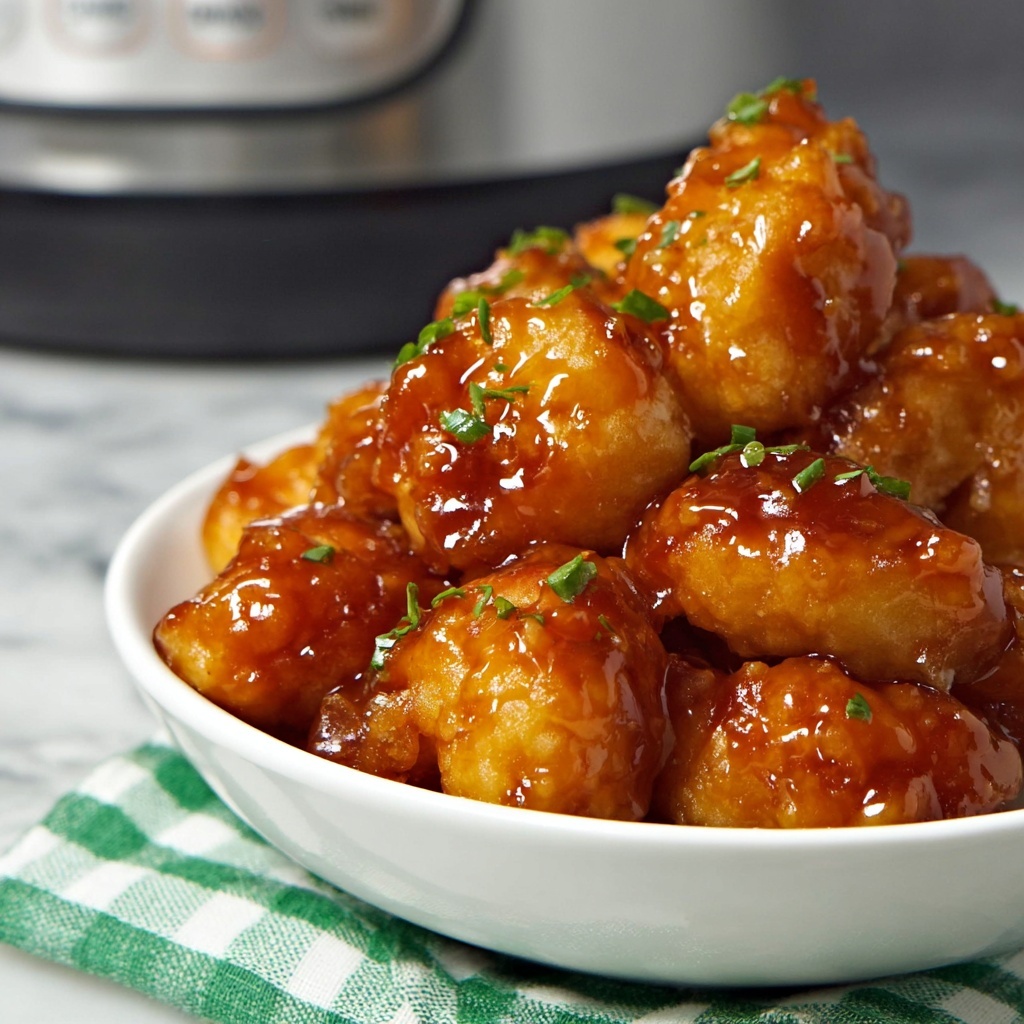
If you are craving a dish that perfectly balances sweet, savory, and crispy textures, this Honey Chicken Recipe is going to be your new best friend. Tender chicken breast pieces are coated in a light, crispy batter and then enveloped in a luscious honey-soy glaze that offers just the right touch of sweetness paired with tangy tomato and a hint of sesame. It’s simple, quick, and irresistible—perfect for weeknight dinners or for impressing guests without breaking a sweat!
Ingredients You’ll Need
These ingredients keep the Honey Chicken Recipe deliciously straightforward, each playing an essential role from creating the perfect batter to making the zesty honey sauce that coats every bite in flavor and shine.
- Chicken Breast tenders: Choose fresh and slice evenly for quick cooking and perfect bite-size pieces.
- All Purpose Flour: Provides the base structure for the chicken’s crispy coating.
- Corn Starch: Adds extra crunch to the batter for that irresistible crispiness.
- Baking Powder: Lightens the batter, creating a tender crunch.
- Salt: Enhances all the flavors beautifully.
- Water: Used to bind the batter together into the perfect consistency.
- Sesame Oil: Infuses the dish with a warm, nutty aroma that complements the honey glaze.
- Tomato Ketchup: Adds tang and richness to the sauce.
- Sugar: Balances acidity with a gentle sweetness.
- Honey: Gives the sauce its signature glossy, sweet finish.
- Soy Sauce: Delivers umami depth and a savory touch.
How to Make Honey Chicken Recipe
Step 1: Prepare the Chicken
Start by slicing your chicken breast tenders evenly and patting them dry. Removing moisture helps the batter stick better and ensures maximum crispiness once cooked.
Step 2: Mix the Sauce
Combine tomato ketchup, sugar, honey, soy sauce, and a bit of water in a small bowl. Stir until smooth and the sugar dissolves. This sauce will become the luscious coating that makes this Honey Chicken Recipe truly unforgettable.
Step 3: Make the Batter
In a separate bowl, whisk together the flour, corn starch, baking powder, and salt. Gradually add water, mixing until you achieve a semi-thick batter that clings perfectly to the chicken pieces.
Step 4: Coat the Chicken
Dip each chicken tender into the batter, ensuring a full and even coating. Lay the battered tenders on a parchment-lined tray to keep them tidy and ready for frying.
Step 5: Fry the Chicken
Heat the sesame oil in your Instant Pot on the sauté setting until it’s bubbling hot. Carefully place the chicken pieces in a single layer—crowding them will prevent crispness. Fry each side until golden brown, turning gently to cook evenly.
Step 6: Remove and Drain
Once golden and crunchy, transfer the chicken to a paper towel-lined plate. This step removes excess oil, keeping your Honey Chicken Recipe light and crispy.
Step 7: Combine with Sauce
After wiping out the pot insert, pour in your prepared sauce, then add the fried chicken pieces. Toss them gently in the sauce to coat every crispy bite with that irresistible honey glaze.
Step 8: Finish Cooking in Instant Pot
Seal the Instant Pot lid and set it to manual for 4 minutes. This step helps the sauce thicken and marry beautifully with the chicken’s crispy exterior, sealing in flavor.
Step 9: Release and Serve
Once done, carefully release the valve, open the lid, and your Honey Chicken Recipe is ready to serve piping hot!
How to Serve Honey Chicken Recipe
Garnishes
Adding a sprinkle of toasted sesame seeds or thinly sliced green onions elevates your Honey Chicken Recipe visually and adds a fresh crunch that perfectly complements the sticky sauce.
Side Dishes
Serve this dish alongside steamed jasmine rice or fluffy fried rice to soak up every drop of the glorious honey sauce. Stir-fried vegetables or a crisp cucumber salad provide a refreshing contrast to the rich chicken.
Creative Ways to Present
Try serving your honey chicken on a bed of lettuce leaves for a fun, finger-food style twist. Or even wrap it up in lettuce or rice paper wraps with fresh herbs for an exciting appetizer or light meal.
Make Ahead and Storage
Storing Leftovers
Place any leftover honey chicken in an airtight container and store it in the fridge for up to 3 days. The sauce-soaked chicken remains flavorful though the crispiness may soften.
Freezing
For longer storage, freeze the cooked chicken in a sealed container or freezer bag. It’s best to freeze before tossing in sauce to preserve texture, then thaw and reheat with fresh sauce when ready to enjoy.
Reheating
Reheat honey chicken gently in a skillet over medium heat or in the oven to restore some crispiness. Adding a splash of water or fresh honey sauce during reheating helps maintain the delightful saucy coating.
FAQs
Can I use chicken thighs instead of breast tenders?
Absolutely! Chicken thighs are juicier and flavorful, though slightly fattier. Adjust cooking time accordingly to ensure they’re fully cooked and crispy.
Is it possible to make this Honey Chicken Recipe gluten-free?
Yes, swap out the all-purpose flour for a gluten-free option like rice flour or a gluten-free baking mix, and ensure your soy sauce is gluten-free as well for a safe and tasty alternative.
What can I substitute for sesame oil?
If you don’t have sesame oil, any neutral vegetable oil works for frying, but you’ll miss some of the distinctive nutty aroma that makes this recipe special.
How do I make the sauce less sweet?
Simply reduce the amount of honey and sugar by half; you can balance the flavor by adding a squeeze of lemon juice or a splash of vinegar for a tart contrast.
Can I bake the chicken instead of frying?
Yes, baking is a healthier alternative. Bake the battered chicken on a parchment-lined tray at 425°F (220°C) until golden and crispy, then toss in the sauce just like in the original recipe.
Final Thoughts
This Honey Chicken Recipe has quickly become a glowing favorite for its perfect harmony of crispy, sweet, and savory elements. Whether you’re cooking for your family or a crowd, the ease and delightful results will make you want to make it again and again. Give it a try—you’re in for a delightful treat!