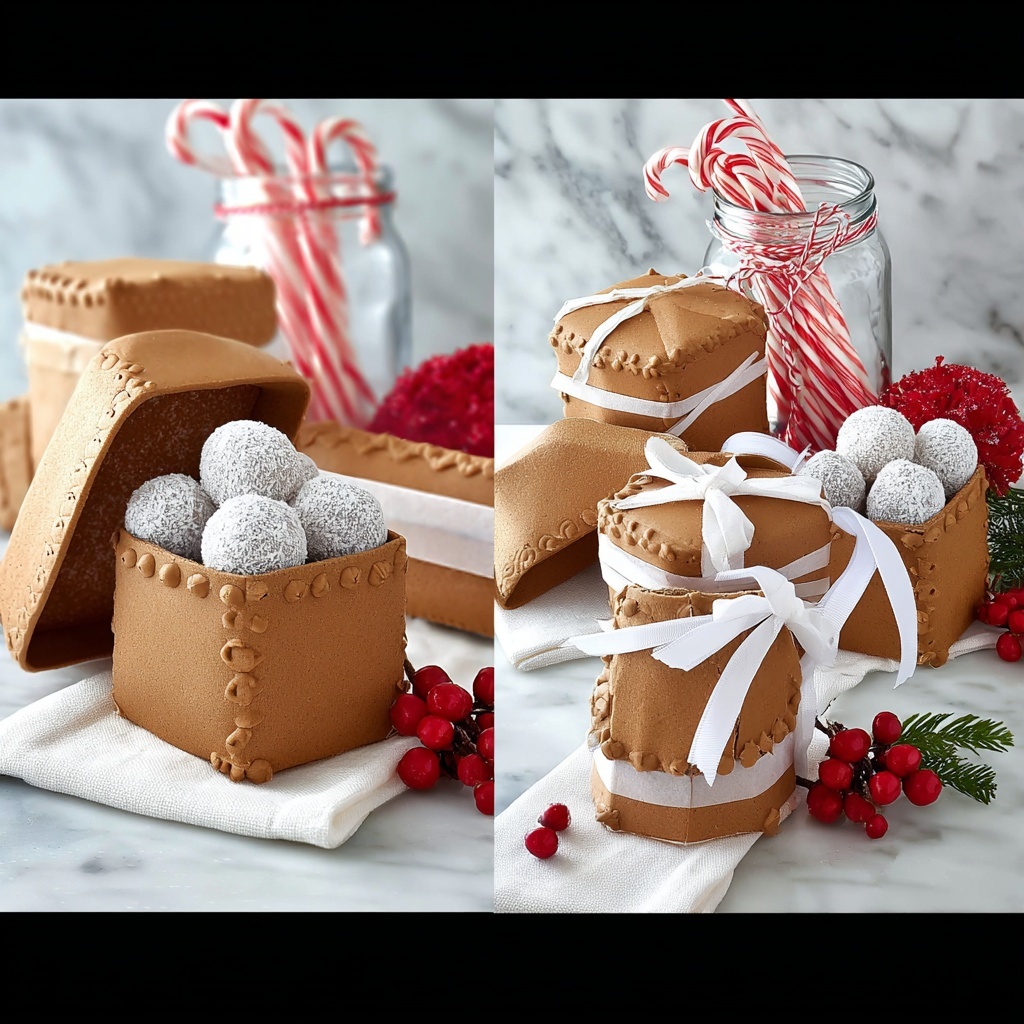
If you’re looking for a charmingly festive treat that doubles as delightful holiday décor, look no further than this Gingerbread Boxes & Mason Jars Recipe. These edible little masterpieces are not only fun to assemble but also bring that perfect warm, spicy aroma of ginger, cinnamon, and allspice right into your kitchen. Whether you’re crafting them for a cozy night in, gifting to loved ones, or dazzling guests, this recipe combines tradition with creativity in a way that feels like a warm hug during the colder months.
Ingredients You’ll Need
The beauty of this Gingerbread Boxes & Mason Jars Recipe lies in its straightforward, accessible ingredients. Each one plays a crucial role in building rich flavors, tender textures, and inviting colors that make these gingerbread creations truly stand out. From the buttery richness to the aromatic spices, every element is essential to achieving that perfect bite and gorgeous appearance.
- 50 g unsalted butter (chopped): Adds a rich, creamy texture that helps the dough come together beautifully.
- 1/2 cup firmly packed brown sugar: Imparts deep molasses notes for warmth and sweetness.
- 1/2 cup honey: A natural sweetener that enhances the gingerbread’s moisture and chewiness.
- 1 egg (lightly whisked): Binds ingredients and provides structure to the dough.
- 2 1/2 cups plain flour: The base of the dough, giving it that perfect firmness for shaping boxes and jars.
- 1 tsp baking powder: Gives a slight lift, ensuring your gingerbread isn’t too dense.
- 1 tsp bicarbonate of soda: Reacts with acids in the honey and brown sugar for tender crumb and soft bite.
- 1 1/2 tsp ground ginger: The star spice delivers that characteristic zing and warmth.
- 1 1/2 tsp ground cinnamon: Adds cozy, sweet-spicy depth to the flavor profile.
- 1/2 tsp all spice (or ground cloves): Gives a subtle hint of pungent spice complexity.
- 1 cup milk chocolate buttons: Perfect for melting, decorating, or nibbling alongside your creation.
- 1 egg (white only): Used to make the royal icing that holds the boxes and jars together.
- 2 cups sifted icing sugar (confectioner’s sugar): Creates a smooth, sweet icing perfect for decoration and assembly.
- Silver sugar balls: Adds sparkle and festive charm to your gingerbread masterpiece.
- 2 x empty 400g cans (washed and labels removed): Handy for shaping the jars and boxes during assembly.
How to Make Gingerbread Boxes & Mason Jars Recipe
Step 1: Melt Butter, Sugar and Honey
Start by gently heating your butter, brown sugar, and honey in a small saucepan over low heat. Stir constantly until the butter melts and the sugar fully dissolves, creating a smooth, golden syrup that forms the flavorful backbone of your gingerbread dough. Once ready, set the mixture aside to cool until it almost reaches room temperature so you don’t scramble the eggs in the next step.
Step 2: Combine the Wet Ingredients
Pour the cooled butter mixture into a large mixing bowl then add the lightly whisked egg. Mix these thoroughly to combine, ensuring that your dough will develop a tender yet sturdy texture perfect for molding into festive boxes and jars.
Step 3: Add the Dry Ingredients and Knead
Now comes the fun part—sift all the remaining dry ingredients including flour, baking powder, bicarbonate of soda, ground ginger, cinnamon, and allspice straight into your wet mixture. Stir gently just until the dough comes together, then use your hands to knead the dough a few times inside the bowl. If your bowl feels too small, transfer the dough to a clean work surface for easier handling.
Step 4: Chill the Dough
Wrap the flattened dough disc tightly in cling wrap and pop it in the fridge for at least 1 1/2 hours. This chilling step is crucial as it firms up the dough, making it easier to roll out thinly without sticking or cracking when shaping your gingerbread boxes and mason jars later.
Step 5: Roll Out the Dough
Remove your dough from the fridge and divide it into two manageable pieces. Roll each portion out to approximately 3mm thickness between two sheets of parchment paper; this prevents sticking and helps achieve an even thickness that’s perfect for sturdy cutouts.
Step 6: Shape and Bake Your Gingerbread Boxes & Mason Jars
Using templates or freehand, cut the dough into pieces designed to form boxes or mason jars. Bake them on a lined tray at a moderate temperature (around 180°C or 350°F) for about 15 minutes until they’re firm but not overly browned—this keeps them strong enough for assembly.
Step 7: Prepare the Royal Icing
While your gingerbread cools, whisk the egg white with sifted icing sugar until thick and glossy. This royal icing acts like edible glue, ensuring your gingerbread constructions stay intact while adding a lovely snowy touch.
Step 8: Assemble the Gingerbread Boxes & Mason Jars
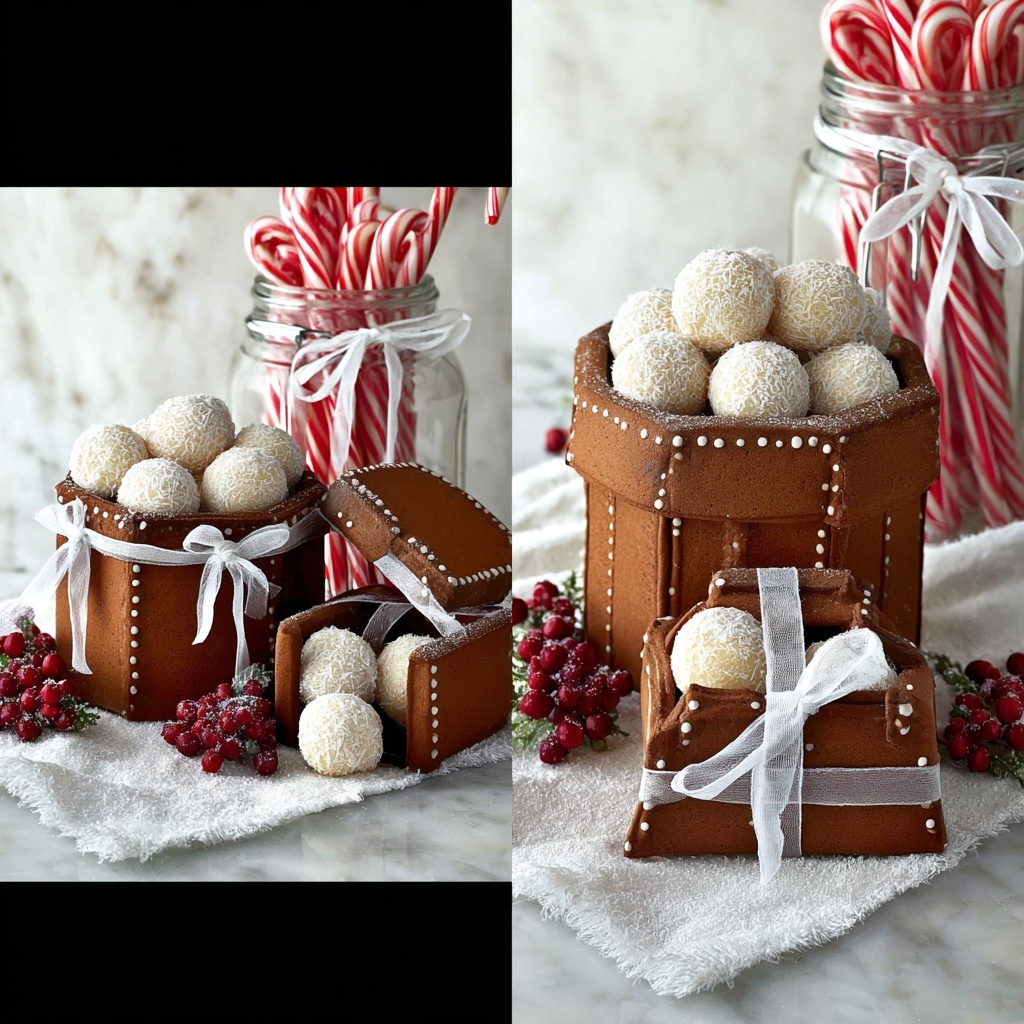
Use piping bags or a small spoon to apply the royal icing to edges of your gingerbread pieces. Carefully join them, pressing gently until set. Using the empty cans as molds can help shape jars perfectly. Let the icing dry completely—this is key to achieving sturdy, display-ready pieces.
Step 9: Decorate
Once assembled and the icing is dry, decorate your gingerbread boxes and mason jars with melted chocolate buttons and silver sugar balls. These add festive sparkle and delicious touches that make your creation pop in any holiday display.
Step 10: Let Everything Set
Give your gingerbread construction plenty of time at room temperature to fully harden. Patience here rewards you with durable, camera-ready pieces that will impress everyone who lays eyes on them.
How to Serve Gingerbread Boxes & Mason Jars Recipe
Garnishes
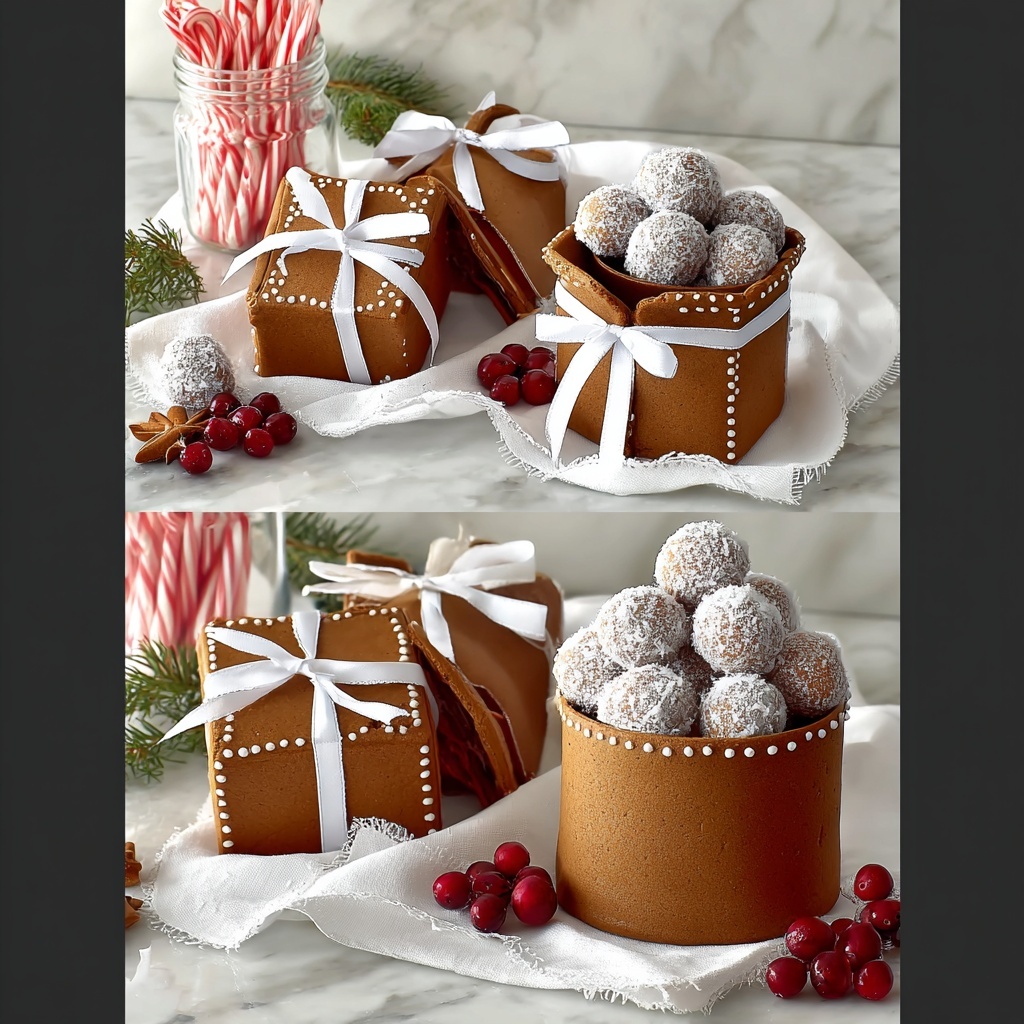
For a festive finishing touch, sprinkle a dusting of sifted icing sugar over your gingerbread boxes and jars to mimic freshly fallen snow. Add fresh cranberries or small sprigs of rosemary around them for a pop of color and seasonal fragrance that complements the spiced aroma beautifully.
Side Dishes
Serve your gingerbread alongside warming treats like hot mulled cider or creamy eggnog. These drinks pair wonderfully with the spicy notes of the gingerbread and turn your dessert into a full sensory holiday experience. You can also display it with bowls of chocolate buttons or bite-sized candies for extra indulgence.
Creative Ways to Present
These Gingerbread Boxes & Mason Jars create such a festive mood that they make stunning table centerpieces or thoughtful edible gifts. Try placing each box or jar inside clear cellophane wrapped with a satin ribbon for gift-giving, or arrange them on a decorative platter surrounded by fairy lights to light up any room with holiday cheer.
Make Ahead and Storage
Storing Leftovers
Once fully assembled and dried, gingerbread boxes and mason jars keep beautifully at room temperature. Store them in an airtight container to maintain their crispness and prevent any moisture from softening the texture. They can stay fresh for up to one week—long enough to enjoy throughout your celebrations.
Freezing
Because of their delicate construction, freezing assembled gingerbread boxes or jars is not recommended as it can cause cracks or breaking during thawing. However, you can freeze the dough before baking—wrap it tightly and store in the freezer for up to 1 month, thawing overnight in the fridge before rolling out and baking.
Reheating
Gingerbread boxes and jars are best enjoyed as is, so reheating is generally not necessary. If your treats feel a bit soft, a few minutes in a low oven (around 120°C or 250°F) can help crisp them up again, but proceed with care to avoid burning or over-drying.
FAQs
Can I use gluten-free flour in this Gingerbread Boxes & Mason Jars Recipe?
Absolutely! Just swap the plain flour for a gluten-free baking blend. Keep in mind that the texture might be slightly different—sometimes a bit more crumbly—but the flavors will still shine through beautifully.
What’s the best way to roll out the dough evenly?
Rolling the dough between two sheets of parchment paper is a game-changer! It prevents sticking and makes it easy to get a uniform thickness so your gingerbread cuts bake evenly and are strong enough for building.
How do I keep the gingerbread from breaking when assembling?
Firm chilling of the dough before rolling and baking is key, plus letting your royal icing dry completely between assembly stages helps create strong, durable pieces that won’t snap under pressure.
Can I make the royal icing ahead of time?
Yes! Royal icing can be made a day ahead and stored in an airtight container. Give it a quick stir before use to restore the right consistency for piping and gluing your gingerbread pieces.
Are the gingerbread boxes and jars edible after assembly?
Definitely! These charming boxes and jars aren’t just for decoration—they’re absolutely delicious to eat and make a festive treat that friends and family will love nibbling on after admiring your handiwork.
Final Thoughts
This Gingerbread Boxes & Mason Jars Recipe is such a wonderful way to bring joy and creativity into your kitchen this season. It’s perfect for holiday gatherings, handmade gifts, or simply savoring a sweet seasonal moment. So go ahead, gather your ingredients, and enjoy every step of making these delightful gingerbread treasures that you and your loved ones will cherish.