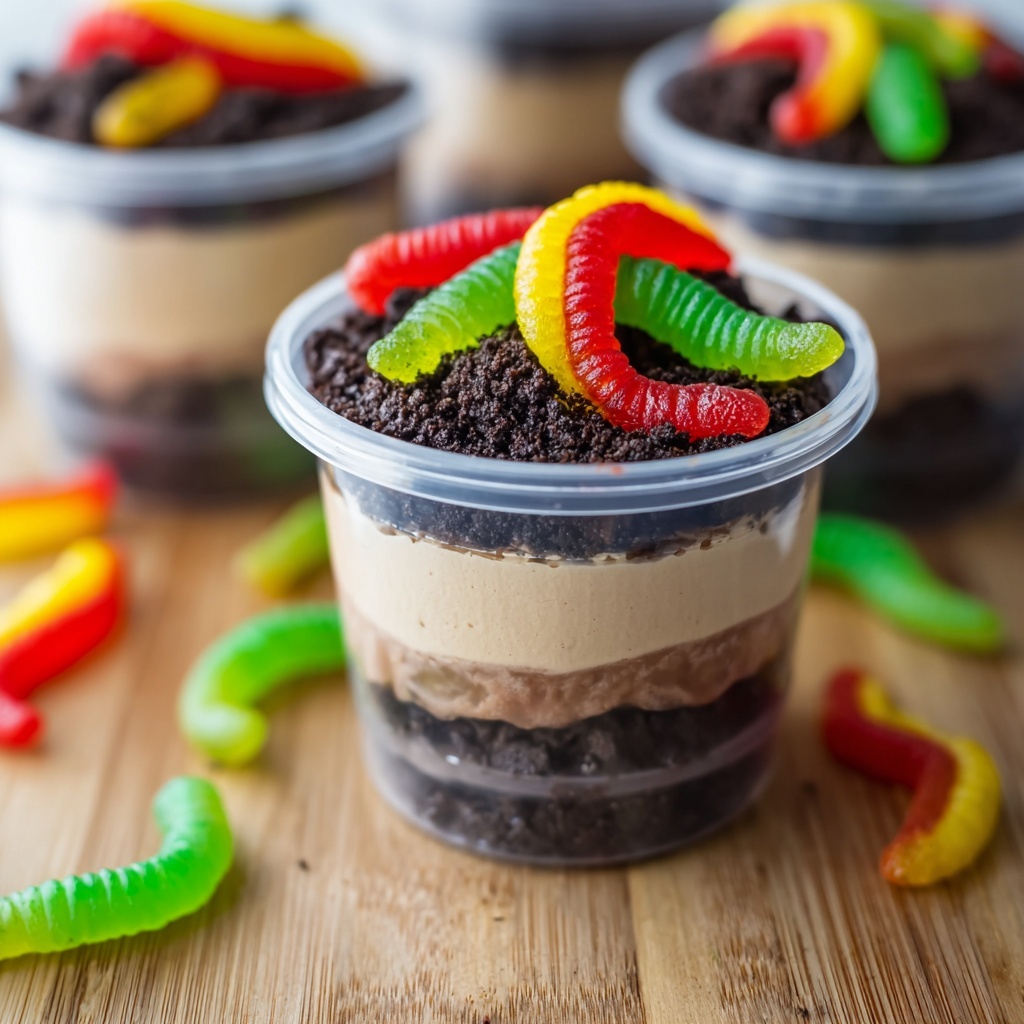
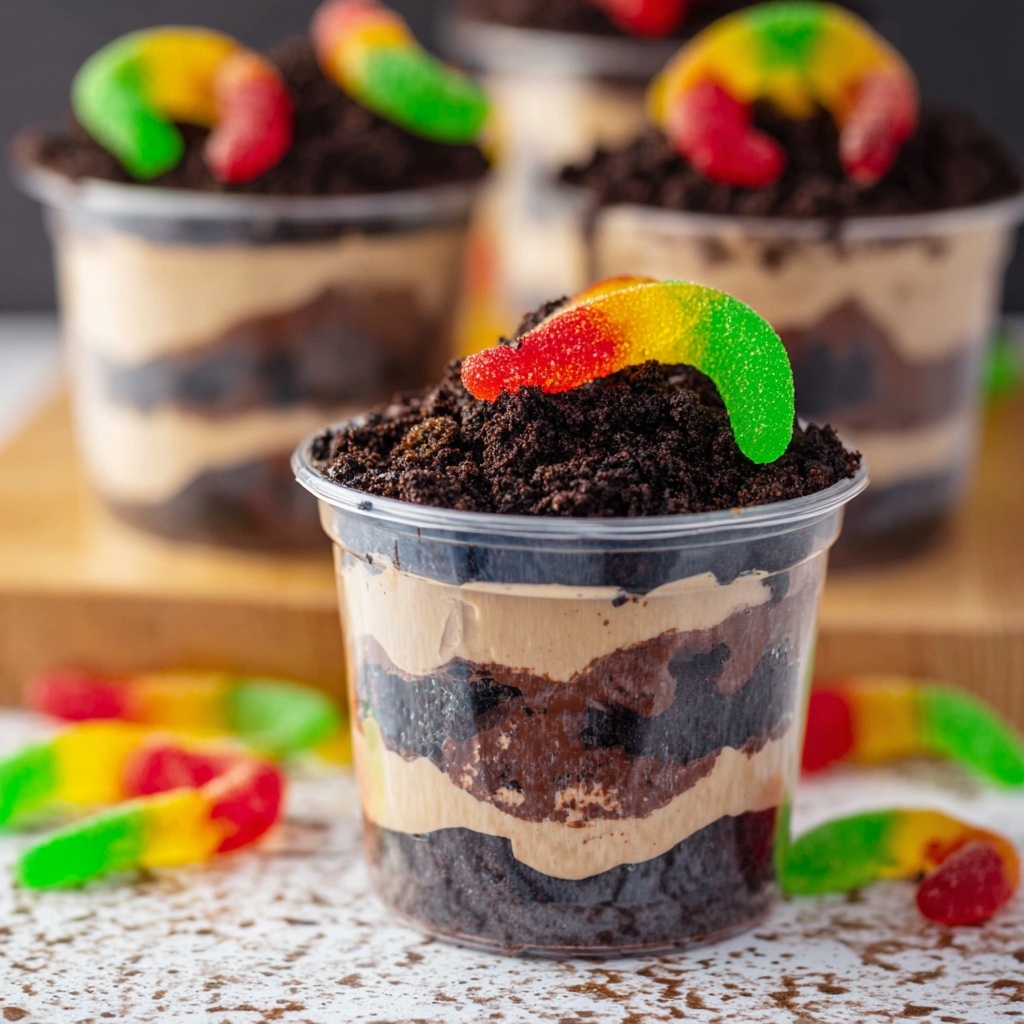
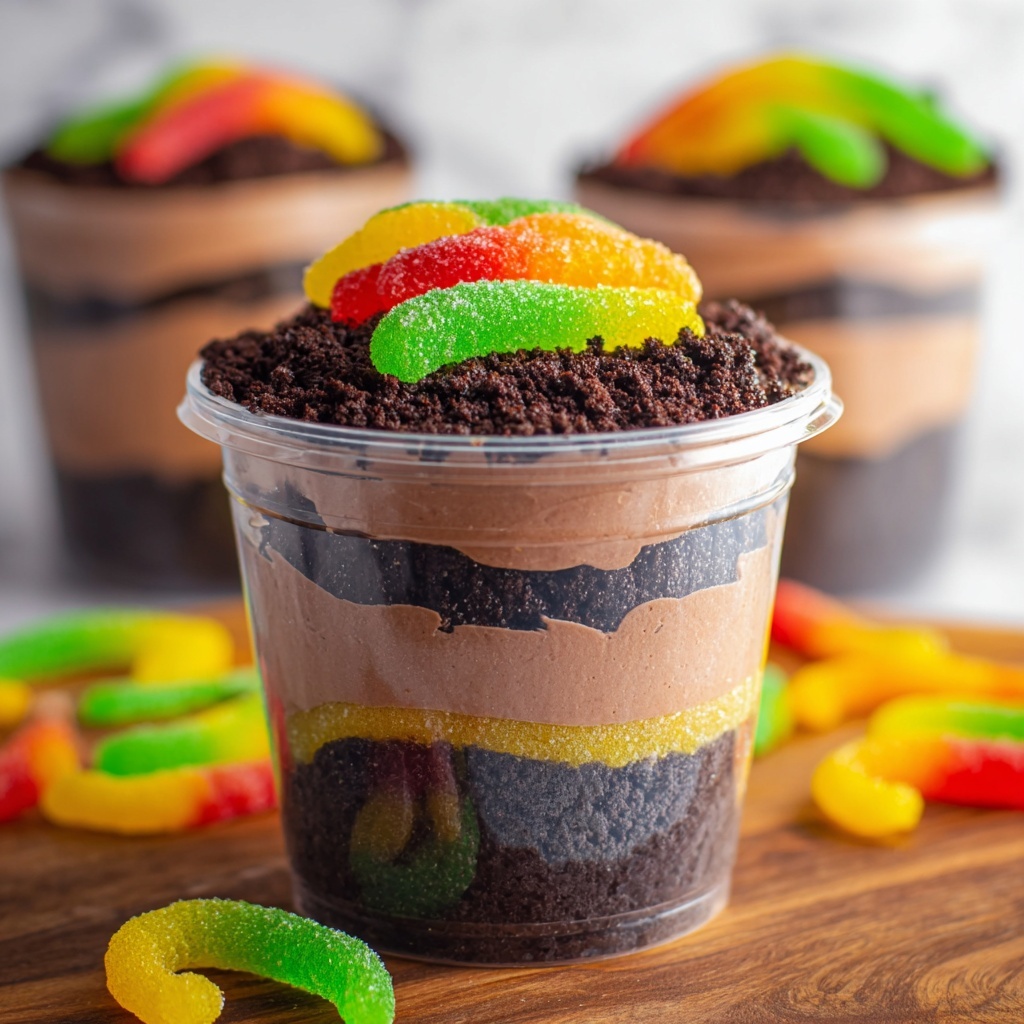
If you love desserts that bring a playful twist to classic flavors, you are going to adore this Dirt Pudding in Clear Buckets with Gummy Worms Recipe. It’s fun, whimsical, and irresistibly creamy with layers of chocolate pudding, crushed Oreos, and that nostalgic gummy worm surprise. Perfect for kids’ parties or anytime you want to bring a smile to the table, this dessert looks like a little garden of sweet dirt ready for digging in. The clear buckets let every layer shine through, making it as delightful to look at as it is to eat.
Ingredients You’ll Need
The magic of this Dirt Pudding in Clear Buckets with Gummy Worms Recipe comes from simple, everyday ingredients that each play a crucial part in the final texture and taste. From the creamy chocolate pudding base to the crunchy Oreo crumbs and the colorful gummy worms, each element adds depth and excitement to this fun dessert.
- Instant chocolate pudding mix (2 boxes, 3.9 oz each): Creates the rich, smooth chocolate flavor that’s the heart of the dessert.
- Cream cheese (8 oz, softened): Adds a luscious, slightly tangy creaminess that balances the sweet pudding.
- Cold milk (4 cups): Needed to whisk the pudding mixes into a silky consistency.
- Whipped cream or Cool Whip (8 oz, thawed): Folded in for lightness and extra fluffiness.
- Oreo cookies (13 oz, crushed): Gives the “dirt” texture and chocolate crunch that makes this recipe truly special.
- Gummy worms (24 pieces): The whimsical “creepy crawlers” that bring a fun surprise to every bite.
- Clear plastic buckets (12 buckets, 8 oz each): Perfect for layering and showing off the dessert’s playful, dirt-like appearance.
How to Make Dirt Pudding in Clear Buckets with Gummy Worms Recipe
Step 1: Crush the Oreo Cookies
Start by crushing those Oreo cookies to get the perfect texture for your “dirt.” Using a food processor will make this step quick and easy, but if you don’t have one, placing the cookies in a sealable bag and using a rolling pin works just fine. Set the crushed cookies aside because they will be layered throughout the dessert.
Step 2: Mix Cream Cheese and Pudding
In a large bowl, combine the softened cream cheese with the instant chocolate pudding mixes and beat them together using an electric mixer. This blends the tangy creaminess with the rich chocolate pudding base, creating a thick, dreamy mixture.
Step 3: Add the Milk Gradually
Next, pour in the cold milk slowly while continuing to mix. Adding it in little by little ensures everything mingles smoothly without lumps, resulting in a velvety pudding that sets perfectly inside your buckets.
Step 4: Fold in the Whipped Cream
Gently fold the whipped cream (or Cool Whip) into the pudding mixture. This step lightens the whole dessert, giving it an airy texture that balances the dense cream cheese and chocolate flavors. Take your time folding so you keep all the fluffiness intact.
Step 5: Layer in the Buckets
To assemble, start by spooning a layer of crushed Oreos at the bottom of each clear bucket. This creates the “soil” foundation for your dirt pudding garden, adding that essential crunch and chocolatey texture.
Step 6: Add Pudding and Oreo Layers
Next, add a generous layer of the pudding mixture on top of the Oreos, then sprinkle another layer of crushed cookies. Repeat by adding another pudding layer and finishing with a final Oreo crumb topping. These alternating layers bring that classic dirt look and indulge your taste buds with creamy and crunchy moments.
Step 7: Decorate with Gummy Worms
Finally, tuck a couple of gummy worms on the top layer of cookie crumbs in each bucket. These colorful, squiggly decorations add a playful surprise and complete the whimsical dirt effect that makes this recipe so loved by kids and adults alike.
Step 8: Chill Before Serving
Place the filled buckets in the refrigerator and let them chill for at least one hour. This resting time helps the pudding set nicely and melds the flavors together so your Dirt Pudding in Clear Buckets with Gummy Worms Recipe will be perfectly delicious when it’s time to dig in.
How to Serve Dirt Pudding in Clear Buckets with Gummy Worms Recipe
Garnishes
While the gummy worms are a classic garnish, don’t hesitate to get creative! Try adding mini chocolate chips sprinkled on top, colorful candy rocks to mimic pebbles, or even edible flowers for a garden-inspired touch. A light dusting of cocoa powder or powdered sugar can also add a bit of elegance and contrast to the dessert.
Side Dishes
This dessert pairs wonderfully with light and fresh side dishes. Think about serving it alongside fruit skewers or a crisp green salad to balance the richness of the pudding. For parties, simple snacks like popcorn or salty pretzels bring a satisfying crunch that complements the creamy layers of the dirt pudding.
Creative Ways to Present
The clear buckets make this dessert a showstopper, but you can switch things up by using mason jars, small glass bowls, or even mini terracotta pots for a fun twist. Wrapping a little ribbon around each bucket or attaching a personalized tag makes for charming party favors or gifts. Display them on a rustic tray with soil-themed decorations for a themed event that will impress everyone.
Make Ahead and Storage
Storing Leftovers
If you have any leftovers, cover the buckets tightly with plastic wrap or lids and keep them refrigerated. The pudding stays fresh and delicious for up to 3 days, making it an easy treat to prepare ahead or enjoy later.
Freezing
While this dessert is best enjoyed fresh, you can freeze it if needed. Use airtight containers and freeze for up to one month. When you’re ready to eat, thaw overnight in the refrigerator. Keep in mind that the gummy worms and cookie crumbs may soften slightly after freezing.
Reheating
Since this is a cold, no-bake dessert, reheating is not recommended. It’s meant to be enjoyed chilled to keep the pudding creamy and the Oreo crumbs crunchy, preserving that wonderful contrast of textures.
FAQs
Can I use homemade pudding instead of instant mix?
You certainly can, but instant pudding mix gives you a consistent texture and flavor that really holds up well in this layered dessert. If you prefer homemade, make it thick enough to hold the layers without becoming runny.
What can I substitute for Oreo cookies?
If Oreos aren’t your thing, you can use chocolate wafer cookies or crushed chocolate graham crackers to create a similar “dirt” effect. The key is to have a crunchy, chocolate-flavored crumb that contrasts the pudding.
Are there vegan or dairy-free options?
Yes! You can find dairy-free pudding mixes and use vegan cream cheese and whipped toppings. Make sure to pick gummy worms that are gelatin-free if you want to keep it entirely vegan and allergy-friendly.
Can I prepare this dessert for a larger crowd?
Absolutely! This recipe scales up easily. Just multiply the ingredients and use larger containers or more buckets. It’s perfect for parties, potlucks, or any gathering where you want to add a fun, crowd-pleasing dessert.
How far in advance can I assemble the dirt pudding?
You can assemble the dirt pudding up to a day before serving. Just keep it tightly covered and refrigerated to keep it fresh and delicious. Adding gummy worms right before serving keeps them nice and chewy.
Final Thoughts
This Dirt Pudding in Clear Buckets with Gummy Worms Recipe is pure joy in edible form. It’s easy to make, visually exciting, and packed with flavors and textures that delight with every spoonful. Whether you’re making it for a Halloween party, a family gathering, or just because you love fun desserts, it’s guaranteed to bring smiles and requests for seconds. Give it a try and watch how quickly it becomes a favorite in your recipe collection!