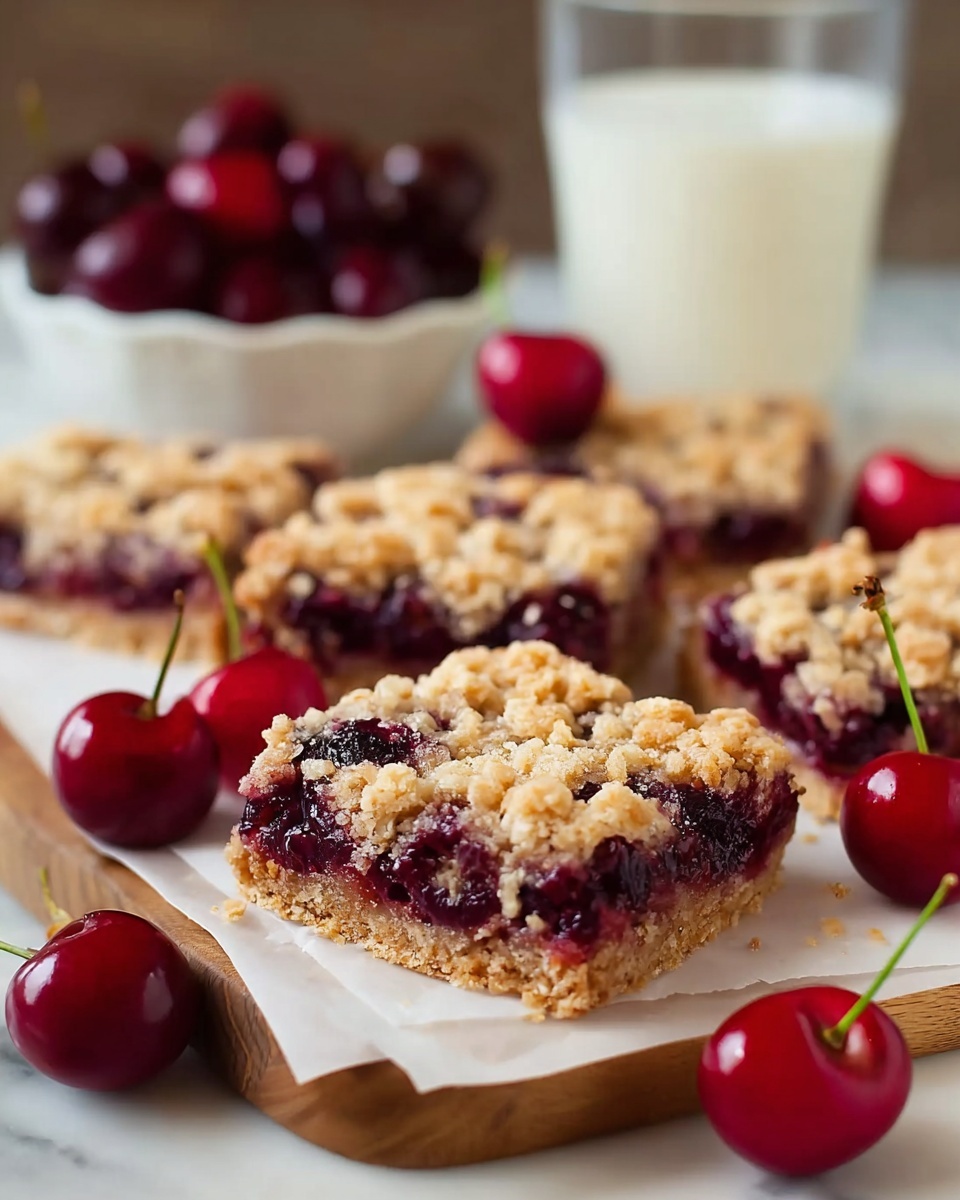
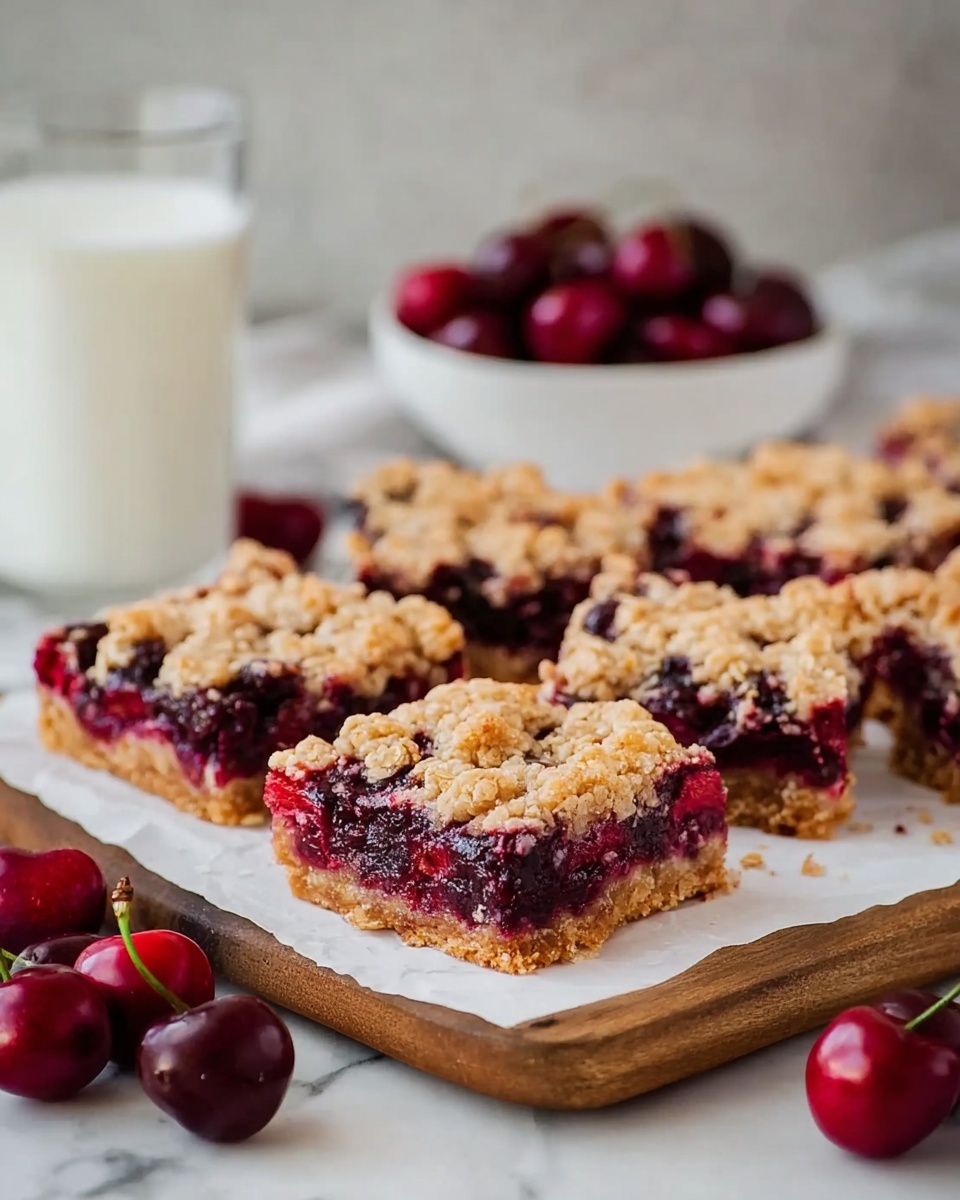
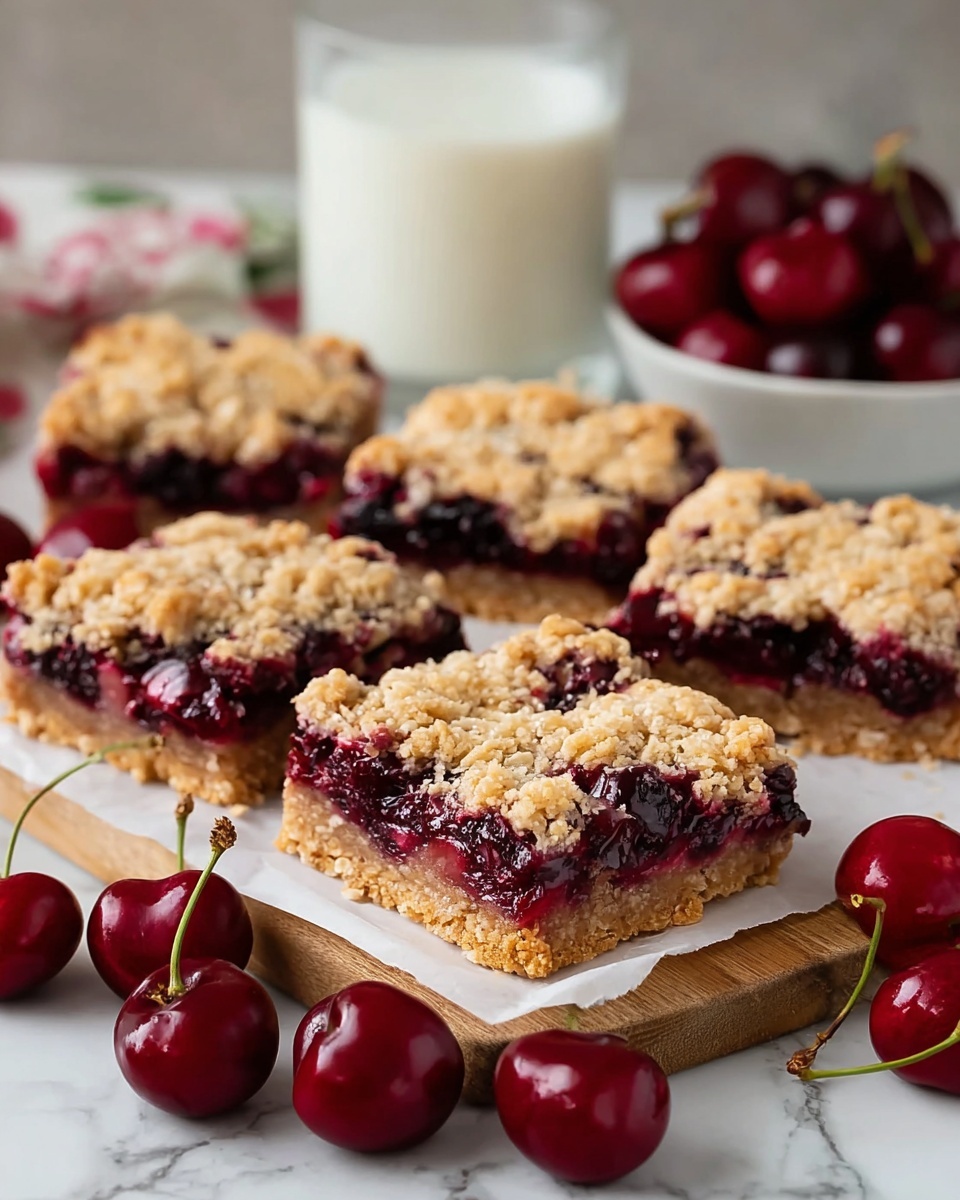
If you have a soft spot for all things fruity, sweet, and satisfyingly crumbly, this Cherry Crumble Bars Recipe is about to become your new obsession. Imagine tender, juicy cherries nestled between layers of buttery, oat-filled crumble that achieve the perfect balance of tart and sweet in every bite. These bars are not only incredibly delicious but also wonderfully simple to make, making them a fabulous treat whether you’re baking for a casual afternoon snack or a special get-together with friends. I can’t wait to share with you how easy it is to whip up this crowd-pleasing delight that’s bursting with fresh cherry goodness.
Ingredients You’ll Need
The magic of this Cherry Crumble Bars Recipe lies in its uncomplicated, pantry-friendly ingredients that come together to create a harmonious blend of texture and flavor. Each component plays a vital role in building the perfect crumbly base, juicy fruit filling, and crunchy topping that make these bars irresistible.
- Cherries (2 cups, pitted and quartered): The star fruit, offering juicy bursts of tartness and vibrant color.
- Granulated sugar (2 tablespoons): Enhances the cherries’ natural sweetness without overpowering.
- All-purpose flour (3/4 cup plus 2 tablespoons): Key for structure in the crumble and thickening in the fruit filling.
- Vanilla or almond extract (1/2 teaspoon): A tiny splash adds lovely depth and a subtle aroma.
- Old-fashioned rolled oats (1 cup): Brings chewy texture and wholesome heartiness to the crumble topping.
- Brown sugar (1/2 cup): Gives a caramel-like richness that perfectly complements the tart cherries.
- Salt (1/4 teaspoon): Balances sweetness and heightens all the flavors in the bars.
- Salted butter (6 tablespoons, melted): Binds everything together with a silky, buttery richness that delivers the signature crumble texture.
How to Make Cherry Crumble Bars Recipe
Step 1: Preheat and Prepare Your Pan
Start by heating your oven to 375°F (190°C) and prepping an 8-inch square baking pan. Lining it with parchment paper is a fantastic trick to make removing the bars a breeze after baking, plus it saves you scrubbing the pan! This simple setup sets the foundation for an easy baking process and flawless bars.
Step 2: Mix the Cherry Filling
In a medium bowl, combine your fresh, pitted, and quartered cherries with granulated sugar, 2 tablespoons of all-purpose flour, and your choice of vanilla or almond extract. Stir gently but completely so the cherries are evenly coated. This mixture will thicken as it bakes, trapping the juicy goodness in every bite.
Step 3: Prepare the Crumble Mixture
In a separate bowl, mix together the rolled oats, 3/4 cup of flour, brown sugar, and salt. Pour the melted salted butter over the dry ingredients and stir thoroughly until you have a uniformly moist crumble mix with no dry clumps. This mixture is what gives the bars their signature buttery crunch and chewy oats texture.
Step 4: Assemble the Bars
Press about two-thirds of your crumble mixture firmly and evenly into the bottom of the prepared pan to create your crust base. Then, spoon the luscious cherry filling evenly on top, spreading it right to the edges. Finally, sprinkle the remaining crumble mixture over the fruit to form a rustic topping that will bake up golden and crisp.
Step 5: Bake Until Bubbly and Golden
Pop the pan into your preheated oven and bake for approximately 20 minutes. You’re aiming for a lightly golden crumble on top with the cherry filling bubbling deliciously around the edges. This bubbling is the ultimate sign that your bars are ready to come out and cool just a bit before diving in.
Step 6: Cool and Slice
Patience here pays off—let the bars cool in the pan for at least 20 minutes so they set properly. Once cooled, carefully lift the parchment paper to remove the whole block, then cut into 16 cozy squares. Whether warm or room temperature, these cherry crumble bars are ready to wow your taste buds.
How to Serve Cherry Crumble Bars Recipe
Garnishes
A scoop of vanilla ice cream or a dollop of freshly whipped cream makes a heavenly pairing with these bars. If you want to add a little extra flair, sprinkle some toasted almonds or a dusting of powdered sugar over the top for a pretty and tasty touch that your guests will love.
Side Dishes
Pair your cherry crumble bars with a light, refreshing green salad or a tangy yogurt parfait for a balanced dessert spread. When serving at brunch or gatherings, fresh fruit or a fruity sparkling water can complement the sweet, tart flavors without overwhelming the palate.
Creative Ways to Present
Try serving these bars in mini mason jars layered with whipped cream or custard for an elegant display. You can also cut them into bite-sized squares and arrange them on a platter with fresh cherries and mint leaves, creating a visually stunning and inviting dessert table centerpiece.
Make Ahead and Storage
Storing Leftovers
Keep your cherry crumble bars fresh by storing them in an airtight container at room temperature for up to 2 days. For longer storage, refrigeration will keep them good for up to 5 days, ensuring each bite stays moist and flavorful.
Freezing
These bars freeze beautifully! Wrap them individually or in slices tightly with plastic wrap and place them in a freezer-safe container or bag. They can be frozen for up to 3 months—perfect for quick treats anytime you crave that delightful cherry crumble goodness.
Reheating
To enjoy the bars warm, simply reheat in the oven at 300°F (150°C) for 10 to 15 minutes or until heated through. You can also microwave individual bars for about 20 to 30 seconds for a quick and cozy dessert fix with that freshly baked feel.
FAQs
Can I use frozen cherries instead of fresh?
Absolutely! Frozen cherries work well in this Cherry Crumble Bars Recipe—just make sure to thaw and drain them well to avoid excess moisture that could make the bars soggy.
What can I substitute for rolled oats?
If you don’t have oats, you can try using crushed cornflakes or quick-cooking oats, but keep in mind the texture will differ slightly. Rolled oats provide that ideal chewiness and crunch that makes these bars special.
Can I make this recipe gluten-free?
Yes! Just swap the all-purpose flour for a gluten-free flour blend and ensure your oats are certified gluten-free. This way, you’ll still get the classic crumble texture without the gluten.
How do I know when the bars are done baking?
Look for a lightly golden crumble top and bubbling cherry filling around the edges. These visual cues mean the bars have baked through and the fruit filling is nicely thickened.
Can I use other fruits instead of cherries?
Definitely! This Cherry Crumble Bars Recipe is versatile—try blueberries, raspberries, or even peach slices for a different fruity twist. Adjust sugar slightly depending on the fruit’s natural sweetness.
Final Thoughts
Now that you’ve got the scoop on making these irresistible Cherry Crumble Bars Recipe, I encourage you to dive in and try them out! They’re wonderfully straightforward, delightfully tasty, and the kind of treat that brings smiles and warm memories. Whether for yourself or when sharing with loved ones, these bars will quickly become one of your favorite go-to desserts. Happy baking!