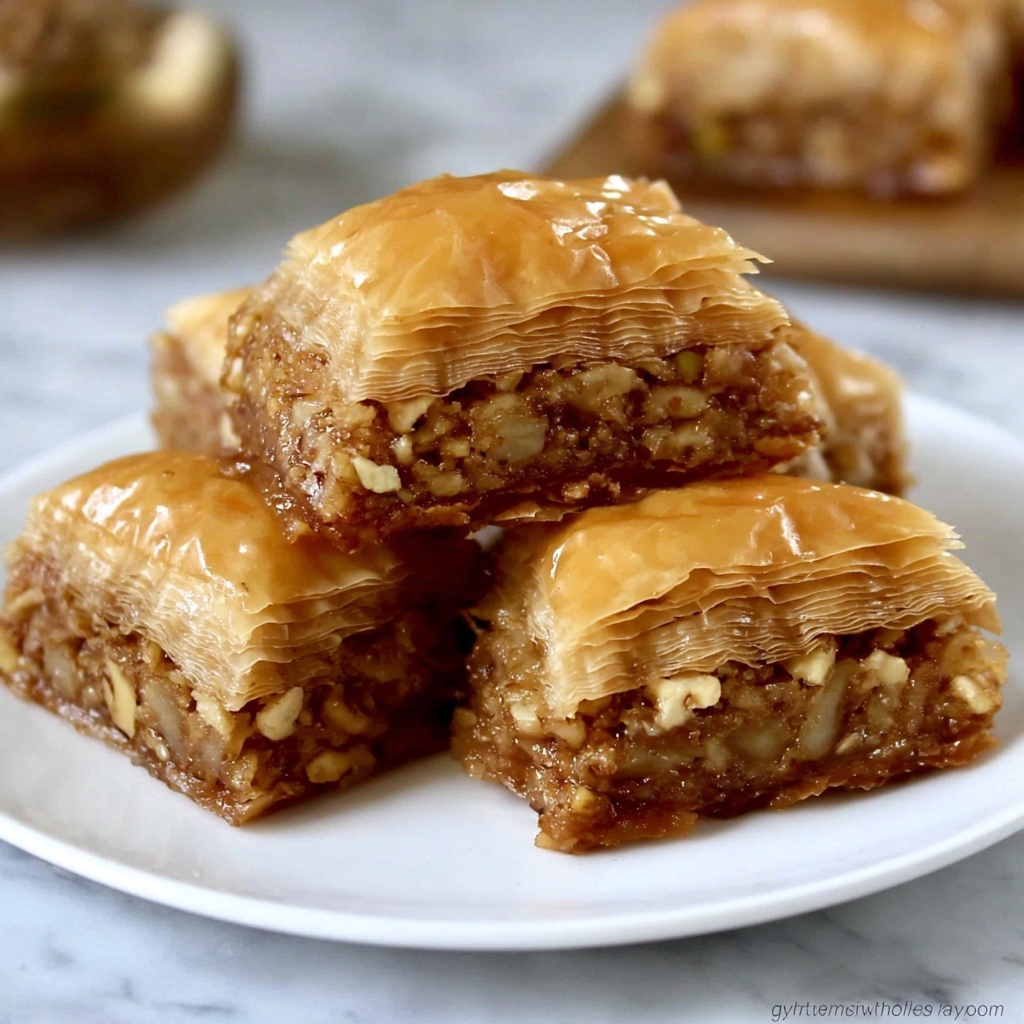
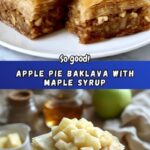
Imagine the perfect harmony of flaky, buttery layers intertwined with tender, spiced apples and crunchy toasted nuts, all drenched in rich maple syrup—this is the magic of the Apple Pie Baklava with Maple Syrup Recipe. It’s a mouthwatering twist that marries the beloved flavors of apple pie with the irresistible texture of baklava, delivering a dessert that feels both comforting and exotic. Whether you’re aiming to impress guests or simply treat yourself, this recipe turns simple ingredients into a spectacular dessert experience.
Ingredients You’ll Need
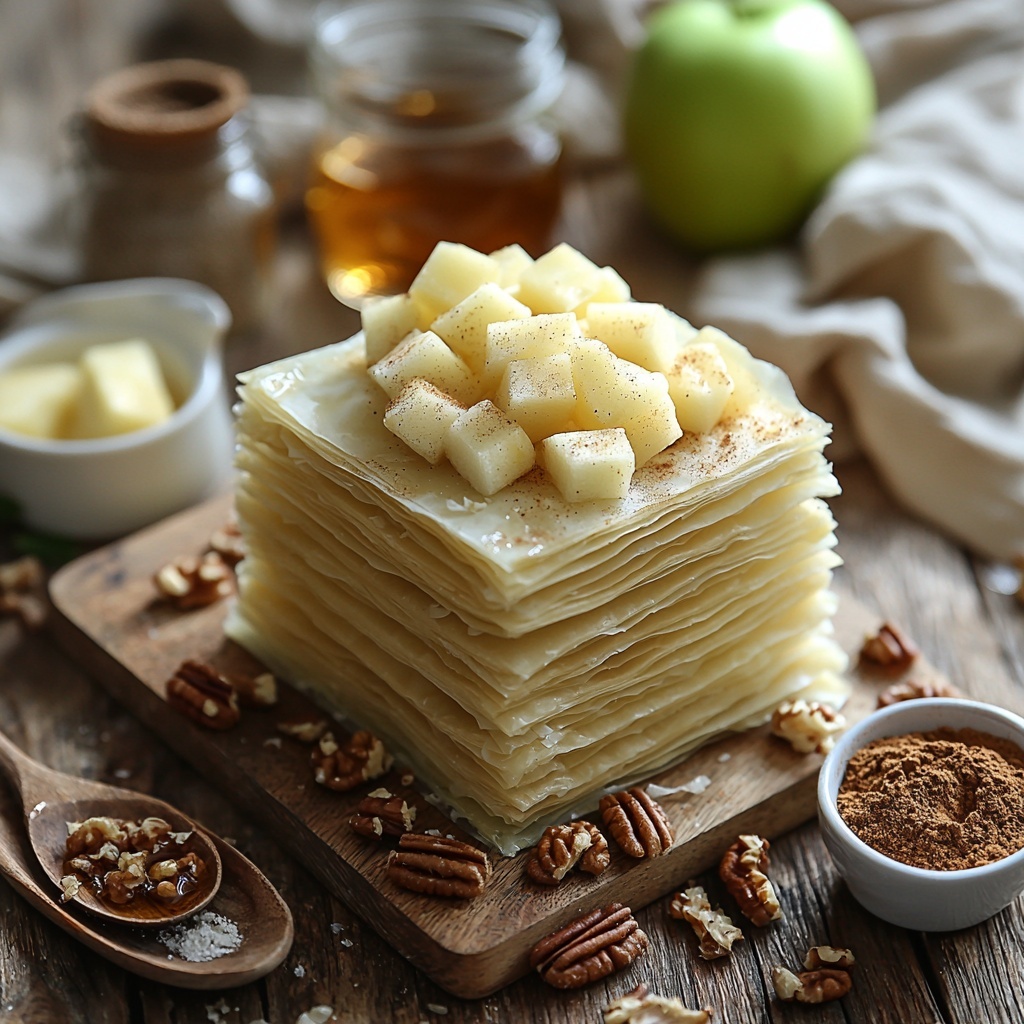
As you gather your ingredients, you’ll notice how straightforward yet essential each one is in building the flavors and textures of this dish. Every component works together to create that perfect balance of sweet, nutty, and warmly spiced layers that make this Apple Pie Baklava with Maple Syrup Recipe truly unforgettable.
- Phyllo dough: Adds the signature flaky and crispy layers that define baklava.
- Tart apples (Granny Smith): Provide a fresh, tangy contrast to the sweetness and soften beautifully when baked.
- Chopped walnuts or pecans, toasted: Bring a nutty crunch and depth of flavor.
- Ground cinnamon: Offers warm spice that’s classic in apple desserts.
- Ground nutmeg: Enhances the spiced profile with its subtle earthiness.
- Brown sugar: Adds a rich caramel sweetness that complements the apples.
- Vanilla extract: Rounds out and brightens the apple filling.
- Unsalted butter, melted: Ensures the phyllo is perfectly golden and crispy.
- Pure maple syrup: Pours on a luscious, natural sweetness that ties the whole dish together.
How to Make Apple Pie Baklava with Maple Syrup Recipe
Step 1: Prepare Your Baking Dish and Ingredients
Start by preheating your oven to 350°F (175°C) and greasing a 9×13 inch baking dish generously with butter. This simple prep step sets the foundation for even baking and easy serving later on.
Step 2: Mix the Apple-Nut Filling
In a bowl, combine the finely diced tart apples with ground cinnamon, nutmeg, brown sugar, vanilla extract, and toasted chopped nuts. This mixture forms the luscious, spiced filling that anchors your baklava with familiar apple pie flavors.
Step 3: Layer the Phyllo Dough
Carefully layer 8 to 10 sheets of phyllo dough in the baking dish, brushing each sheet generously with melted butter. Taking your time here ensures each layer bakes up crisp and golden—the hallmark of excellent baklava.
Step 4: Add the First Third of the Filling
Spread one-third of your apple and nut mixture evenly over the layered phyllo. This is where the flavor starts to build, so make sure the filling is distributed nicely for that perfect bite every time.
Step 5: Repeat Layering
Add another 6 to 8 sheets of buttered phyllo dough, then another third of the apple-nut filling. Repeat this layering process once more to create those beautiful, distinct strata of crunch and softness.
Step 6: Finish with Final Phyllo Layers
Top your baklava with a final 8 to 10 sheets of phyllo dough, each brushed with melted butter. This seals in the flavors and guarantees a wonderfully crisp top crust.
Step 7: Score Before Baking
Using a sharp knife, cut the entire dish into diamonds or squares. This not only makes for stunning presentation but also helps the heat circulate, ensuring even cooking.
Step 8: Bake Until Golden and Crisp
Place the baklava in your preheated oven and bake for 45 to 50 minutes, or until the phyllo is beautifully golden and crisp. The smell coming from your kitchen will already have you excited to dig in!
Step 9: Warm the Maple Syrup
While the baklava bakes, gently warm the pure maple syrup in a small pan. For an extra layer of aroma, you can infuse the syrup with a cinnamon stick—making it even more special.
Step 10: Pour Maple Syrup Over Hot Baklava
Once the baklava is out of the oven, pour the warm maple syrup evenly over the top so it soaks into every crisp layer, marrying all the flavors delectably.
Step 11: Let It Rest
Allow the baklava to sit for at least 4 hours or ideally overnight to absorb the syrup fully. This resting time transforms it into a dessert that’s irresistibly moist yet crisp.
How to Serve Apple Pie Baklava with Maple Syrup Recipe
Garnishes
Sprinkle some finely chopped toasted nuts or a dusting of cinnamon right before serving to add a rustic touch and intensify the nutty aroma. A dollop of whipped cream or a scoop of vanilla ice cream also complements the warm spices and syrup perfectly.
Side Dishes
This decadent dessert pairs wonderfully with a cup of strong black coffee or spiced chai tea, which balance the sweetness. For brunch, serve alongside fresh fruit or a light salad for a well-rounded meal.
Creative Ways to Present
For a crowd-pleaser, consider serving your Apple Pie Baklava with Maple Syrup Recipe in individual ramekins or mini tart pans for easy portions. Drizzle extra warmed maple syrup on each serving for a beautiful finishing touch that will wow your guests.
Make Ahead and Storage
Storing Leftovers
Store any leftover baklava in an airtight container at room temperature for up to 3 days. This helps maintain its crispness while allowing the flavors to continue melding.
Freezing
You can freeze uncooked assembled baklava by wrapping tightly in plastic wrap and foil for up to 3 months. Bake it straight from the freezer, adding a few extra minutes to the baking time.
Reheating
To reheat, warm the baklava in a low oven (about 300°F/150°C) for 10-15 minutes to revive its crisp edges without drying it out. Add a little extra maple syrup if desired to refresh its moist texture.
FAQs
Can I use other types of nuts in this Apple Pie Baklava with Maple Syrup Recipe?
Absolutely! Walnuts and pecans are traditional choices, but you can experiment with almonds, hazelnuts, or even pistachios to add your own twist and flavor profile.
Is it necessary to warm the maple syrup before pouring it over the baklava?
Warming the maple syrup helps it soak evenly into the hot baklava layers and infuses the syrup’s sweetness more deeply throughout. It’s a step you definitely don’t want to skip.
Can I prepare the Apple Pie Baklava with Maple Syrup Recipe ahead of time?
Yes, in fact, letting the baklava sit for several hours or overnight after baking improves the texture and flavor, making it a great make-ahead dessert for gatherings.
How do I prevent the phyllo dough from drying out while assembling?
Keep the phyllo sheets covered with a slightly damp kitchen towel while you work to prevent them from drying and tearing. Work efficiently to maintain their delicate texture.
What’s the best way to cut baklava into perfect diamond shapes?
Use a sharp knife and make diagonal cuts first in one direction, then the other, before baking. This crisp scoring makes the final presentation cleaner and easier to serve.
Final Thoughts
If you’re craving a dessert that feels like a warm hug with a little flair, the Apple Pie Baklava with Maple Syrup Recipe is just the thing. It’s a comforting, elegant fusion that’s surprisingly simple to make and sure to become a new favorite in your recipe collection. I can’t wait for you to try it and fall in love with those layers of flaky pastry, spiced apples, and luscious maple syrup!
Print
Apple Pie Baklava with Maple Syrup Recipe
- Prep Time: 20 minutes
- Cook Time: 50 minutes
- Total Time: 5 hours 10 minutes
- Yield: 24 servings
- Category: Dessert
- Method: Baking
- Cuisine: American
Description
A delightful fusion dessert combining the flaky, crisp layers of traditional baklava with a sweet, tart apple filling and warm maple syrup drizzle. This Apple Pie Baklava offers a perfect balance of cinnamon-spiced apples, toasted nuts, and buttery phyllo, making it an irresistible treat for any occasion.
Ingredients
Baklava Layers
- 1 package phyllo dough, thawed and at room temperature
- 3/4 cup unsalted butter, melted
Filling
- 3 medium tart apples (such as Granny Smith), finely diced
- 1 cup chopped walnuts or pecans, toasted
- 1 teaspoon ground cinnamon
- 1/4 teaspoon ground nutmeg
- 1/3 cup brown sugar
- 1 teaspoon vanilla extract
Syrup
- 3/4 cup pure maple syrup
Instructions
- Preheat Oven and Prepare Dish: Preheat your oven to 350°F (175°C) and generously grease a 9×13 inch baking dish to prevent sticking.
- Make Filling: In a mixing bowl, combine the finely diced apples with ground cinnamon, nutmeg, brown sugar, vanilla extract, and toasted chopped nuts. Stir well to blend the flavors and set aside.
- Layer Phyllo Sheets: Begin by layering 8 to 10 sheets of phyllo dough in the prepared baking dish, brushing each sheet thoroughly with melted butter to ensure crispiness and flavor.
- Add First Filling Layer: Spread one-third of the prepared apple-nut mixture evenly over the layered phyllo sheets.
- Continue Layering: Add another 6 to 8 buttered phyllo sheets on top of the filling, followed by the second third of the apple-nut mixture. Repeat this layering once more with the remaining filling.
- Top Layer: Finish with a final layer of 8 to 10 buttered phyllo sheets, brushing each sheet with melted butter as before.
- Score the Baklava: Carefully cut the unbaked baklava into diamond or square shapes using a sharp knife to facilitate even baking and portioning.
- Bake: Place the baklava in the oven and bake for 45 to 50 minutes or until the top turns golden brown and crisp.
- Warm Maple Syrup: While baking, gently warm the maple syrup on the stovetop. Optionally, infuse with a cinnamon stick for extra flavor.
- Drizzle Syrup: Once the baklava is hot out of the oven, pour the warmed maple syrup evenly over the entire dish to seep into the layers.
- Rest Before Serving: Allow the baklava to sit for at least 4 hours or preferably overnight to let the flavors meld and the syrup to fully absorb before serving.
Notes
- Be patient when handling phyllo dough as it is delicate and can tear easily. Keep unused sheets covered with a damp towel to prevent drying out.
- To toast nuts, spread them on a baking sheet and bake at 350°F (175°C) for 5-7 minutes, stirring occasionally until fragrant.
- For a deeper flavor, infuse the maple syrup with cinnamon or a citrus peel while warming.
- Store leftovers covered in the refrigerator; reheat slightly before serving for best texture.
- This recipe requires advance planning due to resting time after baking.
