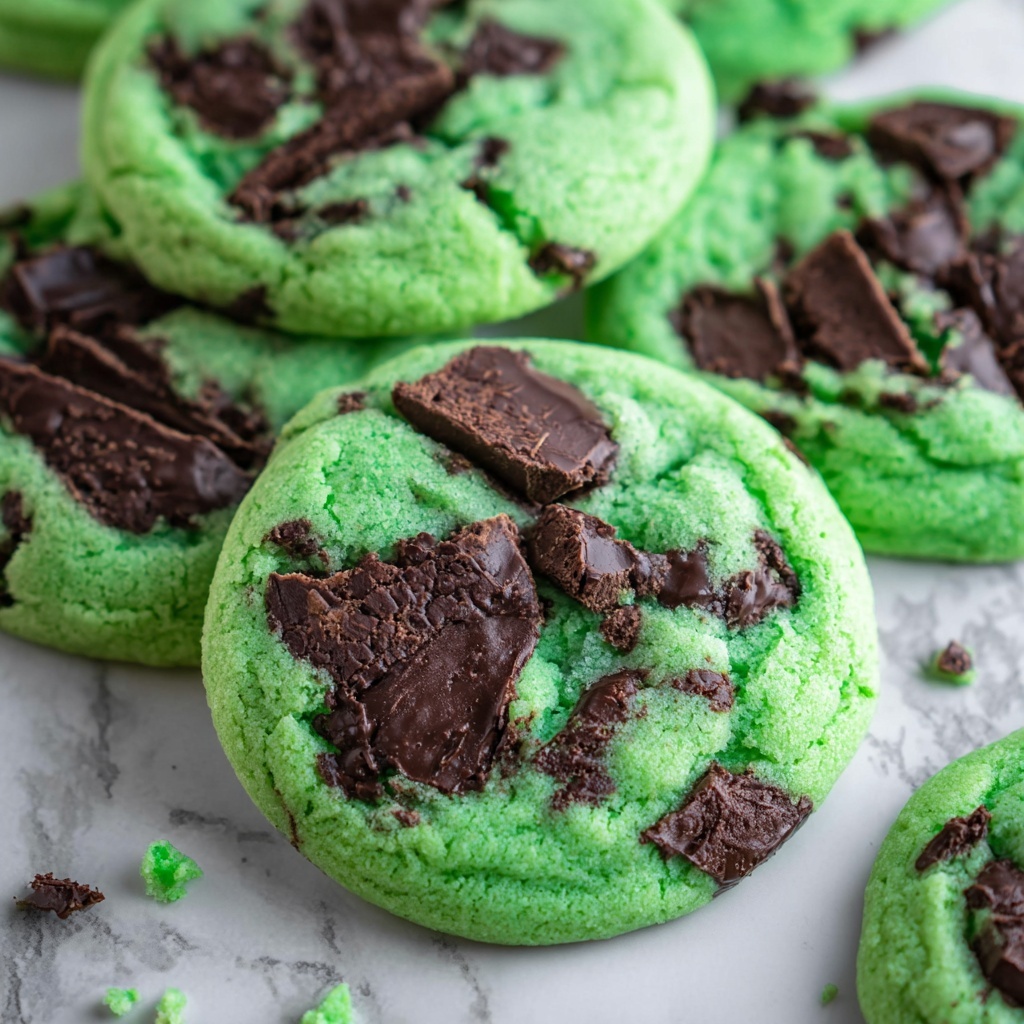
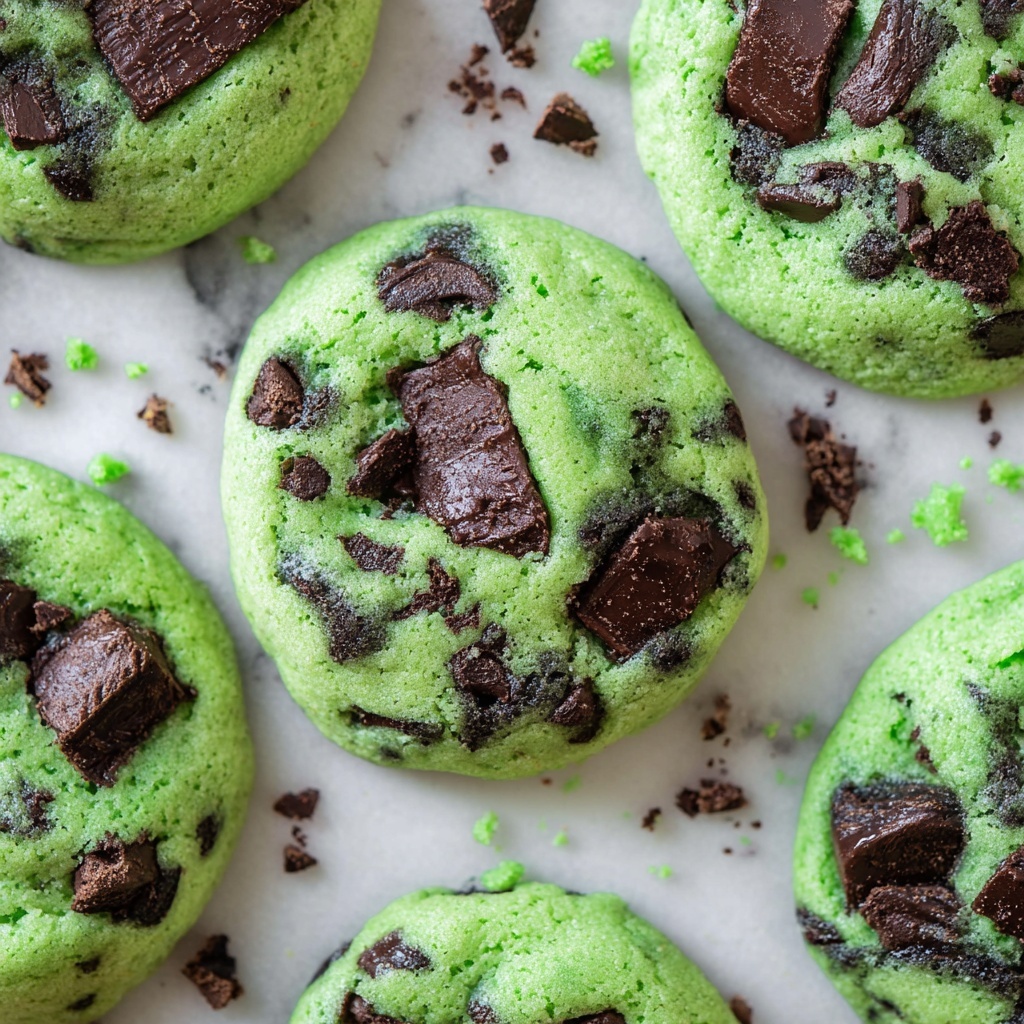
If you are a fan of refreshing, minty treats with a delightful crunch, you are absolutely going to adore this Thin Mint Peppermint Cookies Recipe. These cookies are a perfect blend of buttery softness and invigorating peppermint flavor, studded with pieces of iconic Thin Mint cookies that bring an irresistible texture and chocolatey twist. Whether you’re baking for a holiday gathering, a cozy night in, or a sweet gift, these cookies deliver a festive flair with every bite. Trust me, once you try this recipe, it will become a cherished favorite in your cookie arsenal.
Ingredients You’ll Need
Gathering the ingredients for this Thin Mint Peppermint Cookies Recipe is straightforward and rewarding. Each component plays a vital role in creating the perfect balance of flavor, texture, and color for these standout cookies.
- Butter (1 cup softened): Provides richness and tenderness to the cookie dough.
- Sugar (1 & 1/2 cups): Sweetens the cookies while helping to create a light, fluffy texture.
- Eggs (2 large + 1 yolk): Bind ingredients together and add moisture for a chewy bite.
- Peppermint extract (1/2 teaspoon or more): Packs in the signature minty freshness.
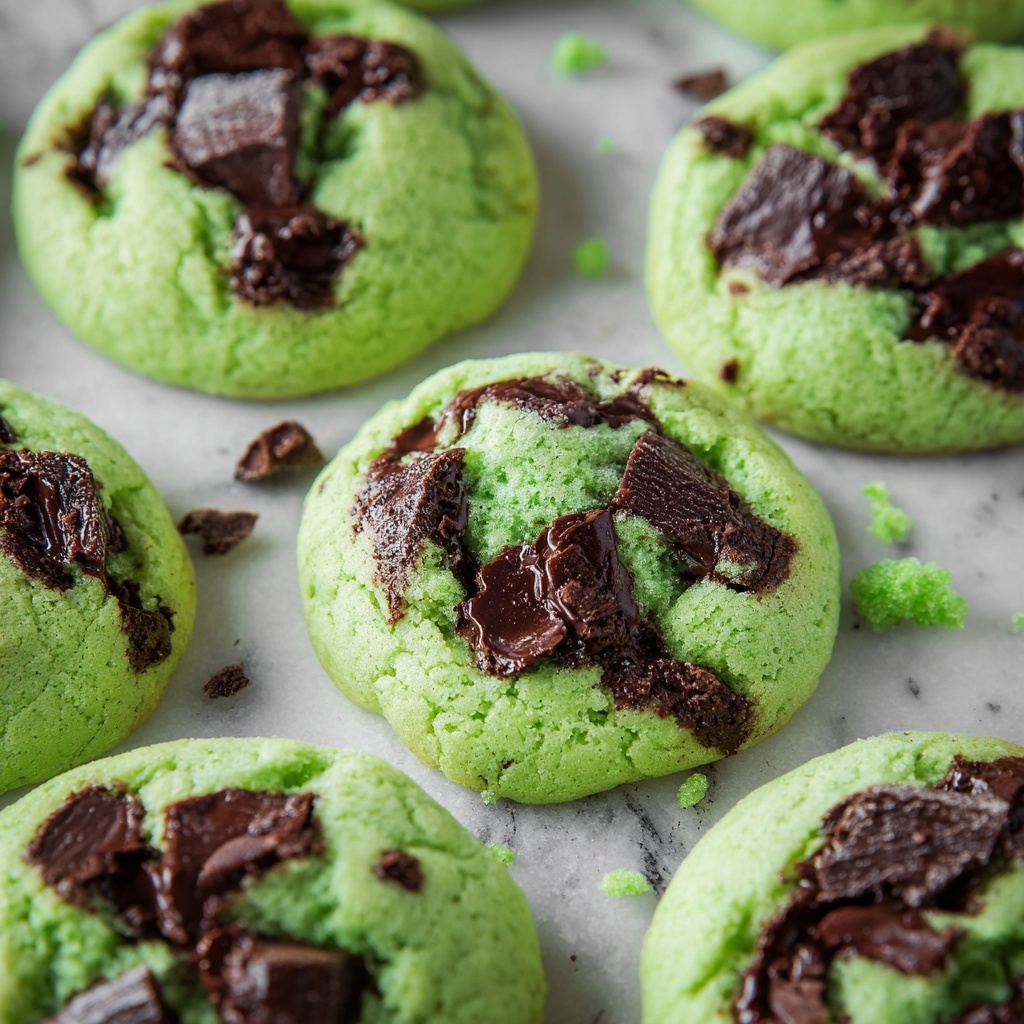
- Green food coloring (10-15 drops): Adds that playful, festive look without altering flavor.
- All-purpose flour (3 & 1/4 cups): The sturdy base that holds everything.
- Baking powder (2 teaspoons): Provides gentle lift to keep cookies from feeling dense.
- Baking soda (1 teaspoon): Works with baking powder to balance rise and texture.
- Cream of tartar (1 teaspoon): Adds a subtle tang and helps keep cookies soft and chewy.
- Kosher salt (1/2 teaspoon): Enhances all the flavors and cuts sweetness just enough.
- Thin Mints (1 box): The star ingredient chopped into chunks for that classic chocolate mint crunch.
- Chocolate chips (optional topping): For an extra indulgent chocolate finish on top.
How to Make Thin Mint Peppermint Cookies Recipe
Step 1: Prepping Your Oven and Baking Sheets
Start by heating your oven to 350 degrees Fahrenheit and lining your baking sheets with parchment paper or a silicone mat. This simple step ensures your cookies bake evenly and won’t stick, making cleanup a breeze.
Step 2: Creaming the Butter and Sugar
In a large bowl or using a stand mixer, beat the softened butter and sugar together thoroughly. Scrape the sides and bottom once to combine fully, then continue beating on medium speed for around 2 minutes until your mixture is fluffy and pale. This step is crucial to achieving a light, tender crumb in your cookies.
Step 3: Adding Eggs, Peppermint Extract, and Green Food Coloring
Next, add the eggs and extra yolk followed by the peppermint extract and green food coloring. Beat gently to combine until you have a uniformly colored dough that’s perfectly minty fresh and visually festive.
Step 4: Mixing Dry Ingredients
In a separate bowl, whisk together the flour, baking powder, baking soda, cream of tartar, and kosher salt. Gradually add this dry mix to your wet ingredients, stirring just until the flour is nearly incorporated. Avoid overmixing to keep those cookies tender.
Step 5: Chopping the Thin Mints
Take about 30 Thin Mint cookies and chop them into quarters using a sharp knife. Chop a few more for decoration later on. These chunks add irresistible chocolate and mint pockets in each bite, giving this Thin Mint Peppermint Cookies Recipe its signature appeal.
Step 6: Folding the Chunks Into the Dough
Gently fold the cookie pieces into the dough, ensuring to keep them chunky rather than pulverized. The large cookie pieces create delightful texture and bursts of minty crunch amidst the soft dough.
Step 7: Chilling the Dough
Cover your dough and refrigerate it for about an hour. Chilling firms up the dough, making it easier to shape and allowing the flavors to meld beautifully.
Step 8: Shaping the Cookies
Using a 1/4 cup measuring cup, portion out dough balls and shape each into a long oval, like a small egg shape rather than a traditional round ball. Press a couple extra cookie chunks into the tops if some areas look sparse—more minty bits are always better!
Step 9: Arranging on Baking Sheets
Place your ovals upright (the long way) on the lined baking sheets. Because these are generously sized cookies, only fit about eight per pan to give them room to bake perfectly.
Step 10: Baking to Perfection
Bake for about 8 to 10 minutes until the edges just begin to turn golden. The centers should mostly lose their shine but maintain a slight gloss; this ensures that perfect chewy-soft middle.
Step 11: Adding the Chocolate Chip Topping
As soon as you remove your cookies from the oven, press several chocolate chips into the top of each cookie. This step is optional but highly recommended—it’s the cherry on top of these already amazing cookies!
Step 12: Cooling
Allow the cookies to cool on the baking sheet for five minutes, then transfer to a cooling rack. This resting time helps them set perfectly without breaking apart.
How to Serve Thin Mint Peppermint Cookies Recipe
Garnishes
Sprinkle a few crushed Thin Mints or a light dusting of powdered sugar on top for an elegant touch. Fresh mint leaves can also bring a vibrant green contrast that compliments the cookie’s peppermint vibe beautifully.
Side Dishes
These cookies pair wonderfully with a cold glass of milk or a warm cup of hot cocoa. For a grown-up twist, serve alongside peppermint schnapps or a mint-infused coffee to amplify the minty magic.
Creative Ways to Present
Try stacking the cookies with a layer of whipped cream or mint chocolate ganache in between for a decadent mini sandwich. They also make charming gifts tucked in festive tin boxes or wrapped with colorful ribbons for holiday sharing.
Make Ahead and Storage
Storing Leftovers
Keep any leftover Thin Mint Peppermint Cookies in an airtight container at room temperature for up to four days to maintain their delightful texture and freshness. Avoid stacking them too high to prevent crushing those chunky cookie pieces.
Freezing
You can freeze these cookies for longer storage by placing them in a single layer on a baking sheet to freeze initially, then transfer to a freezer-safe container or bag. Freeze for up to three months and thaw at room temperature when ready to enjoy.
Reheating
To refresh slightly soft-centered cookies, warm them gently in a 300-degree oven for 5 minutes. This helps revive the buttery softness without crisping them too much—almost like freshly baked again!
FAQs
Can I use a different type of mint cookie?
Absolutely! While Thin Mints are the classic choice, you can substitute other peppermint-flavored chocolate cookies you love. Just ensure they break down into chunks that blend well into the dough.
How strong should the peppermint extract be?
Start with 1/2 teaspoon and taste your dough if possible—adding more peppermint extract gradually lets you customize the intensity without overpowering the cookie’s sweetness.
Why do I need to chill the dough?
Chilling helps firm up the dough for easier shaping and encourages the flavors, especially the mint, to meld together fully for a richer cookie experience.
Can I make the cookies smaller?
Yes, you can make smaller cookies, but keep in mind baking time will shorten—check them around 6-7 minutes to avoid overbaking and losing that chewy center.
Is there a way to make these gluten-free?
With a good gluten-free flour blend measuring cup-for-cup, you can swap the all-purpose flour and expect a similar texture. Just be mindful of the other ingredients like Thin Mints to ensure they fit your dietary needs.
Final Thoughts
If you have ever dreamed of capturing the perfect blend of mint, chocolate, and buttery cookie bliss, this Thin Mint Peppermint Cookies Recipe is your answer. It’s fun to make, bursting with flavor, and utterly charming every time you bite into one. I hope you have as much joy baking and sharing these as I do—happy baking!