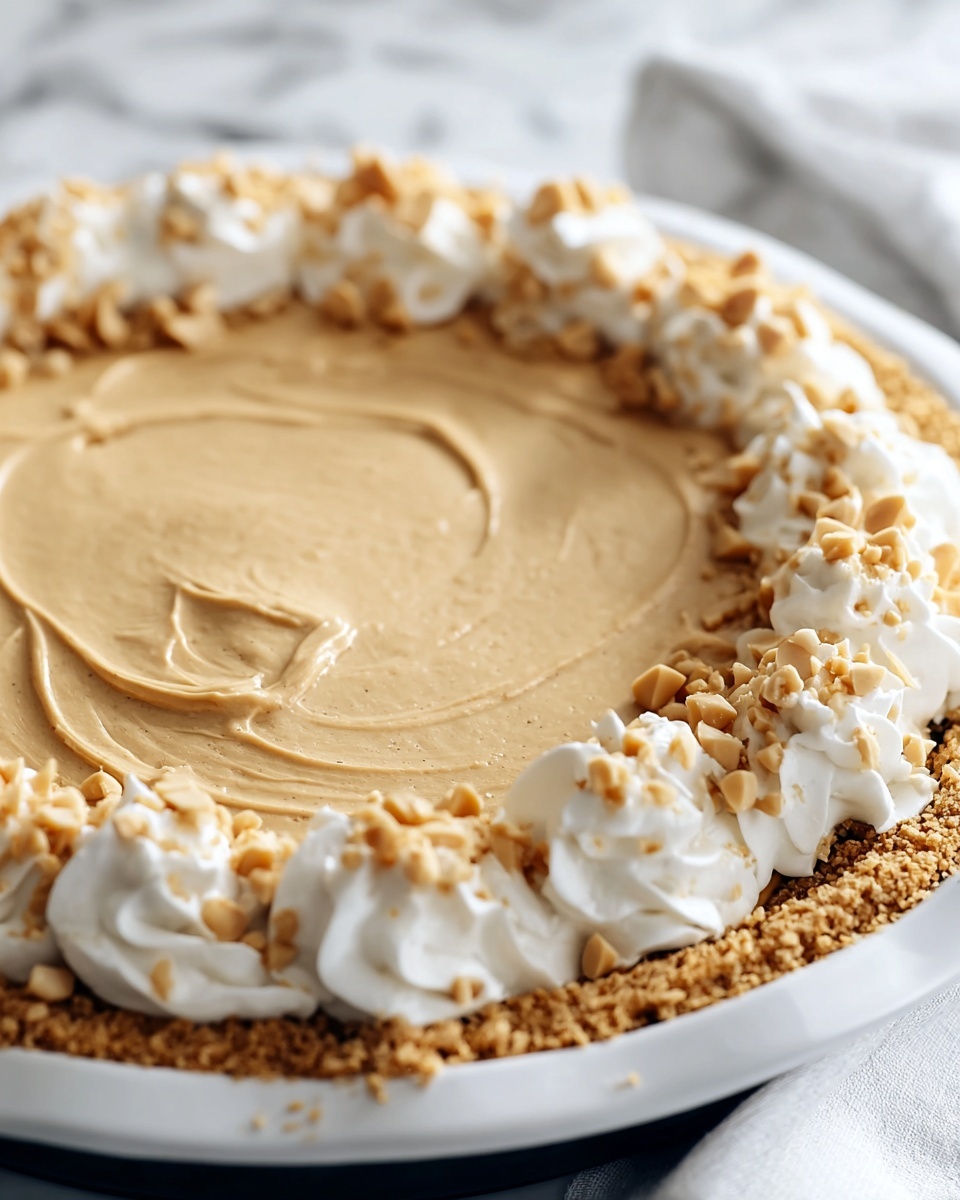
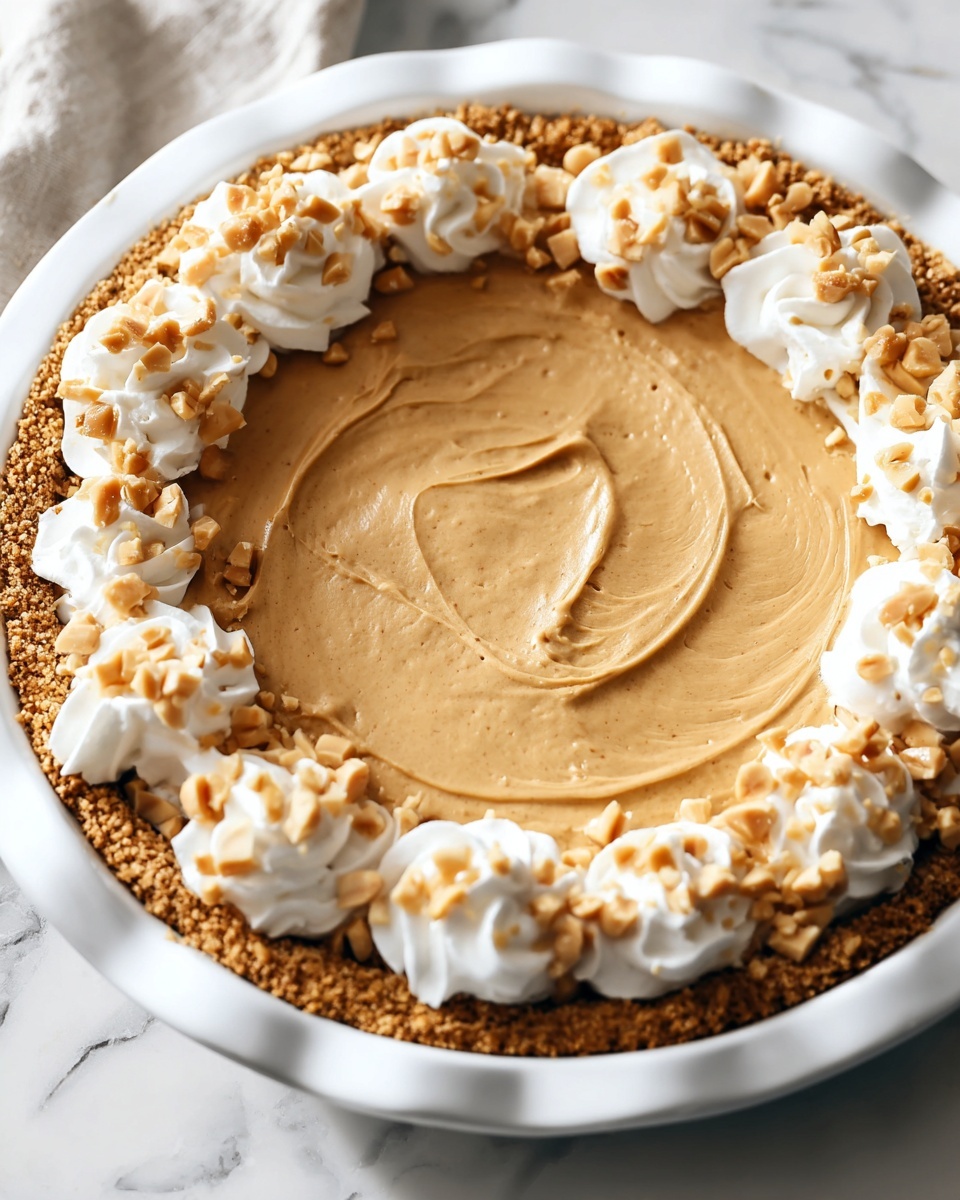
If you are craving a dessert that is rich, creamy, and downright irresistible, then you have to try The Best Easy Peanut Butter Pie Recipe. This no-bake treat combines the lusciousness of smooth peanut butter with the lightness of whipped cream and the crunchy goodness of a graham cracker crust, creating a perfect harmony of flavors and textures. Whether you’re whipping it up for a family gathering, a casual dinner party, or simply as a weekend indulgence, this pie promises to be a crowd-pleaser that’s as simple to make as it is delicious.
Ingredients You’ll Need
The magic of The Best Easy Peanut Butter Pie Recipe lies in its straightforward ingredients that come together effortlessly to create that classic peanut butter flavor with a velvety texture and just the right amount of sweetness.
- Graham cracker pie crust: Provides a buttery, crunchy base that complements the creamy filling perfectly.
- Creamy peanut butter: The star of the show, offering richness and depth; natural peanut butter works beautifully if well-stirred.
- Cream cheese (softened): Adds a tangy creaminess that balances the peanut butter’s sweetness.
- Powdered sugar: Sweetens the pie smoothly without any graininess.
- Vanilla extract: Enhances all the flavors with a warm, aromatic finish.
- Frozen whipped topping (thawed): Lightens the mixture to create that fluffy pie filling we all love.
- Chocolate syrup or chopped peanuts (optional): Perfect for garnishing and adding extra texture or a chocolatey kick.
How to Make The Best Easy Peanut Butter Pie Recipe
Step 1: Prepare the Peanut Butter Cream Mixture
Start by beating the softened cream cheese and creamy peanut butter together in a large mixing bowl. Mixing these two until smooth ensures a luscious and cohesive base for your pie. This step is crucial for achieving that signature silky texture that makes this dessert stand out.
Step 2: Sweeten and Flavor
Next, add the powdered sugar and vanilla extract to the bowl. Continue mixing until all the ingredients are fully combined. This is where the natural sharpness of the cream cheese meets the sweetness of powdered sugar and the warmth of vanilla, building the complex flavor you crave.
Step 3: Fold in the Whipped Topping
Gently fold the thawed whipped topping into the peanut butter mixture. Folding rather than beating keeps the filling light and airy, which really transforms this pie into a dreamy, fluffy indulgence rather than something dense or heavy.
Step 4: Assemble the Pie
Spoon the creamy mixture into your graham cracker crust and smooth out the top with a spatula. This no-bake approach makes the assembly quick and easy while still delivering on looks and taste.
Step 5: Chill Until Firm
Refrigerate the pie for at least 4 hours. Chilling is where the magic truly happens as the filling sets into a firm, scoopable texture that slices beautifully. Patience here is rewarded with the ultimate peanut butter pie experience.
How to Serve The Best Easy Peanut Butter Pie Recipe

Garnishes
Before serving, drizzle chocolate syrup over the top or sprinkle with chopped peanuts. These simple add-ons do wonders in elevating the pie with additional texture and flavor contrasts, making each bite exciting.
Side Dishes
This pie pairs wonderfully with fresh berries or a scoop of vanilla ice cream. The fruit adds a refreshing tartness that brightens the richness, while the ice cream amplifies the creamy indulgence, making your dessert spread even more spectacular.
Creative Ways to Present
For a fun twist, serve individual pie portions in small mason jars or ramekins topped with whipped cream and a peanut butter drizzle. This personal touch is sure to impress guests and makes it easier to serve at parties.
Make Ahead and Storage
Storing Leftovers
Keep any leftover pie covered tightly in the refrigerator. It will stay fresh and delicious for up to 3 days, making it perfect for enjoying a second (or third!) helping without any loss in flavor or texture.
Freezing
If you want to save the pie for longer, you can freeze it for up to 1 month. Wrap it tightly with plastic wrap and then foil to prevent freezer burn. Thaw overnight in the fridge before serving to bring back that luscious, creamy consistency.
Reheating
Since this is a chilled, no-bake pie, reheating is not recommended. Best enjoyed cold, the pie’s texture and flavor really shine when fresh from the fridge.
FAQs
Can I use natural peanut butter for this pie?
Absolutely! Natural peanut butter works great, but be sure to stir it well before measuring to get a consistent texture. It can add a richer, more authentic peanut flavor to your pie.
Is it necessary to use a graham cracker crust?
While a graham cracker crust is traditional and adds a delightful crunch, you can certainly use a homemade crust or even a cookie crust to match your taste preferences.
Can I substitute the whipped topping with homemade whipped cream?
Yes! Homemade whipped cream can be used if you prefer a fresher and lighter whipped filling. Just whip it until stiff peaks form before folding it into the peanut butter mixture.
How long should the pie chill before serving?
Chill the pie for at least 4 hours to allow it to set completely. If you’re short on time, chilling overnight is even better for a firmer texture.
Can I add chocolate chips or other mix-ins to the filling?
Feel free to get creative! Mini chocolate chips, crushed peanuts, or even swirls of chocolate ganache can be folded in to add extra texture and flavor dimensions.
Final Thoughts
There is truly nothing like The Best Easy Peanut Butter Pie Recipe to satisfy that peanut butter craving with minimal effort and maximum delight. It’s the kind of dessert that feels special yet stays simple, perfect for busy days or whenever you want to treat yourself. I can’t recommend giving it a try enough — once you do, it’s bound to become your go-to pie that everyone will ask for again and again!