“`html
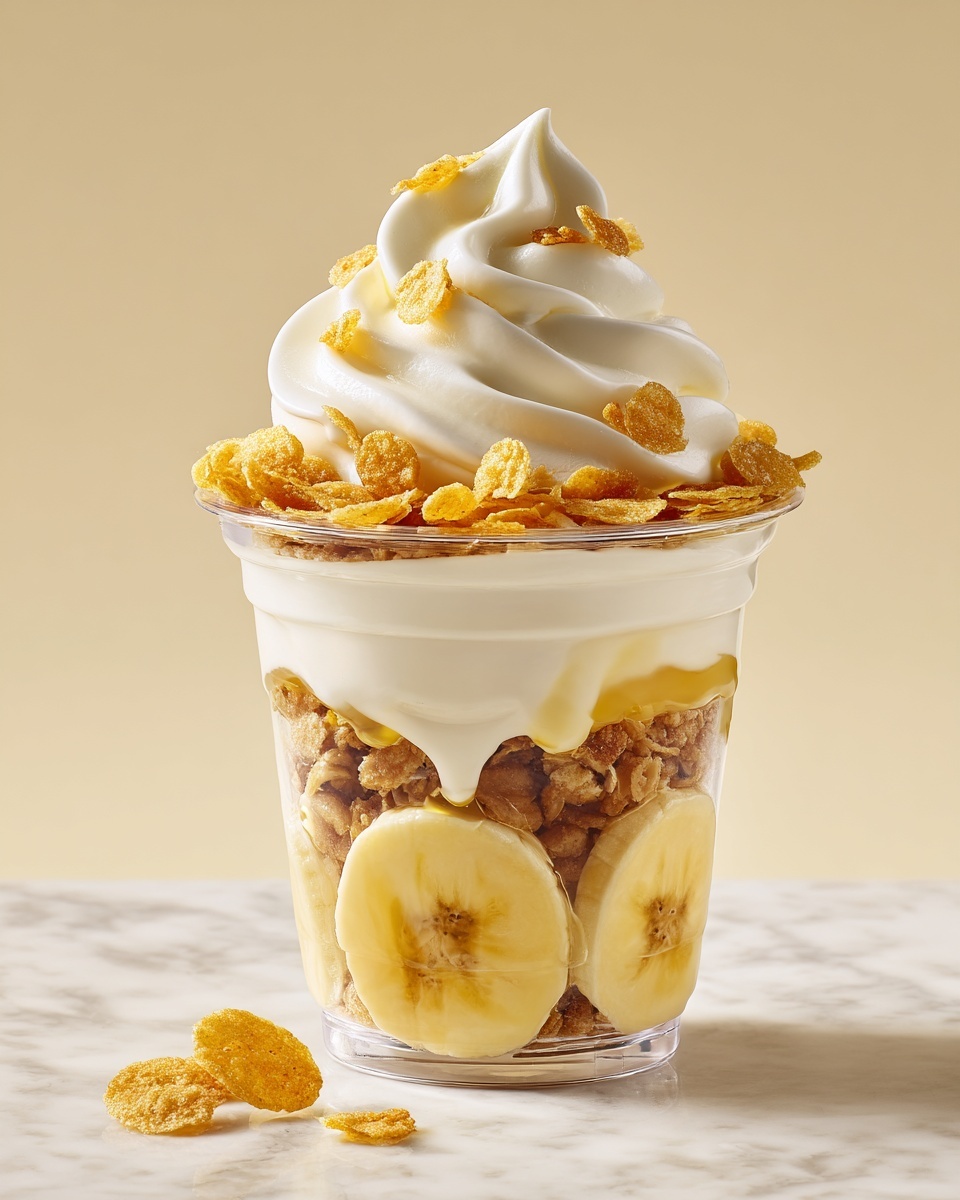
If you’re looking for a dessert that’s both effortlessly charming and endlessly delicious, this Banana Pudding Cups Recipe is about to become your new best friend in the kitchen. Layers of smooth, creamy vanilla pudding, fresh banana slices, and crisp vanilla wafers come together in individual cups to create a delightful treat that feels homemade yet elegant. It’s the perfect balance of textures and flavors, making it a guaranteed crowd-pleaser for family dinners, potlucks, or just a sweet moment to yourself.
Ingredients You’ll Need
These ingredients are simple but essential, each playing a unique role in creating the perfect balance of flavor, creaminess, and crunch in your Banana Pudding Cups Recipe. From the richness of the pudding mix to the freshness of bananas and the snap of vanilla wafers, every element adds its own magic.
- Instant vanilla pudding mix (1 box, 3.4 oz): The star that brings creamy, luscious vanilla flavor and a smooth texture to the dessert.
- Cold milk (2 cups): Necessary for whisking with the pudding mix, ensuring it sets perfectly and remains light.
- Whipped topping (1 cup, e.g., Cool Whip): Adds a fluffy, airy creaminess that lightens the pudding mixture beautifully.
- Ripe bananas (2, sliced): Fresh and naturally sweet, these slices bring a refreshing softness and an irresistible fruity touch.
- Crushed vanilla wafers (1 cup, plus extra for garnish): Provide a delightful crunch that contrasts wonderfully with the pudding’s creaminess.
- Whole vanilla wafers (for garnish): A charming finishing touch that adds both texture and a classic look to your pudding cups.
How to Make Banana Pudding Cups Recipe
Step 1: Prepare the Pudding
Start by whisking your instant vanilla pudding mix with the cold milk in a mixing bowl until the mixture is perfectly smooth. Refrigerate it for about 5 minutes to let it set; this step is crucial as it gives the pudding that lovely, velvety texture you’re aiming for.
Step 2: Fold in the Whipped Topping
Next, gently fold the whipped topping into your set pudding. The key here is to mix carefully so you keep the airy, fluffy texture intact. This turns your pudding into a lighter, creamier filling that pairs beautifully with the bananas and wafers.
Step 3: Assemble the Cups
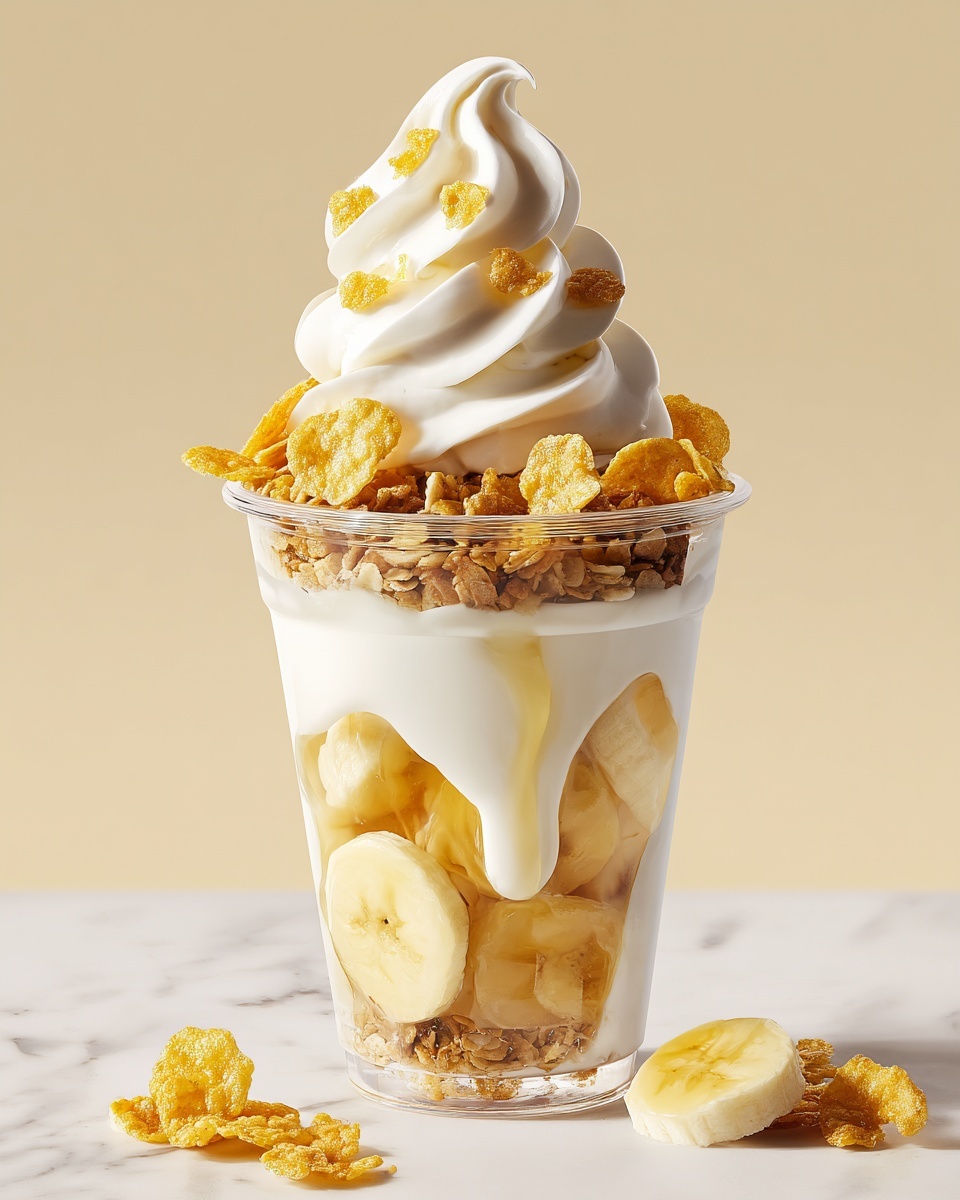
Grab your individual cups or small jars and start layering. Begin with a layer of crushed vanilla wafers for that crunchy base, then add a layer of banana slices, followed by a generous scoop of the creamy pudding. Repeat these layers until each cup is filled almost to the top, creating lovely, visible contrasts of color and texture.
Step 4: Top and Garnish
Finish each cup with a dollop of whipped topping, a sprinkling of extra crushed vanilla wafers, and carefully place a whole vanilla wafer standing upright. This makes the dessert as beautiful as it is delicious — a true invitation to dig in.
Step 5: Chill
Refrigerate your banana pudding cups for at least 30 minutes before serving. This chilling time lets the flavors meld together and ensures every bite is cool, creamy, and perfectly satisfying.
How to Serve Banana Pudding Cups Recipe

Garnishes
Adding garnishes can take your Banana Pudding Cups Recipe up a notch. Consider a light dusting of cinnamon or nutmeg for warmth, or even a drizzle of caramel or chocolate sauce for an indulgent finish. Fresh mint leaves add a burst of color and freshness too.
Side Dishes
These pudding cups shine on their own but also team wonderfully with light side dishes. Think fresh fruit salads, crisp cookies, or even a scoop of vanilla ice cream for double the creamy delight. They make a lovely ending to a sunny picnic or casual dinner.
Creative Ways to Present
If you want to impress guests, serve your Banana Pudding Cups Recipe in elegant wine glasses or clear glass jars to showcase the beautiful layers. You could even prepare a large trifle bowl version for family-style serving, letting everyone scoop their own layered delight.
Make Ahead and Storage
Storing Leftovers
Keep your Banana Pudding Cups fresh by covering them tightly with plastic wrap or lids and refrigerating. They will stay delicious and creamy for up to two days, giving you a quick grab-and-go treat for later. Just be mindful the banana slices may begin to brown slightly over time.
Freezing
Freezing banana pudding cups is not usually recommended because the creamy pudding and whipped topping may separate and become grainy upon thawing. To maintain the best texture and flavor, enjoy these cups chilled, freshly made.
Reheating
This dessert is best served cold straight from the fridge, so there’s no need to reheat. The refreshing coolness is part of its charm, especially on warm days or after a hearty meal.
FAQs
Can I make Banana Pudding Cups ahead of time?
Yes, you can prepare them a few hours ahead of serving, which actually helps the flavors meld beautifully. However, try to assemble them the same day to prevent the bananas from browning or getting mushy.
Can I use homemade whipped cream instead of Cool Whip?
Absolutely! Homemade whipped cream adds a fresh, rich flavor and creamy texture that complements this dessert perfectly. Just be sure it’s whipped to soft peaks before folding in.
How do I keep the bananas from browning?
To keep your banana slices looking fresh and appetizing, toss them lightly in a little lemon juice before layering. The citric acid slows down oxidation, preserving their lovely color and flavor.
Can I freeze Banana Pudding Cups?
Freezing is not ideal for this dessert because the texture of the pudding and whipped topping can become compromised once thawed. It’s best to enjoy your Banana Pudding Cups fresh and chilled.
What can I substitute for vanilla wafers?
If you don’t have vanilla wafers on hand, graham crackers, digestive biscuits, or shortbread cookies make great substitutes. They’ll provide similar crunch and subtle sweetness to complement the pudding and bananas.
Final Thoughts
This Banana Pudding Cups Recipe is a wonderful example of how simple ingredients can create a truly memorable dessert. It’s quick to put together, endlessly adaptable, and guaranteed to bring smiles around the table. Whether you’re sharing with loved ones or indulging yourself, I encourage you to try this recipe—you might just find your new favorite sweet treat.
“`