If you’ve ever dreamed of baking your own tangy, crusty sourdough bread at home but felt intimidated by the process, let me share a little secret with you: this Simple Sourdough Starter Recipe is your key to easy, reliable fermentation that brings authentic flavor right to your kitchen. This starter is not only straightforward to make but also the foundation for creating those irresistible loaves with chewy crumb and a perfectly golden crust. With just two basic ingredients and a bit of patience, you’ll be amazed at how this living mixture bubbles to life, ready to transform your baking adventures.
Ingredients You’ll Need
To get started, you only need a couple of pantry staples, but each plays an essential role in coaxing your wild yeast to thrive. This simplicity is what makes the starter so approachable and rewarding.
- 1 cup of all-purpose flour: Provides the natural sugars and starches for fermentation; you can experiment later with whole wheat or rye for more flavor complexity.
- 1/2 cup of lukewarm water: Activates the flour’s enzymes and promotes yeast growth; water temperature around 75 to 80°F is ideal to encourage friendly microbes without killing them.
How to Make Simple Sourdough Starter Recipe
Step 1: Mix Flour and Water
Begin by combining the all-purpose flour and lukewarm water in a clean glass or plastic container. Stir vigorously until you have a smooth, lump-free batter. This consistency helps create the perfect environment for wild yeast and beneficial bacteria to colonize.
Step 2: Cover and Rest
Cover your container loosely with a clean kitchen towel or plastic wrap to allow airflow while preventing contamination. Place it in a cozy, warm spot in your kitchen—away from direct sunlight—to encourage fermentation to start.
Step 3: Allow Fermentation
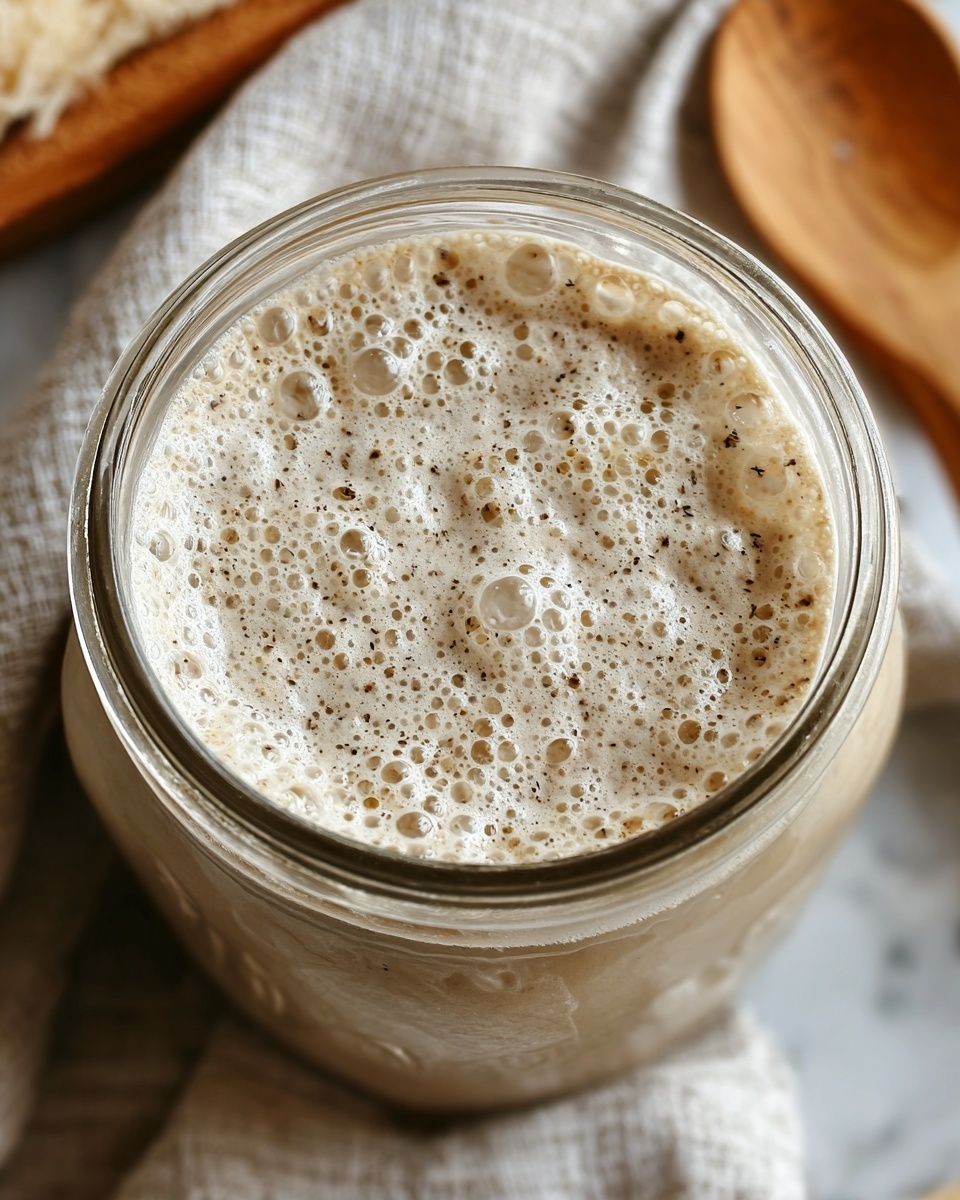
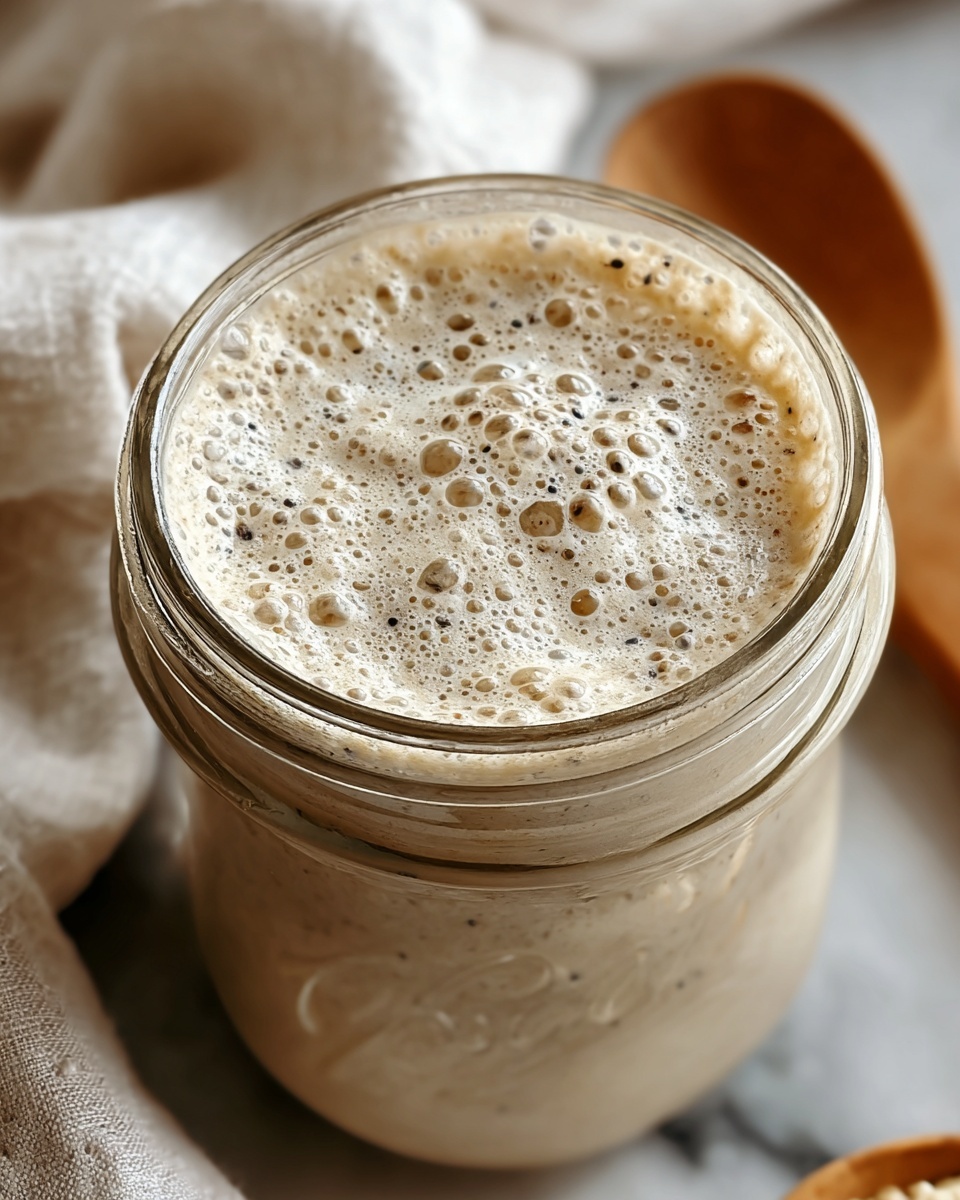
Let the mixture sit undisturbed at room temperature for 24 hours. You’ll start to notice little bubbles forming on the surface. These are signs that the natural yeast and bacteria are waking up and beginning their magic.
Step 4: Discard and Feed
After 24 hours, keep the starter lively by discarding half of the mixture. This may sound counterintuitive, but it keeps the acidity balanced and prevents your starter from becoming overwhelmed. Then, add 1/2 cup of fresh flour and 1/4 cup of lukewarm water. Stir well to incorporate the new food for the microorganisms.
Step 5: Repeat Feeding Routine
Cover again and let rest for another 24 hours. Repeat this cycle of discarding and feeding daily for about 5 to 7 days until your starter is bubbly, smells pleasantly tangy, and doubles or even triples in size. This lively mixture is your sign that the Simple Sourdough Starter Recipe is ready to be used in baking fabulous breads.
How to Serve Simple Sourdough Starter Recipe
Garnishes
While the starter itself isn’t something you serve directly, you can enhance your sourdough breads by mixing in seeds like sesame, poppy, or flax, or brushing the crust with melted butter and a sprinkle of herbs after baking. These little touches bring extra texture and flavor, inspired by your vibrant starter’s character.
Side Dishes
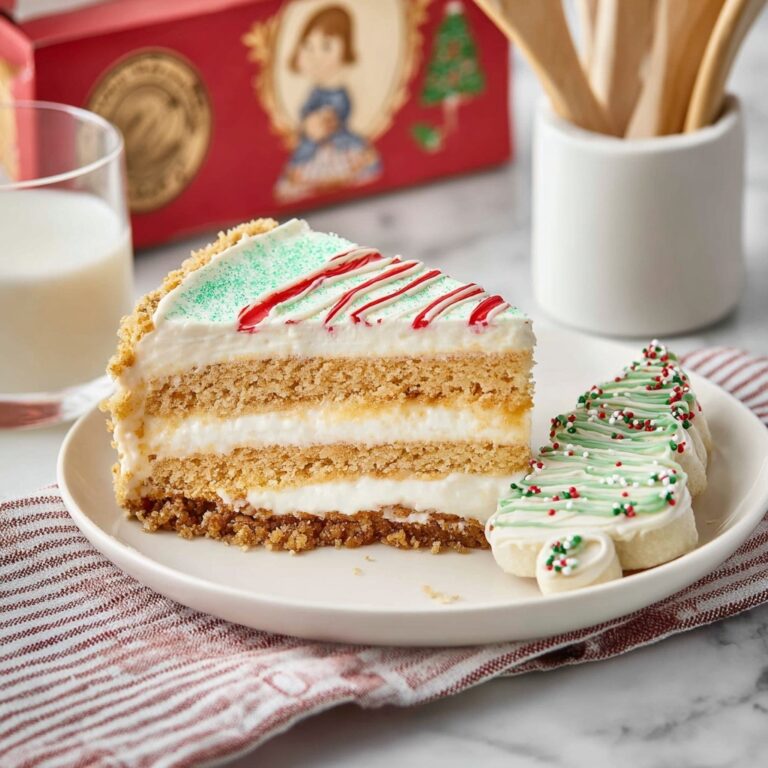
Sourdough bread born from this starter pairs beautifully with fresh cheeses, roasted garlic spreads, or hearty soups and stews. The slight tang from the sourdough balances rich, creamy, and savory sides, creating a harmony that feels both rustic and indulgent.
Creative Ways to Present
Get playful by turning your sourdough into thick toast slices topped with avocado and microgreens, or thin flatbreads brushed with olive oil and rosemary. Sharing slices from your homemade starter’s bounty is a charming way to celebrate homemade goodness at any gathering.
Make Ahead and Storage
Storing Leftovers
If you don’t plan to bake daily, you can keep your sourdough starter alive by storing it in the refrigerator. Feed it once a week by discarding most of it and refreshing with flour and water. This slows fermentation but keeps your starter healthy and ready when you want to bake.
Freezing
For longer breaks, freezing your starter is possible, but it’s a bit tricky. Thoroughly feed your starter before freezing, then place a small amount in an airtight container. When thawed, it may need several feedings at room temperature to regain full strength.
Reheating
Starter doesn’t require reheating like cooked food, but warming your feeding water to lukewarm temperature before mixing keeps your starter happy and active. Always use water that isn’t too hot to avoid harming the yeast.
FAQs
How long does it take for the Simple Sourdough Starter Recipe to become active?
Typically, you’ll see bubbles within the first 24 hours, but it usually takes about 5 to 7 days of regular feeding for the starter to become strong, bubbly, and ready to use in baking.
Can I use whole wheat or rye flour instead of all-purpose?
Absolutely! Whole wheat and rye flours are packed with nutrients and microbes that can jumpstart fermentation. Feel free to substitute some or all of the all-purpose flour to add flavor depth to your starter.
What does it mean if my starter smells unpleasant?
A healthy starter should smell pleasantly tangy or mildly yeasty. If you detect a strong rotten or moldy smell, it may indicate contamination or neglect. Discard that batch and start fresh, ensuring clean utensils and containers.
Why do I need to discard part of the starter during feedings?
Discarding maintains a manageable volume and keeps the acidity balanced, preventing the starter from becoming too sour or acidic, which can inhibit yeast activity.
How do I know when my starter is ready to bake with?
Your starter is ready when it bubbles vigorously, has a pleasant tang, and roughly doubles in size within 6 to 8 hours after feeding. A simple float test, where a spoonful floats in water, can also signal good aeration and readiness.
Final Thoughts
Starting your sourdough journey with this Simple Sourdough Starter Recipe is like inviting a little living magic into your kitchen. The process might require a little patience, but the reward of baking bread with your very own bubbly starter is truly worth it. So why not give it a try today? Soon you’ll be sharing fresh loaves that tell a story of tradition, flavor, and homemade warmth.