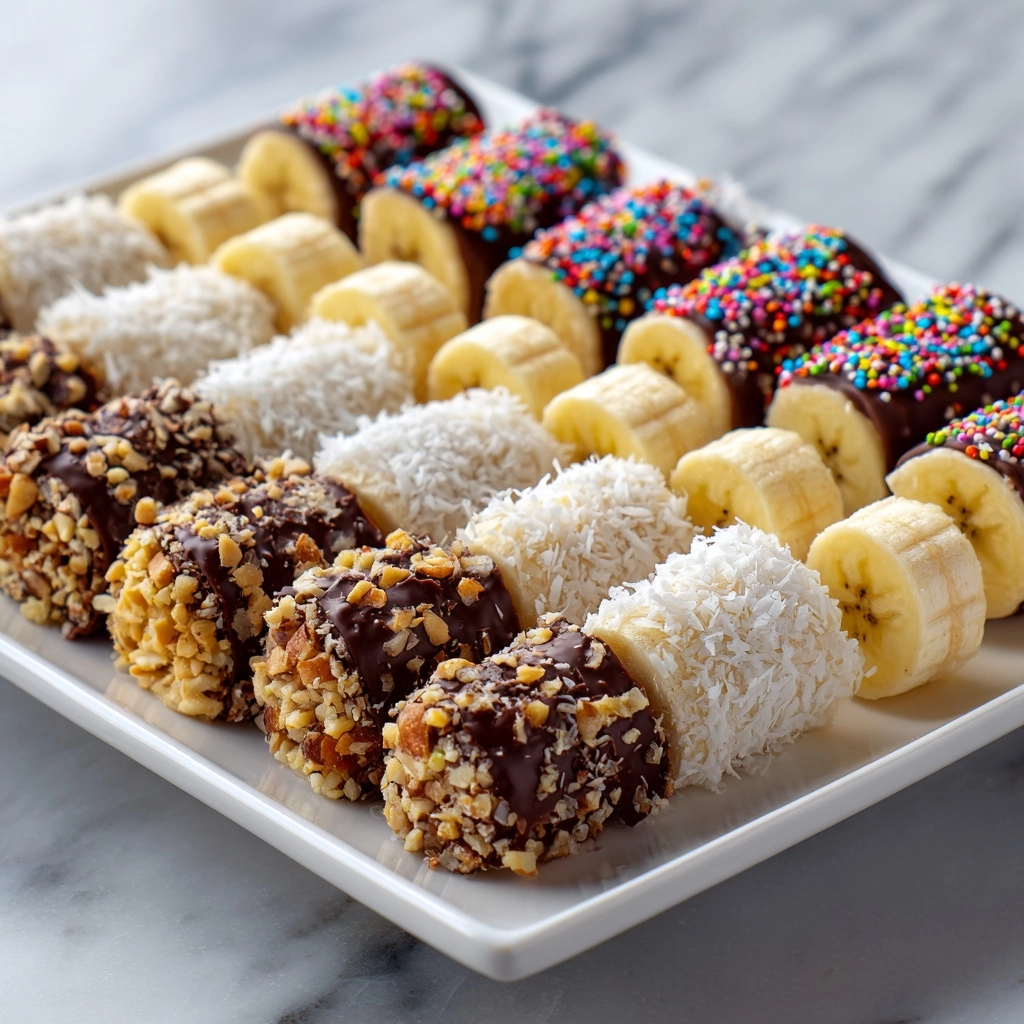
If you’re searching for a quick, playful, and downright delicious twist on snack time, this Banana Sushi Recipe absolutely deserves a spot in your kitchen repertoire. Imagine creamy peanut butter embracing sweet, ripe bananas, all rolled in crunchy granola or crispy cereal, then sliced into fun “sushi” rounds. It’s the perfect no-cook treat—bursting with flavor, wholesome enough to feel great about, and simply irresistible for both kids and adults. Whether you’re looking to brighten up an afternoon or add a bit of magic to a lunchbox, this Banana Sushi Recipe delivers big on taste, nutrition, and fun factor.
Ingredients You’ll Need
-
Ripe Bananas:
2 bananas
Creamy Peanut Butter:
4 tablespoons
Granola or Crispy Rice Cereal:
1/2 cup
Honey (optional):
1 tablespoon
Cinnamon (optional):
1/4 teaspoon
Mini Chocolate Chips or Chopped Dark Chocolate (optional):
1/4 cup
Shredded Coconut (optional):
1 tablespoon
How to Make Banana Sushi Recipe
Step 1: Prepare Your Bananas
Start by peeling your bananas and setting them on a clean surface. The bananas should be ripe (those cheerful yellow ones with little brown freckles are perfect!), which ensures the slices hold their shape but are still sweet and tender. This step sets the stage for a deliciously smooth bite later on.
Step 2: Smother with Peanut Butter
Grab your favorite creamy peanut butter or nut butter, and use a butter knife or small spatula to spread it evenly over the entire surface of each banana. Don’t skimp—the more even your layer, the better your granola or cereal will stick. Cover all sides so you get a perfect balance of flavor in every bite.
Step 3: Roll in Crunchy Goodness
Sprinkle granola or crispy rice cereal on a plate, then carefully roll your peanut butter-coated bananas until they’re completely covered. Gently press to help the crunch stick—this is where the sushi “magic” happens! If you like to get creative, you can even roll in a mix of both for a unique texture.
Step 4: Drizzle and Sprinkle (Optional)
If you want to elevate the Banana Sushi Recipe, now’s the time to drizzle a little honey for added sweetness and dust with cinnamon for a cozy aroma. This step builds out the flavors and makes your sushi look extra special.
Step 5: Slice and Garnish
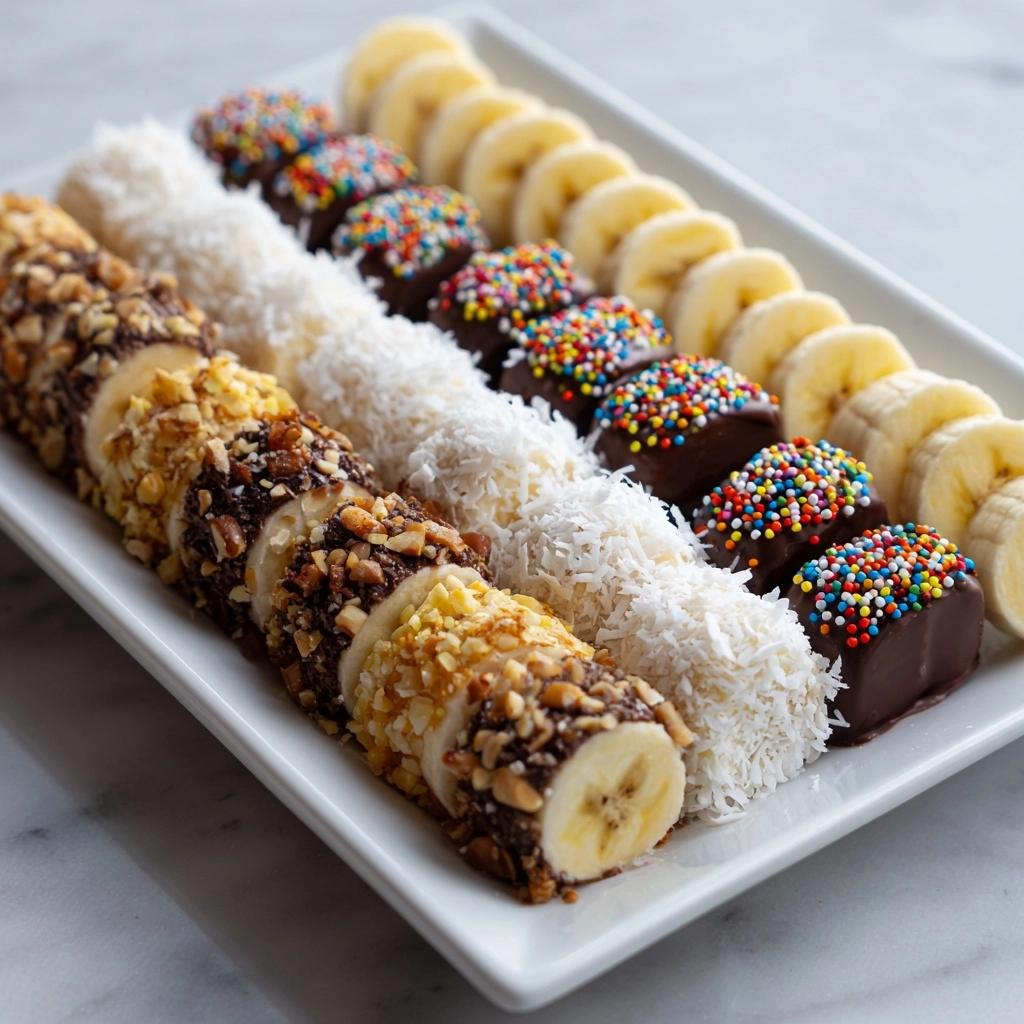
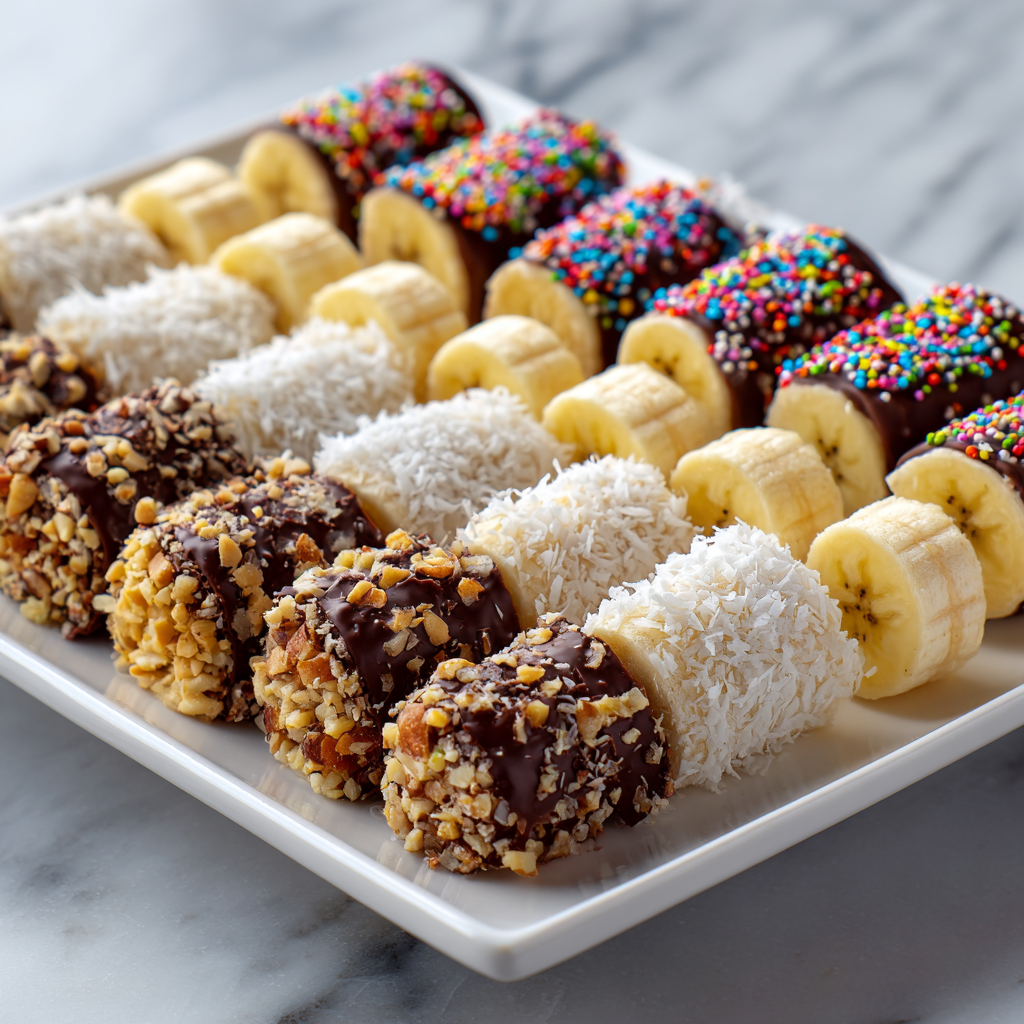
Using a sharp knife, carefully slice the coated bananas into 1/2-inch thick rounds—you’ll instantly see the resemblance to sushi rolls! Arrange them on a serving platter, then sprinkle with mini chocolate chips or a light dusting of shredded coconut, if you’re feeling decadent.
Step 6: Serve and Enjoy
Your Banana Sushi Recipe is all set to steal the spotlight at snack time. You can enjoy them immediately for the ultimate freshness or pop them in the fridge for a few minutes to let everything set. Get ready to savor—and share—this playful treat!
How to Serve Banana Sushi Recipe
Garnishes
Think of garnishes as the finishing flourish. Sprinkle mini chocolate chips, shredded coconut, or a few extra seeds over the top to make your sushi “pop.” For a splash of color, even a few freeze-dried fruit crumbs (like strawberries) can turn this Banana Sushi Recipe into a true work of art that’s ready for Instagram—or just big smiles at your table.
Side Dishes
These cheerful sushi rolls make an excellent standalone snack, but they also shine alongside little bowls of Greek yogurt for dipping, a fruit salad, or a handful of nuts for extra protein. If you want to round out a lunchbox, send a few rolls with apple slices or baby carrots for a delightful, balanced meal.
Creative Ways to Present
Elevate the fun by arranging the banana sushi slices like classic sushi on a wooden board, complete with tiny dipping bowls of honey or yogurt. Skewer a few pieces onto toothpicks for a party-worthy finger food or stack them in mini cupcake liners for an adorable potluck treat. However you plate it, this Banana Sushi Recipe is guaranteed to wow!
Make Ahead and Storage
Storing Leftovers
If you have any leftovers (though that’s honestly rare!), store your banana sushi in an airtight container in the refrigerator. They’ll keep their best texture for about 24 hours—just know the bananas may darken over time, but they’ll still taste delicious.
Freezing
For quick, grab-and-go snacks later, you can freeze banana sushi slices. Lay them out in a single layer on a parchment-lined tray until firm, then transfer to a zip-top freezer bag. They’ll last up to a month. These frozen treats are extra special in the summer!
Reheating
No reheating required here! But if you’ve popped them in the fridge or freezer, let banana sushi sit at room temperature for a few minutes before enjoying. That will soften the bananas and bring out all those fabulous flavors.
FAQs
Can I use other types of nut butter?
Absolutely! Try almond butter, cashew butter, or even sunflower seed butter for a peanut-free option. Each brings its own special flavor to the Banana Sushi Recipe.
What can I use instead of granola or crispy rice cereal?
Crushed graham crackers, freeze-dried fruit, or even finely chopped nuts all make tasty coatings that still deliver the same lovable crunch. Mix and match to find your favorite Banana Sushi Recipe variation!
Can kids help make this Banana Sushi Recipe?
Yes, this recipe is perfect for little hands! Younger kids can help spread the nut butter and roll the bananas, while older ones can slice and arrange their creations. It’s a fun and safe way to bring everyone into the kitchen.
How can I prevent the bananas from browning?
A light toss with a bit of lemon juice will slow browning if you want to prep this recipe in advance. Otherwise, serve the Banana Sushi Recipe soon after assembling for the brightest flavor and color.
Is this Banana Sushi Recipe gluten-free and vegan?
To make it gluten-free, use certified gluten-free granola or crispy rice cereal. For a vegan version, simply swap honey for maple syrup (or skip it), and ensure your chocolate and granola choices are vegan-friendly.
Final Thoughts
I hope you feel inspired to give this Banana Sushi Recipe a try! It’s charming, flexible, and comes together in a snap—perfect for sharing with family and friends. Don’t be surprised if it becomes your favorite snack-time secret weapon!