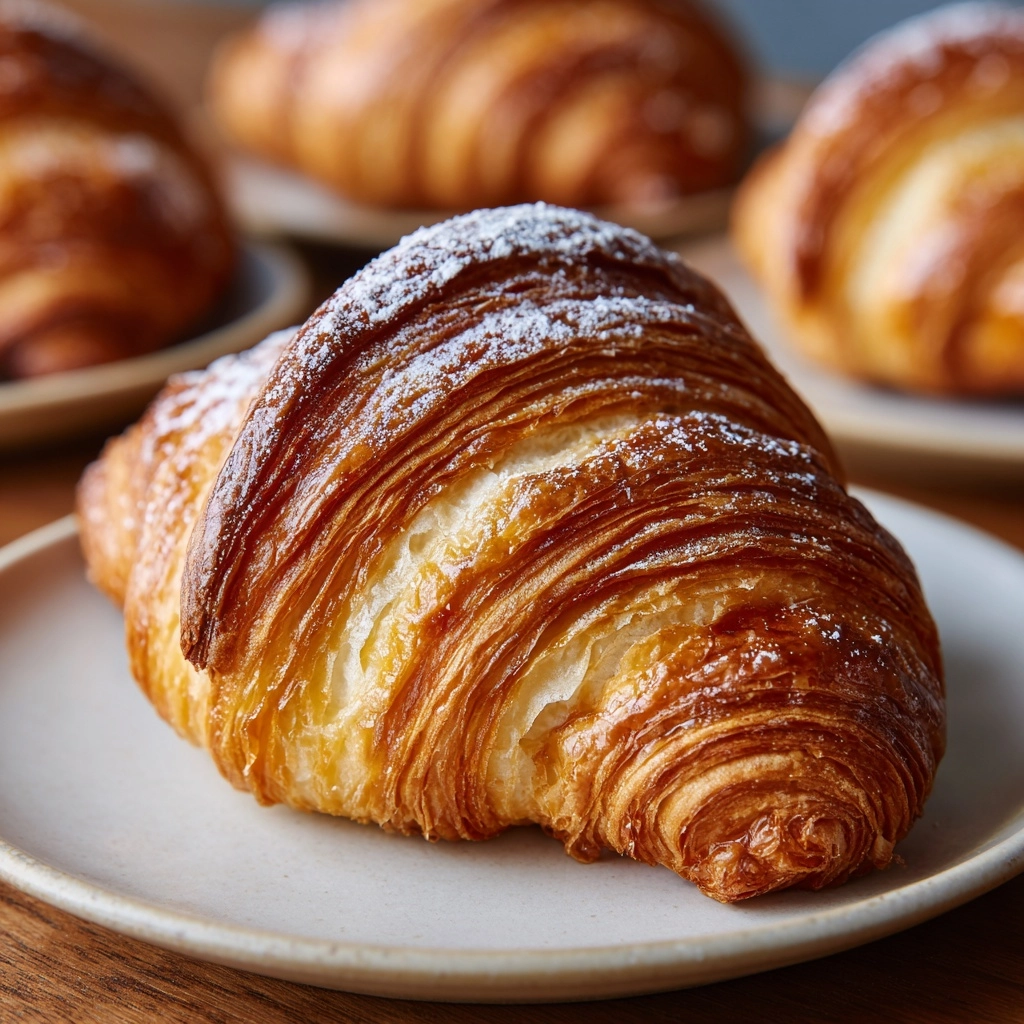
Picture this: a tray of freshly baked Classic Butter Croissants, golden and flaky outside, with buttery, tender layers melting in your mouth. If you’ve always dreamed of mastering real French bakery croissants at home, this recipe will be your new weekend favorite. The process is deeply satisfying, the aroma is irresistible, and the payoff is a batch of croissants so delicious you’ll want to brag about them to everyone you know. Whether you’re sharing them for brunch or savoring a quiet moment with coffee, Classic Butter Croissants bring true Parisian magic to your kitchen.

Ingredients You’ll Need
You only need a handful of pantry staples to make these Classic Butter Croissants, but each ingredient plays a crucial role in building those signature airy, pull-apart layers. Here’s what you’ll need and why each one matters.
- All-purpose flour: The backbone of your dough, giving structure while staying light for flaky layers.
- Granulated sugar: Not just sweetness; it also promotes a beautiful golden crust and tender crumb.
- Active dry yeast: This brings the magic of rising, creating those airy pockets croissants are famous for.
- Salt: Vital for flavor, balancing richness and sweet notes while enhancing the buttery, savory taste.
- Whole milk (warm): Adds softness and richness, and helps activate the yeast for a perfect rise.
- Water (warm): Keeps the dough light and helps dissolve both sugar and yeast in the first stage.
- Unsalted butter (cold): The star of the show—layered for those legendary flakes and deep flavor.
- Large egg (for egg wash): Brushed on before baking for a shiny, gorgeous finish.
- Extra flour for dusting: Helps roll the dough smoothly and prevents sticking during all those turns.
How to Make Classic Butter Croissants
Step 1: Activate the Yeast
Start by whisking together warm milk, warm water, sugar, and yeast in a large mixing bowl. Let this sit for 5 to 10 minutes until it gets foamy—the telltale sign your yeast is alive and ready to lift your dough. This step is key for light, airy croissants, so don’t rush it!
Step 2: Make the Dough
Add the flour and salt to your yeast mixture, stirring until a shaggy dough forms. Give it a brief knead—just until it comes together—and then cover and refrigerate it for 30 minutes. This resting time lets the gluten relax, making your dough easier to roll out later for those Classic Butter Croissants layers.
Step 3: Prepare the Butter Block
Take your cold butter and place it between two sheets of parchment paper. Using a rolling pin, pound and roll it into a thin 7×7-inch square. The cold, flattened butter is what creates those classic, flaky layers. Pop it back in the fridge to firm up while your dough chills.
Step 4: Enclose the Butter
Roll the chilled dough into a 10×10-inch square on a floured surface. Place the firm butter square in the center, turned like a diamond. Fold each corner of dough over the butter, closing it up like an envelope. This step is the start of your croissant’s irresistible layers.
Step 5: Laminate the Dough
Roll the package out into a long 20×10-inch rectangle. Now fold it in thirds, like a letter—this is your first “turn.” Chill the dough for 30 minutes before repeating the rolling and folding process two more times (for a total of three turns). Keeping everything cold at this stage is crucial for those signature layers in Classic Butter Croissants.
Step 6: Shape the Croissants
After the final chill, roll the dough out again into a 20×10-inch rectangle. Cut it into long triangles, then gently but firmly roll each one from the wide end to the tip, forming a classic crescent shape. Place your shaped croissants on a parchment-lined baking sheet.
Step 7: Let Them Rise
Loosely cover the croissants and let them rise at room temperature for 1 to 2 hours, or until puffy. Patience here means lighter, airier pastries once baked—so let the yeast do its job and puff up those Classic Butter Croissants to perfection.
Step 8: Bake to Perfection
Preheat your oven to 400°F (200°C). Give each croissant a generous brush of egg wash for a deep golden shine. Bake for 18 to 22 minutes, until your kitchen smells like heaven and your croissants are beautifully browned and crisp. Let them cool slightly before you dig in (if you can wait!).
How to Serve Classic Butter Croissants
Garnishes
A sprinkle of powdered sugar or maybe a dollop of your favorite fruit jam on the side adds flair without overpowering the buttery layers. For an ultra-French touch, serve with a little pot of homemade berry or apricot preserves, or drizzle with honey just before serving.
Side Dishes
The Classic Butter Croissants shine alongside simple sides: think fresh seasonal fruit, a bowl of creamy yogurt, or scrambled eggs. For an elegant brunch, pair them with a cheese board or thinly sliced smoked salmon for a sophisticated flavor contrast.
Creative Ways to Present
Serve on a big platter for a weekend breakfast feast, or plate individually on colorful dishes for casual elegance. If you’re hosting a gathering, cut croissants in half and fill with ham, cheese, or herbed cream cheese—instant mini sandwiches everyone will love.
Make Ahead and Storage
Storing Leftovers
If you’re lucky enough to have leftover Classic Butter Croissants, store them in an airtight container at room temperature for up to two days. They’ll stay delightfully fresh and perfectly soft-to-crisp for snacking or breakfast on the go.
Freezing
For longer keeping, let the croissants cool completely, then wrap each tightly in plastic wrap and freeze in a zip-top bag. They’ll keep beautifully for up to two months—just remember to thaw at room temperature when you’re ready to enjoy.
Reheating
To revive their flakiness, reheat thawed croissants in a 325°F (165°C) oven for 8 to 10 minutes. This brings back that just-baked crispness and buttery aroma you love. Skip the microwave, as it tends to make them chewy instead of light and crispy.
FAQs
What if my dough tears or butter leaks out while rolling?
Don’t panic—sometimes dough misbehaves! If you notice butter peeking through, dust with a bit more flour and chill the dough to firm it up. Working quickly and keeping everything cold is the best defense, and minor tears won’t ruin your batch.
Can I use instant yeast instead of active dry yeast?
Absolutely! Instant yeast works well. Skip the initial proofing step and mix it directly with the flour. Keep everything else the same for fabulous results.
Why is cold butter so important for Classic Butter Croissants?
Cold butter keeps everything layered instead of melting into the dough, which is the secret to those dreamy, crisp, and flaky croissant layers. Warm butter blends too much into the dough, giving you a more bread-like texture—so always keep it chilled!
Can I make the dough ahead of time?
Yes—you can prepare the dough the night before and keep it wrapped in the fridge. In the morning, shape, proof, and bake for fresh Classic Butter Croissants without an early-morning marathon.
How do I know when the croissants are done baking?
They’ll be rich golden brown all over, with crisp, beautifully layered exteriors. Lift one gently to check the bottom; it should sound hollow when tapped. Let them cool briefly so you don’t burn your tongue in your eagerness!
Final Thoughts
There’s nothing quite as satisfying as pulling a batch of Classic Butter Croissants from your oven, feeling the anticipation build as layers crackle under your fingertips. I hope you give this recipe a try—you truly can create that magical, café-quality treat at home. Your mornings (and anyone you share them with) will thank you!