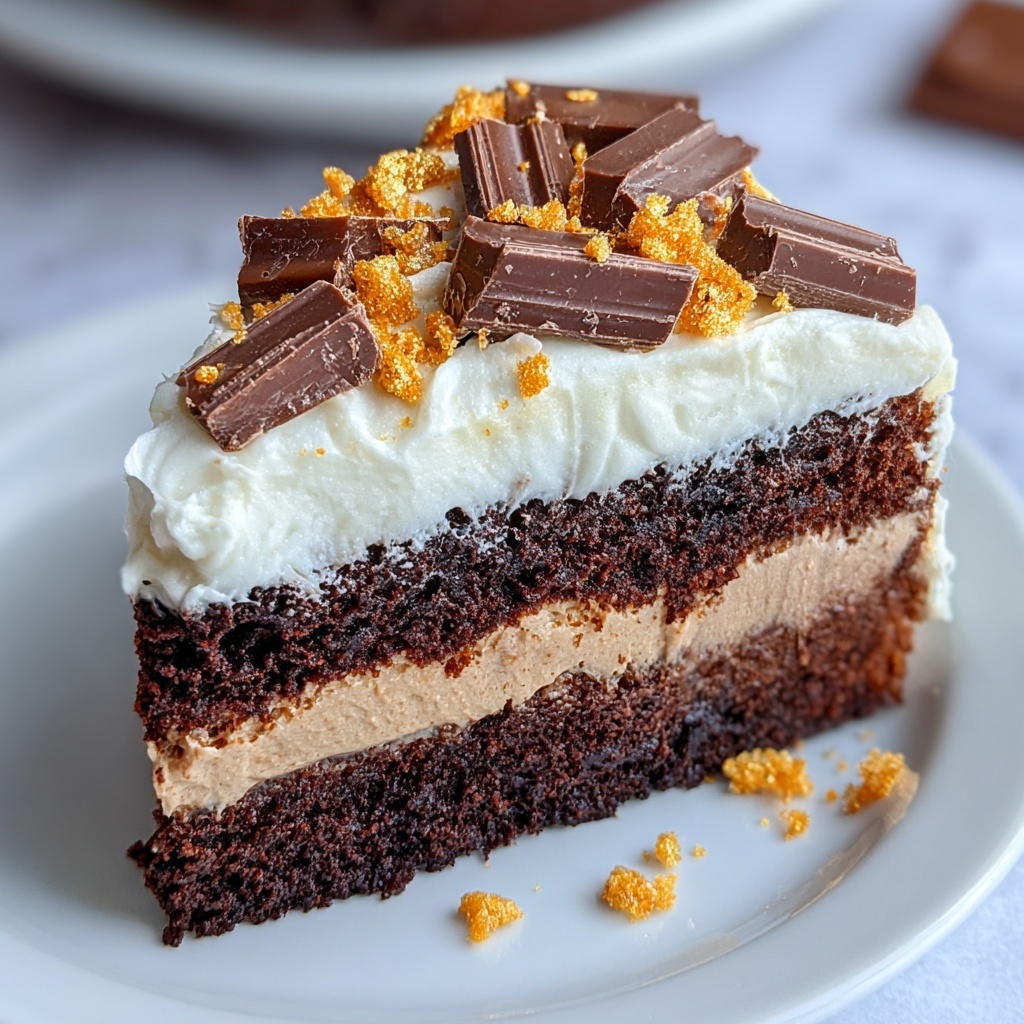
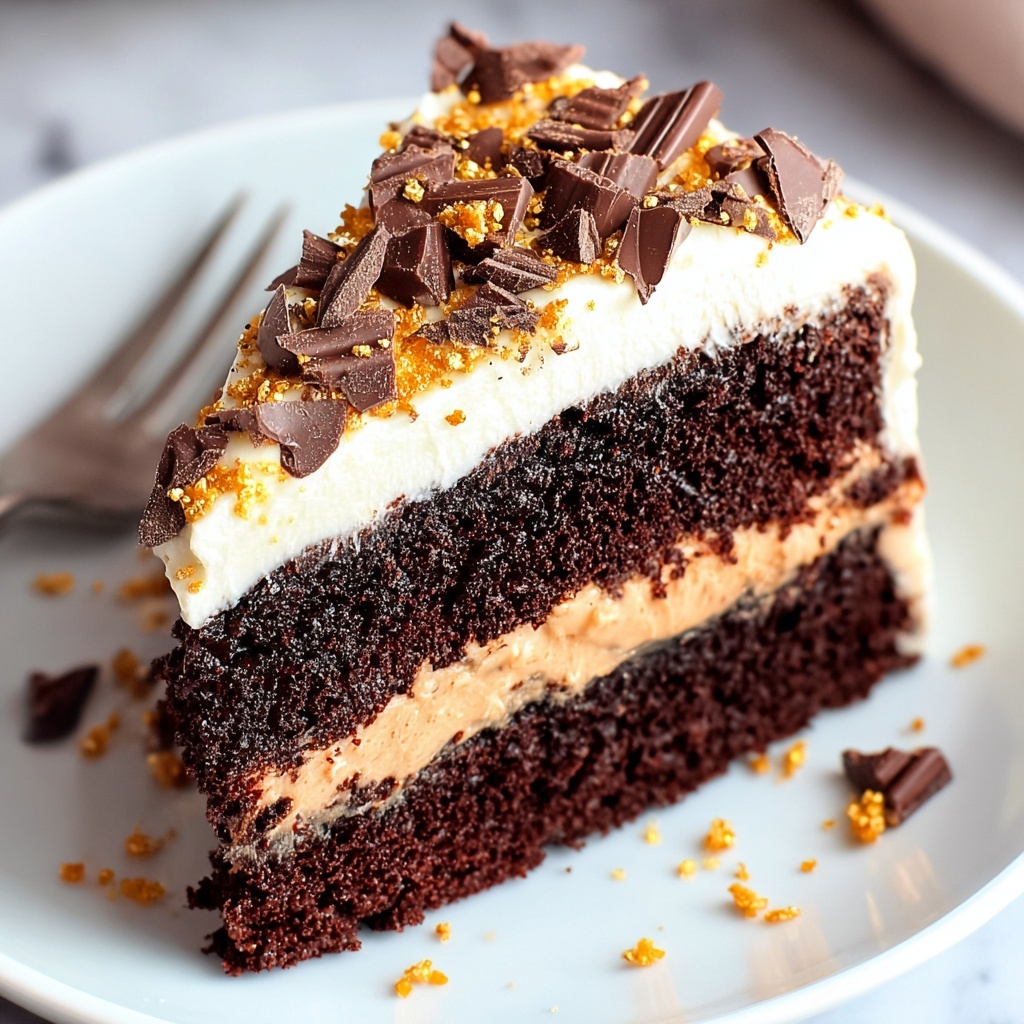
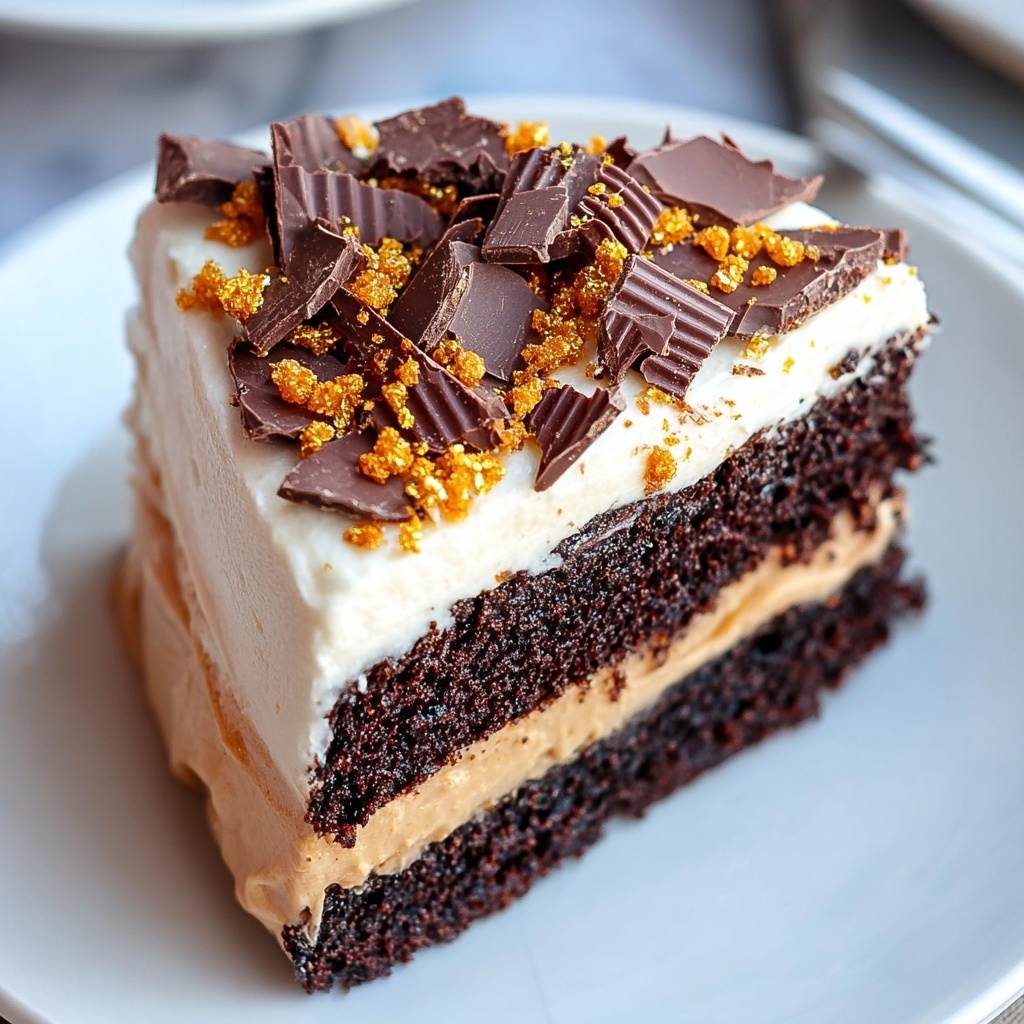
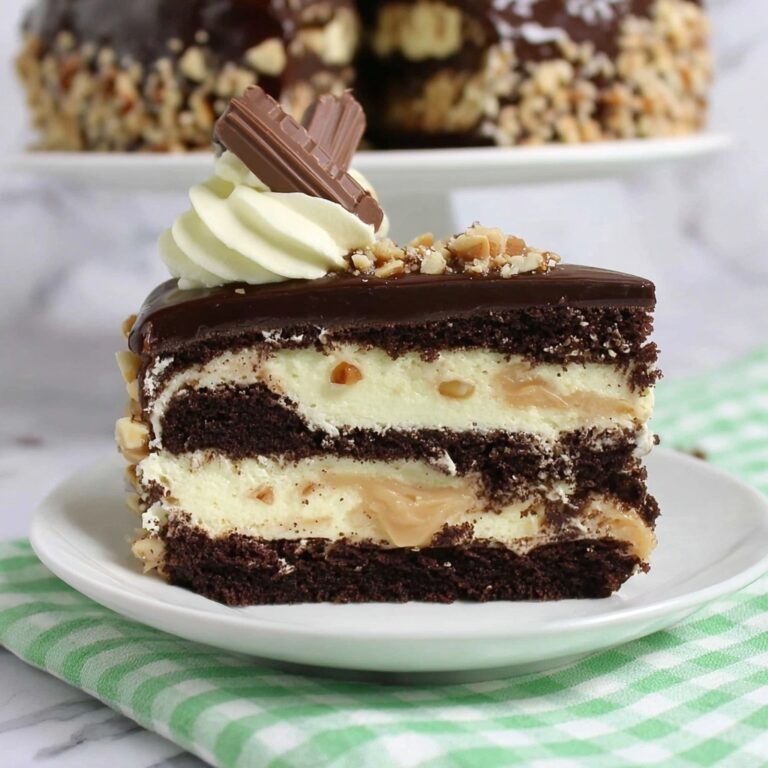
If you are ready to embark on a sensational dessert adventure, the Butterfinger Bomb Cake Recipe is your perfect ticket. This rich and irresistible chocolate cake is layered with a luscious peanut butter frosting and generous chunks of crunchy Butterfinger candy bars that add just the right amount of texture and sweetness. Every bite is a delightful explosion of flavors and a celebration of classic candy bar goodness transformed into a stunning homemade treat. Whether for a special occasion or a cozy weekend indulgence, this Butterfinger Bomb Cake Recipe will quickly become a cherished favorite.
Ingredients You’ll Need
The magic of the Butterfinger Bomb Cake Recipe lies in its simple yet essential ingredients. Each one plays a crucial role, whether it’s the moist chocolate base, the creamy peanut butter frosting, or the signature Butterfinger crunch that brings it all together.
- Chocolate cake mix (15.25 oz): Provides a rich, moist chocolate foundation with ease and consistency.
- 3 large eggs: Help bind ingredients together while adding richness.
- 1 cup water: Keeps the cake batter smooth and ensures a tender crumb.
- 1 cup creamy peanut butter: Adds a nutty depth and creamy texture to the frosting.
- 1/2 cup unsalted butter, softened: Contributes to the smooth, fluffy consistency of the frosting.
- 4 cups powdered sugar: Sweetens and thickens the peanut butter frosting to the perfect spreadable texture.
- 2 Butterfinger candy bars, chopped: Bring that iconic crispy peanut butter goodness, perfectly scattered in the layers and on top.
How to Make Butterfinger Bomb Cake Recipe
Step 1: Prepare Your Pans and Oven
Begin by preheating your oven to 350°F (175°C). While it warms up, grease two round cake pans thoroughly to ensure your cakes come out cleanly and maintain their shape beautifully.
Step 2: Mix the Cake Batter
In a large bowl, combine the chocolate cake mix, eggs, and water. Stir gently but thoroughly until you achieve a smooth, even batter with no lumps. This step is key to ensuring your cake layers are perfectly moist and tender.
Step 3: Bake the Cake Layers
Evenly divide the batter between the two prepared pans. Slide them into your preheated oven and bake for 25 to 30 minutes. You’ll know they’re ready when a toothpick inserted into the center comes out clean. Then, let the cakes cool completely before moving on.
Step 4: Make the Peanut Butter Frosting
While the cakes cool, beat together the creamy peanut butter and softened butter until the mixture turns smooth and fluffy. Gradually add the powdered sugar, continuing to mix until you get a light, spreadable frosting that perfectly complements the chocolate base.
Step 5: Assemble the Cake
Place one cooled cake layer on your serving plate, then generously spread half of the peanut butter frosting over it. Sprinkle with chopped Butterfinger pieces to add crunch and surprise in every bite. This layering is what makes the Butterfinger Bomb Cake Recipe truly stand out.
Step 6: Final Layer and Decoration
Top with the second cake layer and carefully spread the remaining frosting across the entire surface. To finish, scatter more chopped Butterfinger pieces on top. This not only adds texture but makes your cake look stunning and inviting.
How to Serve Butterfinger Bomb Cake Recipe
Garnishes
Adding a few extra Butterfinger pieces on top instantly boosts presentation and crunch. For an elegant touch, consider a light dusting of cocoa powder or a drizzle of melted chocolate over the frosting. These simple additions make the cake even more irresistible.
Side Dishes
This cake pairs wonderfully with a scoop of vanilla or coffee ice cream, offering a cold contrast to the rich and creamy cake. Fresh berries or a simple fruit compote can also add a refreshing burst of flavor to balance the richness.
Creative Ways to Present
Try serving the Butterfinger Bomb Cake Recipe as mini cake slices on dessert plates with a single Butterfinger shard as a garnish. You can also turn it into cupcakes using the same batter and frosting, topping each with a small Butterfinger piece for a portable treat that keeps the excitement of the full cake.
Make Ahead and Storage
Storing Leftovers
Once fully assembled, cover your Butterfinger Bomb Cake with plastic wrap or store it in an airtight container in the refrigerator. It will stay fresh and tasty for up to 4 days, giving you plenty of time to enjoy every bite.
Freezing
If you want to save some for later, freeze the cake wrapped tightly in plastic wrap and then foil. It will last for up to 2 months. When ready, thaw overnight in the refrigerator before serving to maintain the perfect texture.
Reheating
This cake is best served at room temperature, but if you prefer it slightly warmed, take a slice out and let it sit at room temp for a bit or microwave it for about 10 seconds. Be careful not to melt the frosting too much.
FAQs
Can I use homemade cake instead of box mix?
Absolutely! While the recipe uses box mix for convenience, a rich homemade chocolate cake will work beautifully and add a personal touch to the Butterfinger Bomb Cake Recipe.
Can I substitute peanut butter with another nut butter?
You can try almond or cashew butter, but keep in mind it will alter the classic flavor profile that sets this cake apart. Peanut butter’s creamy, slightly salty taste is key to the signature frosting.
Are there alternatives if I don’t have Butterfinger bars?
If Butterfinger bars aren’t available, any crispy peanut butter candy bar will work, or even chopped peanut brittle for a similar crunch and sweetness. However, the unique texture of Butterfinger is part of what makes this cake special.
Is this cake suitable for kids?
Definitely! This cake is a hit with kids thanks to its sweet chocolate and peanut butter combination, plus fun candies. Just be aware it contains peanuts and eggs if allergies are a concern.
Can I make this gluten-free?
To make it gluten-free, use a gluten-free chocolate cake mix. The rest of the ingredients are naturally gluten-free, making this a straightforward swap for those with dietary needs.
Final Thoughts
There’s something incredibly satisfying about creating a dessert that brings together the nostalgic crunch of Butterfinger bars with the rich, comforting flavors of chocolate and peanut butter frosting. The Butterfinger Bomb Cake Recipe is more than just a cake; it’s a celebration of textures and tastes that everyone will rave about. So go ahead, dive into this delight, and watch it become your go-to dessert for any occasion.
Print
Butterfinger Bomb Cake Recipe
- Prep Time: 30 minutes
- Cook Time: 30 minutes
- Total Time: 1 hour
- Yield: 12 slices
- Category: Dessert
- Method: Baking
- Cuisine: American
Description
This indulgent Butterfinger Bomb Cake combines moist chocolate cake layers with a creamy peanut butter frosting and crunchy Butterfinger candy pieces, creating a rich and satisfying dessert perfect for celebrations or any sweet craving.
Ingredients
Cake
- 1 box chocolate cake mix (15.25 oz)
- 3 large eggs
- 1 cup water
Frosting
- 1 cup creamy peanut butter
- 1/2 cup unsalted butter, softened
- 4 cups powdered sugar
Topping
- 2 Butterfinger candy bars, chopped
Instructions
- Preheat and Prepare Pans: Preheat your oven to 350°F (175°C) and grease two round cake pans to ensure the cake layers don’t stick.
- Mix Cake Batter: In a large bowl, combine the chocolate cake mix, eggs, and water. Mix thoroughly until the batter is smooth and well combined.
- Bake Cake Layers: Evenly divide the batter between the two prepared pans. Bake in the preheated oven for 25-30 minutes, or until a toothpick inserted in the center comes out clean. Remove from oven and allow to cool completely.
- Prepare Frosting: While the cakes are cooling, beat the peanut butter and softened butter together until creamy. Gradually add the powdered sugar, mixing continuously until the frosting is light and fluffy.
- Assemble Cake – First Layer: Place one cooled cake layer on a serving plate. Spread half of the peanut butter frosting evenly over the cake. Sprinkle a generous amount of chopped Butterfinger candy pieces on top of the frosting for added crunch and flavor.
- Assemble Cake – Second Layer and Finish: Place the second cake layer on top of the frosted and sprinkled layer. Spread the remaining frosting over the top and sides of the cake. Garnish the top with additional chopped Butterfinger candy pieces to complete the cake.
Notes
- Ensure cakes are completely cool before frosting to prevent melting.
- Use room temperature butter for the frosting to achieve the best creamy texture.
- You can substitute Butterfinger candy bars with similar peanut butter crunchy candies if preferred.
- Store the cake in an airtight container at room temperature for up to 2 days or refrigerate for up to 5 days.
- Allow refrigerated cake to come to room temperature before serving for optimal flavor and texture.


