“`html
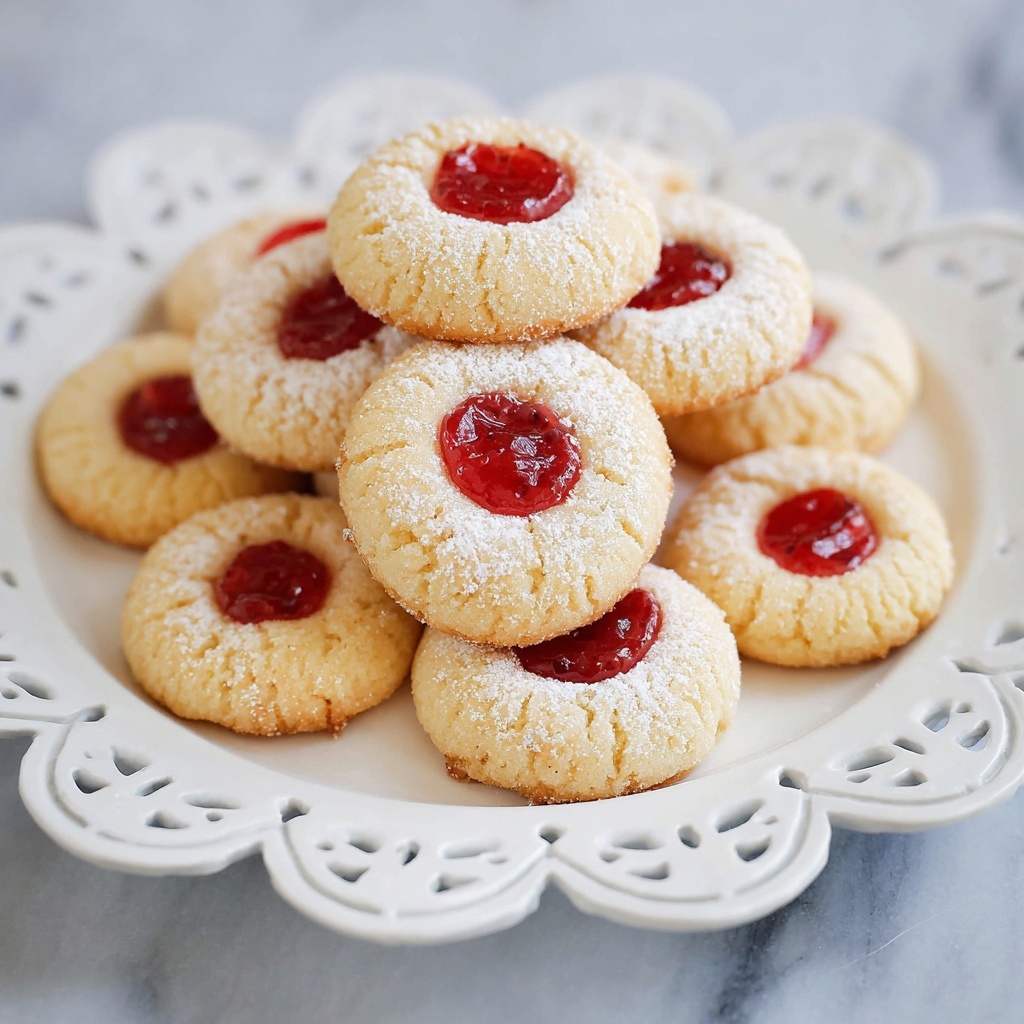
If you are on the hunt for a charming, classic treat that brings together buttery richness and a burst of fruity sweetness, this Jam Thumbprint Cookies Recipe is just the thing to brighten your day. These delightful cookies feature a tender, melt-in-your-mouth dough with a perfectly nestled dollop of your favorite jam, creating a beautiful balance of textures and flavors that’s hard to resist. Whether you’re baking for a cozy afternoon tea, a festive holiday gathering, or just because, these cookies will quickly become a beloved staple in your recipe collection.
Ingredients You’ll Need
Gathering simple, quality ingredients is what makes this Jam Thumbprint Cookies Recipe truly shine. Each element plays a crucial role: buttery softness sets the base, sugars lend sweetness and texture, while the jam burst adds a lovely pop of color and flavor.
- 1 cup unsalted butter (softened): Provides a rich, creamy base and tender crumb that defines the cookie’s texture.
- 1/2 cup granulated sugar: Adds a crisp sweetness that balances the richness of the butter.
- 1/4 cup brown sugar (packed): Infuses a subtle caramel note and moisture to keep cookies soft.
- 1 egg: Binds the ingredients and adds structure without making cookies tough.
- 1 1/2 teaspoon vanilla extract: Brings warmth and depth, enhancing the overall flavor profile.
- 2 1/2 cups all-purpose flour: The foundation for the dough, creating that sturdy yet tender bite.
- 1/4 teaspoon baking soda: Helps cookies rise just enough to be fluffy.
- 1/4 teaspoon salt: Balances the sweetness and enhances all other flavors.
- 1/2 cup jam (your choice): Select your favorite fruit jam to infuse the cookies with bright, fruity goodness.
- Powdered sugar (for dusting): Adds a pretty, snowy finish that invites you to just dig in.
How to Make Jam Thumbprint Cookies Recipe
Step 1: Cream the Butter and Sugars
Start by placing your softened butter along with the granulated and brown sugars into a large bowl. Beat these together with a hand mixer or stand mixer until the mixture is light and fluffy, which usually takes about 2 to 3 minutes. This step is key because it incorporates air, giving your cookies that irresistible, tender texture.
Step 2: Add Egg and Vanilla
Next, mix in the egg and vanilla extract, continuing to beat for another couple of minutes until fully combined. This not only binds your dough but also infuses the whole batch with a warm, inviting aroma that fills your kitchen with pure joy.
Step 3: Incorporate Dry Ingredients
Now, gradually add your flour, baking soda, and salt to the wet mixture. Beat everything gently until well blended into a soft dough. Be careful not to over-mix here, as you want to maintain that tender crumb without developing too much gluten.
Step 4: Chill the Dough
Transfer your dough onto a large piece of plastic wrap and shape it into a disk. Cover tightly and refrigerate for at least one hour, which helps the flavors meld and makes the dough easier to handle when shaping the cookies. You can even chill it for up to 3 days if you’re prepping ahead.
Step 5: Prepare to Bake
About 10 minutes before baking, take the dough out of the fridge to soften slightly, making it easier to roll into balls. This prevents cracking and helps the cookies bake evenly.
Step 6: Shape and Fill the Cookies
Preheat your oven to 375°F (190°C). Roll the dough into 1-inch balls and place them on baking sheets lined with silicone mats or parchment paper, spacing them about 3 inches apart. Using your thumb (or the back of a small spoon), gently press down the center of each cookie to make a small indentation. Be gentle to avoid cracking. Then, spoon about 1/2 teaspoon of your chosen jam into each thumbprint. The jam will bake into a jewel-like center.
Step 7: Chill Before Baking
Pop the trays of filled cookies into the freezer for 10 to 15 minutes until they’re firm. This extra chill step helps the cookies keep their shape while baking and prevents the jam from spreading too much.
Step 8: Bake to Perfection
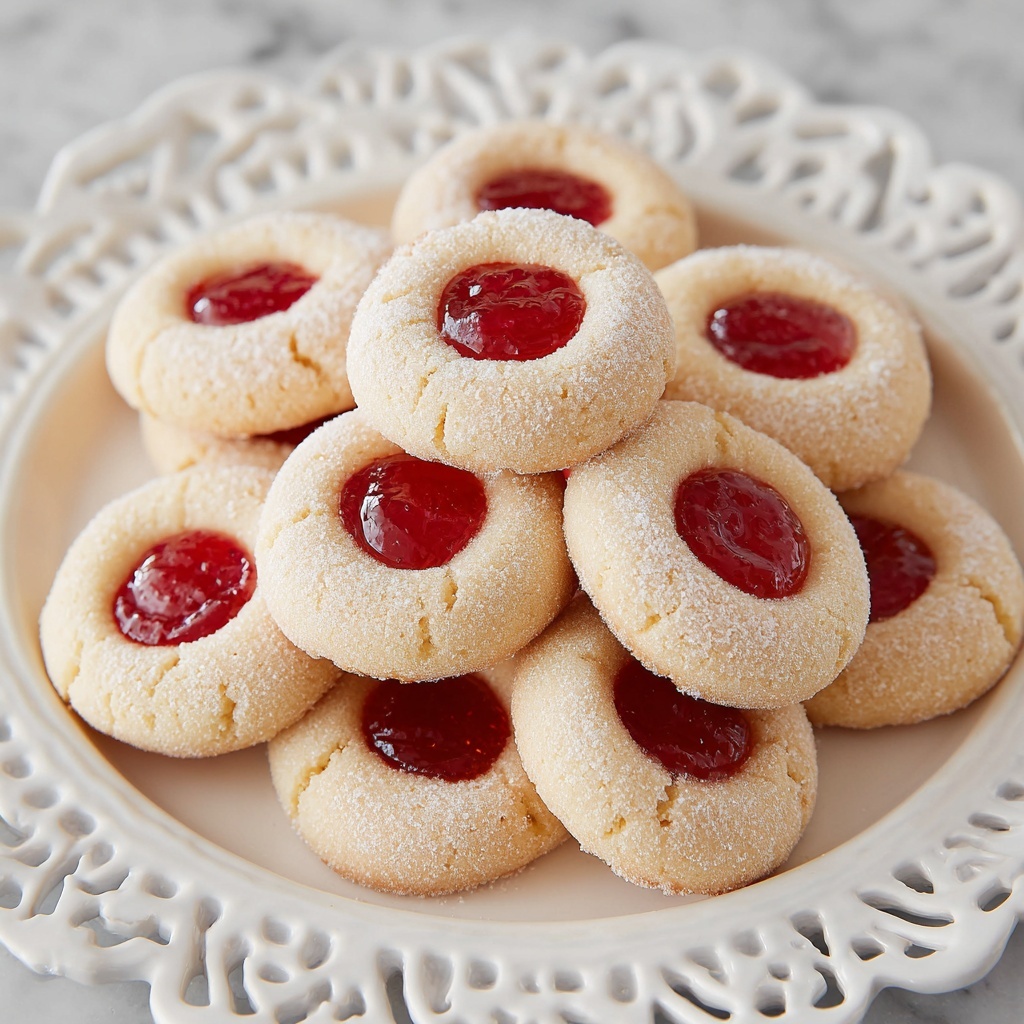
Bake the cookies for 10 to 11 minutes, or until their edges turn a delicate golden brown. Let them rest on the baking sheets for 5 minutes before transferring to a wire rack to cool completely. Once cool, dust with powdered sugar for a delicate, snowy finish that looks just as delightful as these cookies taste.
How to Serve Jam Thumbprint Cookies Recipe
Garnishes
Adding a final touch of powdered sugar gives these cookies a beautiful, festive look and a slight extra sweetness. Consider also sprinkling a few finely chopped nuts or a tiny drizzle of white chocolate over the jam to elevate their visual appeal and flavor complexity, perfect for sharing with guests or gifting.
Side Dishes
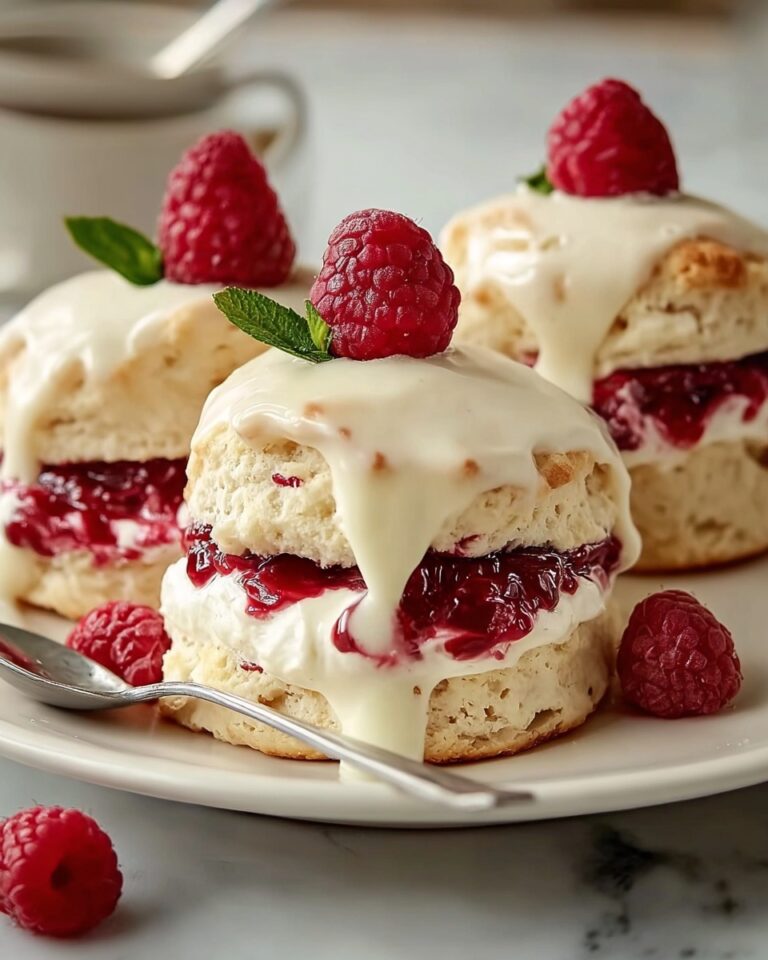
Jam Thumbprint Cookies are wonderfully versatile, but pairing them with a cup of hot tea or rich coffee really highlights their buttery softness and fruity sweetness. They also work beautifully alongside a scoop of vanilla ice cream or a dollop of whipped cream, turning a simple cookie into a delightful dessert experience.
Creative Ways to Present
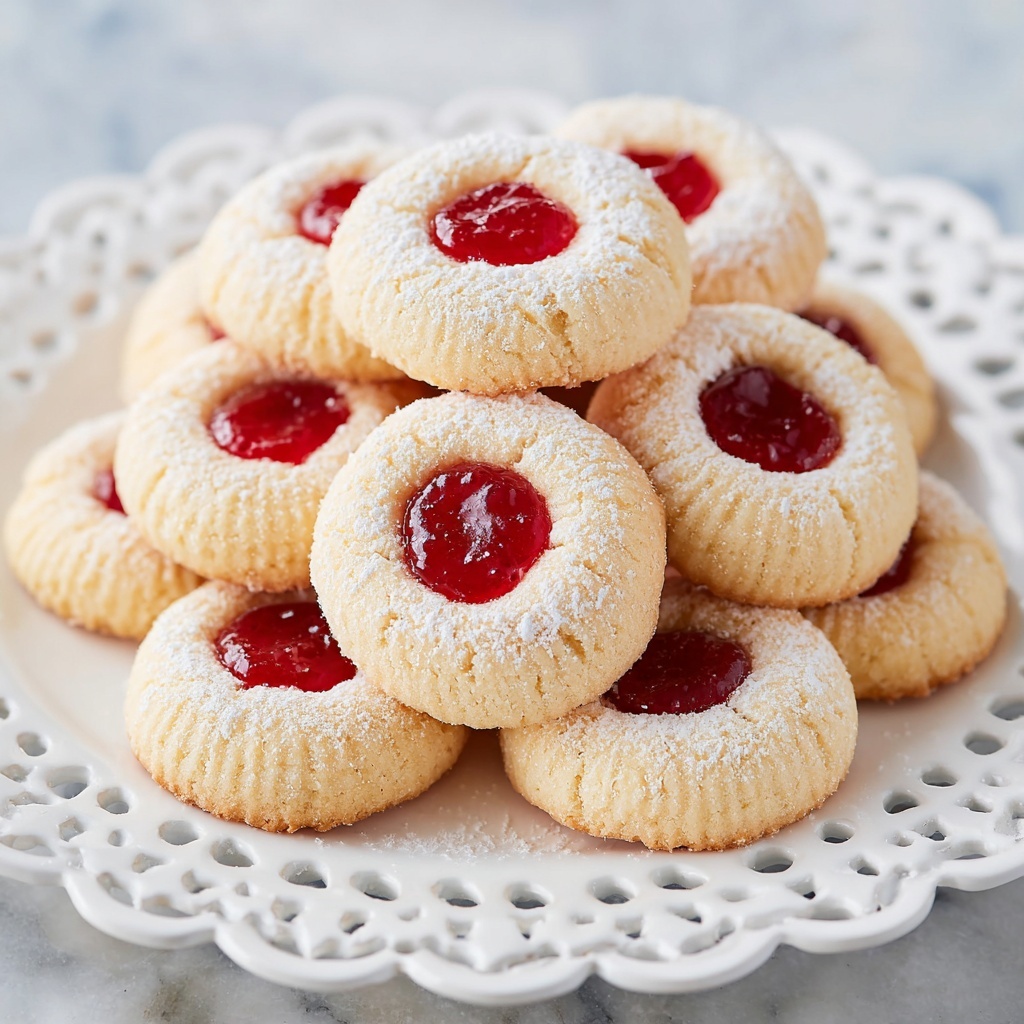
These cookies look incredible arranged on a pretty platter with an assortment of jams in small bowls for dipping or topping at the table. For a charming gift, package them in a decorative tin or wrap in clear cellophane tied with a ribbon. You could even customize the jam flavors for a colorful cookie bouquet that’s sure to wow anyone lucky enough to receive them.
Make Ahead and Storage
Storing Leftovers
You can store your baked Jam Thumbprint Cookies in an airtight container at room temperature for up to a week. This keeps them fresh and soft, allowing you to enjoy that buttery texture and jammy center any time you crave a sweet snack.
Freezing
If you want to make these cookies ahead of time, freeze the dough after shaping it into balls but before filling with jam. Thaw overnight in the fridge, then add the jam and bake as usual. Alternatively, you can freeze fully baked cookies in a sealed container for up to 3 months—just thaw at room temperature before serving.
Reheating
To refresh your Jam Thumbprint Cookies, warm them gently in a preheated oven at 300°F for about 5 minutes. This brings back that fresh-baked aroma and soft texture while keeping the jam gooey. Avoid microwaving, as the cookies can become chewy or lose their structure.
FAQs
Can I use any type of jam for this recipe?
Absolutely! One of the joys of the Jam Thumbprint Cookies Recipe is its versatility. Strawberry, raspberry, apricot, or even marmalade work wonderfully—choose your favorite or experiment with unique flavors to personalize your batch.
What if I don’t have baking soda? Can I substitute it?
While baking soda helps with slight leavening, you can substitute it with baking powder in a 3:1 ratio (use three times more baking powder than baking soda). Just keep in mind that the texture might be a bit different, potentially less crisp around the edges.
How do I prevent the cookies from cracking when making thumbprints?
Chilling the dough thoroughly before shaping is the best way to prevent cracks. Also, gently press your thumb or the back of a spoon without applying too much force. Keeping the dough slightly softened before rolling helps, too.
Can these cookies be made gluten-free?
Yes, you can swap the all-purpose flour with a gluten-free blend that measures cup-for-cup. Just ensure your blend contains xanthan gum or another binder to help the dough hold together properly.
What is the best way to store cookies with jam centers?
Store them in a single layer in an airtight container to avoid the jam sticking to other cookies. If stacking is necessary, place parchment paper between layers to keep them neat and intact.
Final Thoughts
There’s something incredibly comforting and joyful about baking these Jam Thumbprint Cookies Recipe from start to finish. The combination of buttery soft dough and a jewel-like jam center creates a treat that’s as fun to make as it is to eat. I encourage you to give this recipe a try and watch how it brings smiles to your loved ones — your baking adventures will be sweeter for it!
“`