If you love the warm, comforting flavors of a classic dessert, you will absolutely adore this Homemade Apple Pie Filling Recipe. It captures the essence of fresh apples simmered with buttery cinnamon and brown sugar to create a luscious filling that’s perfect for pies, crisps, or even spooning over pancakes. This recipe is a treasure because it is so simple, yet the combination of ingredients gives vibrant texture, balanced sweetness, and that cozy aroma we all crave. Plus, making your own filling means you control every element, ensuring freshness with nothing artificial—truly the heart of homemade goodness.
Ingredients You’ll Need
What’s fantastic about this Homemade Apple Pie Filling Recipe is how straightforward the ingredients are, but each one plays a crucial role in building flavor, texture, and that gorgeous golden color. Grab these essentials for a perfectly balanced filling.
- 8 medium apples: Choose firm, tart varieties like Granny Smith for their perfect balance of sweetness and texture that holds up well during cooking.
- ¼ cup unsalted butter: Adds richness and helps the apples caramelize slightly for deeper flavor.
- 2 teaspoons cinnamon: Infuses warmth and classic spice that brings the whole recipe together beautifully.
- ½ cup brown sugar (packed): Sweetens the apples with hints of molasses for a deeper, more complex sweetness.
- ¼ cup water: Keeps the filling moist while allowing the apples to soften perfectly without drying out.
- Pinch of salt: Enhances all the sweet and spicy notes, balancing the flavors just right.
- 2 tablespoons cornstarch: Acts as a natural thickener creating that luscious, slightly glossy consistency needed for a perfect pie filling.
How to Make Homemade Apple Pie Filling Recipe
Step 1: Prepare the Apples
The journey to delicious starts here—peel, core, and slice or chop your apples to your preferred size. Slicing gives classic pie-filling texture while chopping works wonderfully for crisps or tarts.
Step 2: Combine Butter, Cinnamon, and Apples
In a large skillet, melt the butter over medium heat and stir in the cinnamon until fragrant. Toss in the apples, brown sugar, water, and a pinch of salt. Cover the pan and let it cook gently for about 5 minutes until the apples start to soften but still hold their shape beautifully.
Step 3: Thicken the Filling
Mix the cornstarch with 2 tablespoons of water in a small bowl to make a slurry. Pour this into the skillet with the apples, stirring constantly. Cook for another minute or so until the mixture thickens to a perfect, scoopable consistency while ensuring the apples don’t become mushy.
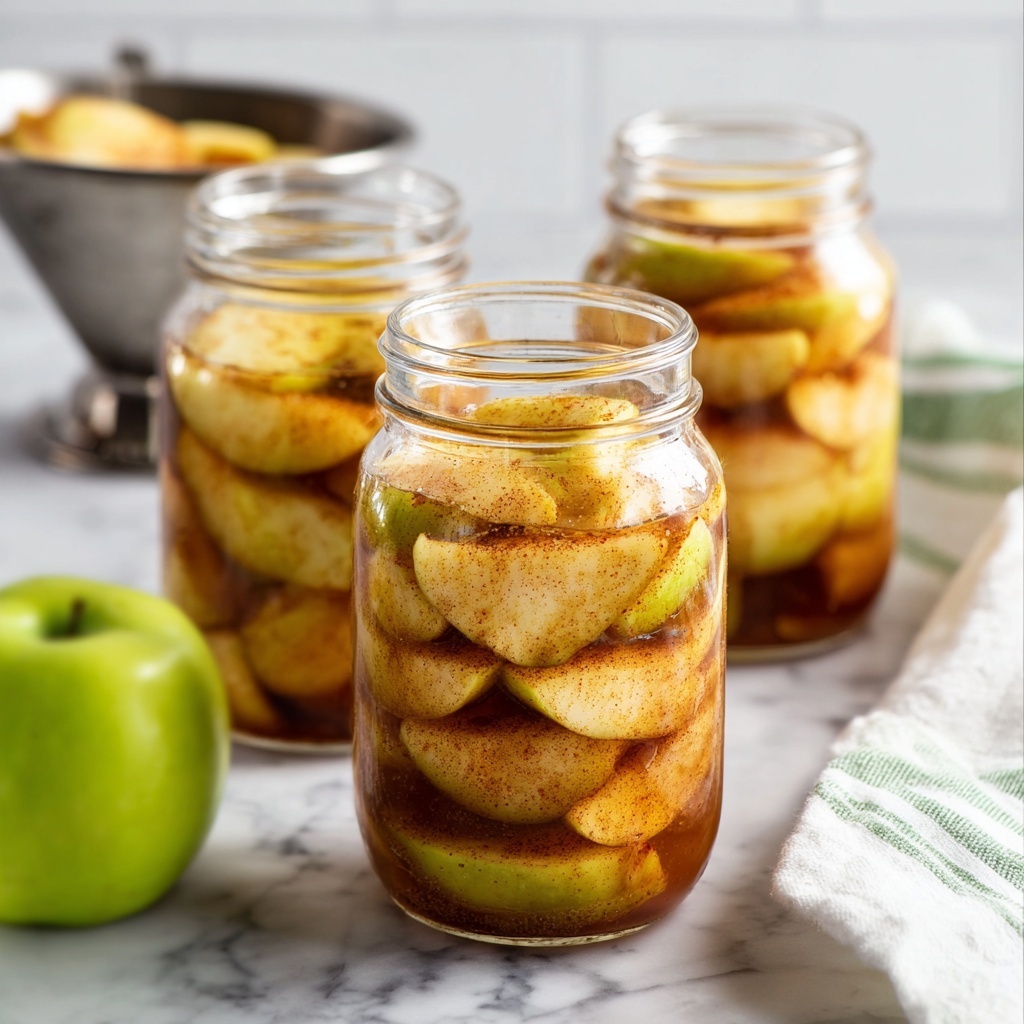
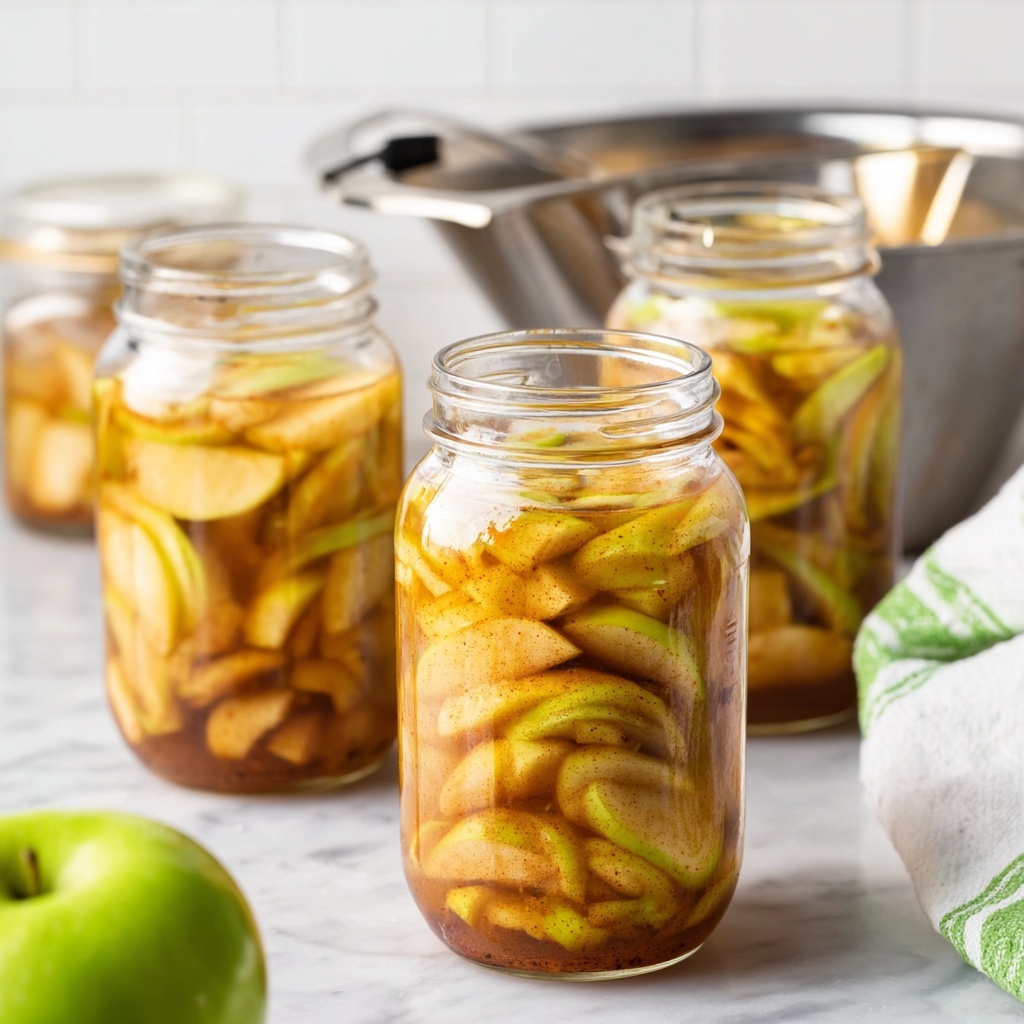
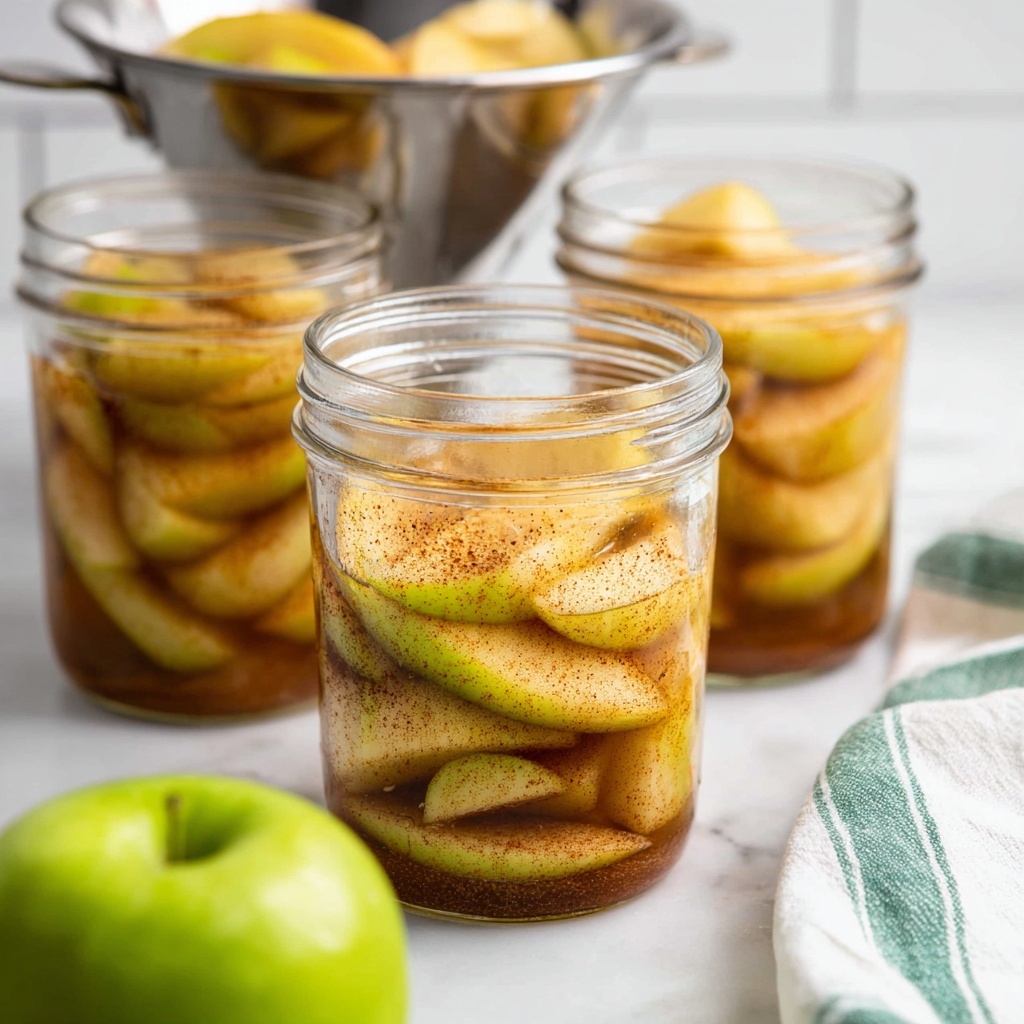
Step 4: Cool and Store
Once thickened, remove from heat and allow your homemade apple pie filling to cool completely. Transfer the filling into sterilized mason jars or freezer-safe bags, making about 4 jars each holding 12 ounces of luscious filling.
How to Serve Homemade Apple Pie Filling Recipe
Garnishes
Sprinkle a little extra cinnamon or even a handful of toasted pecans on top right before serving to add crunch and an inviting aroma. A dollop of whipped cream or vanilla ice cream takes every bite to the next level of indulgence.
Side Dishes
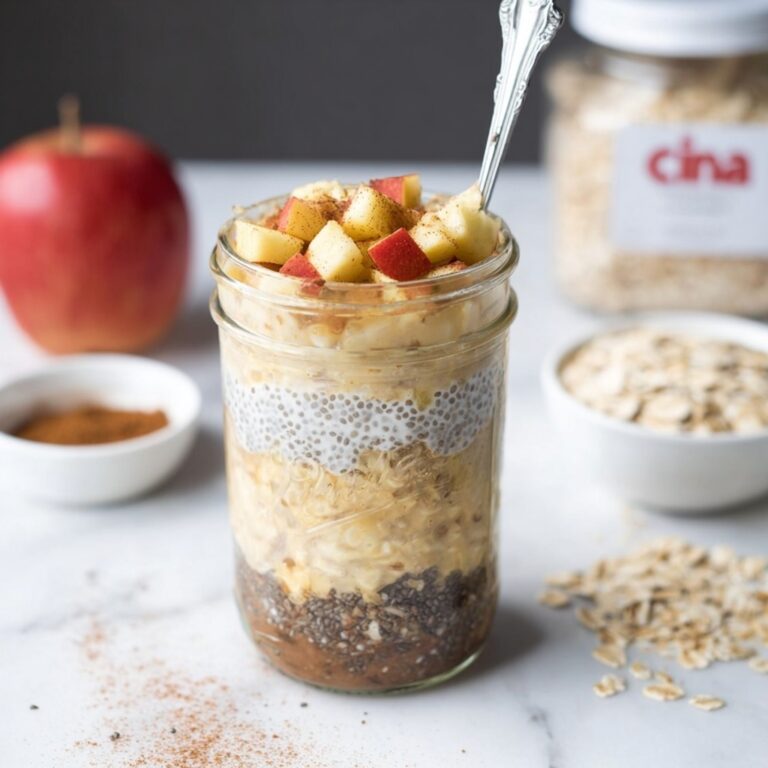
This filling pairs wonderfully with rustic vanilla ice cream, crumbly shortbread cookies, or buttered toast for a quick, comforting treat any time of day. Try serving it alongside oatmeal or yogurt for a wholesome breakfast boost.
Creative Ways to Present
Beyond traditional pie, use this filling as a vibrant topping for pancakes, waffles, or French toast. It’s equally fantastic layered in parfaits, swirled into coffee cake batter, or baked as a crisp topping to your favorite crumble dessert.
Make Ahead and Storage
Storing Leftovers
Keep any leftover apple pie filling refrigerated in an airtight container or tightly sealed jars for up to 5 days. This lets the flavors mature even more, making every spoonful as delicious as the first.
Freezing
This Homemade Apple Pie Filling Recipe is freezer-friendly, making it perfect for making batches ahead of busy days. Freeze in portioned, sealed freezer bags or containers for up to 3 months, then thaw overnight in the fridge before use.
Reheating
Warm the filling gently on the stovetop over low heat, stirring occasionally until heated through. You can also microwave it in short bursts, stirring frequently, so the texture stays just as wonderful as fresh-made.
FAQs
Can I use different types of apples for this recipe?
Absolutely! While tart apples like Granny Smith are ideal for balancing the sweet components, mixing in sweeter varieties like Fuji or Honeycrisp can add a lovely depth of flavor and varied texture.
Is it necessary to peel the apples?
Peeling helps achieve a smoother texture and classic pie filling look, but leaving the skin on adds extra nutrients and a bit more texture. It’s a personal choice depending on your preference.
Can I make this recipe vegan?
Yes! Simply substitute the unsalted butter with a vegan butter or coconut oil, and you’ll still achieve that rich, buttery taste and perfect cooking texture.
How thick should the filling be when done?
You want a thick but spoonable consistency—enough to hold its shape but not too stiff. The cornstarch helps achieve this glossy, luscious texture that clings beautifully to pie crusts or pancakes.
What can I do with extra homemade apple pie filling?
This filling is incredibly versatile—besides pies, use it in turnovers, atop oatmeal, as an ice cream sauce, or mix it into yogurt or cottage cheese for a quick, delicious snack.
Final Thoughts
Trust me, once you try this Homemade Apple Pie Filling Recipe, you’ll never want to buy canned filling again. It’s not just easy; it’s bursting with fresh flavor, perfect texture, and that warm cinnamon goodness that makes any day feel special. So go ahead, gather your ingredients, and make a batch to keep on hand—you’ll be amazed how often you’ll reach for it as your go-to delicious treat!