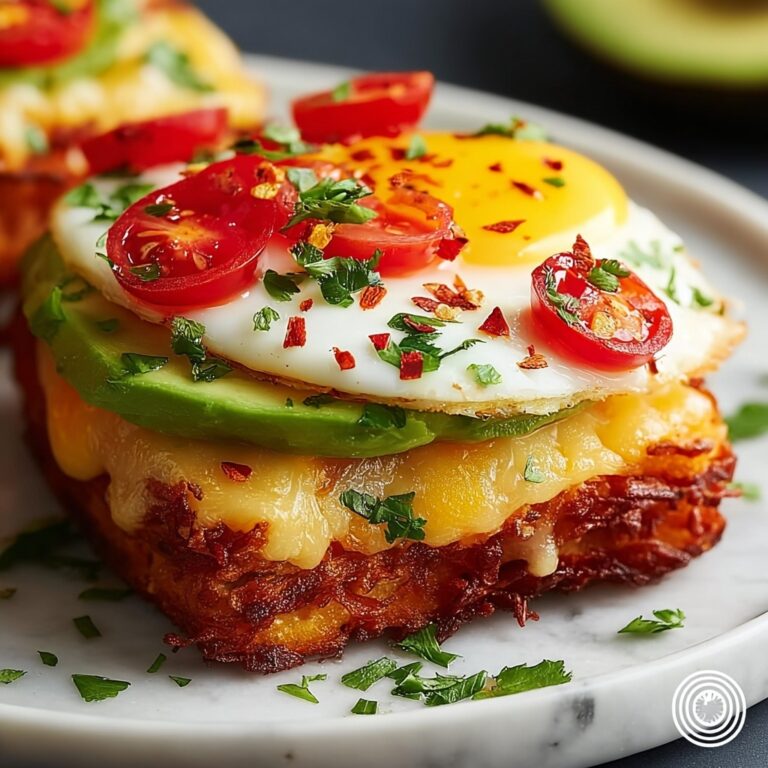
If you are searching for a delightful and easy breakfast that feels both special and satisfying, this Ham and Egg Cups Recipe is an absolute winner. Imagine perfectly baked eggs nestled inside savory ham slices with a melty core of cheddar cheese, offering a harmonious blend of smoky, creamy, and tender textures all in one bite. These cups are not only adorable and fun to eat but also great for meal prep or feeding a crowd without any fuss. Whether for a busy weekday morning or a weekend brunch, this recipe makes breakfast both effortless and exciting.

Ingredients You’ll Need
Simple, approachable ingredients are the heart of this recipe, each playing a vital role to build layers of flavor and texture. With only a handful of essentials, you’re well on your way to creating a comforting and protein-packed dish that dazzles.
- 10 large eggs: The star of the dish, eggs provide rich, creamy custard-like goodness once baked.
- 1/2 teaspoon salt: Essential for enhancing the egg flavor without overpowering it.
- 1 teaspoon pepper: Gives a touch of warmth and subtle spice to brighten the overall taste.
- 1 pound deli ham (thinly sliced): Acts as the perfect savory vessel, giving each cup a smoky, salty hug.
- 1 cup shredded cheddar cheese: Adds luscious creaminess and a hit of tangy sharpness.
- Optional: sliced green onions: For a fresh, mild onion burst that adds color and a bit of crunch.
How to Make Ham and Egg Cups Recipe
Step 1: Prepare Your Oven and Muffin Tin
Start by preheating your oven to 350°F. While it warms, spray a muffin tin liberally with nonstick cooking spray. This little step makes all the difference in easily releasing your ham and egg cups after baking, ensuring perfect shapes every time.
Step 2: Form the Ham Cups
Press each individual slice of deli ham firmly into the wells of the muffin tin. Shape the ham to create a “cup” that will hold your egg mixture securely. This step is where the magic begins — the ham crisps slightly during baking, giving a delightful contrast to the tender eggs inside.
Step 3: Add the Cheese
Next, spoon a heaping tablespoon of shredded cheddar cheese into each ham cup. The cheese melts under the heat, becoming gooey and rich, which perfectly complements the salty ham and creamy eggs that follow.
Step 4: Mix and Pour the Eggs
Whisk together the eggs, salt, and pepper in a medium bowl until blended smoothly. If you love a hint of fresh flavor, toss in those optional sliced green onions now. Pour this egg mixture gently over the cheese in each ham cup, filling them nearly to the top.
Step 5: Bake Until Set
Slide the muffin tin into your preheated oven and bake for 20 to 25 minutes. You want the eggs to be fully set but still tender, so keep an eye to avoid overcooking. When done, carefully run a knife around each cup’s edge to help lift them out without tearing.
How to Serve Ham and Egg Cups Recipe

Garnishes
These cups are fantastic on their own but come alive with a few thoughtful garnishes. Sprinkle fresh chopped chives or parsley on top for a fresh, vibrant look and a mild herbal note. A dollop of sour cream or a drizzle of hot sauce on the side can add creamy or spicy contrast to every bite.
Side Dishes
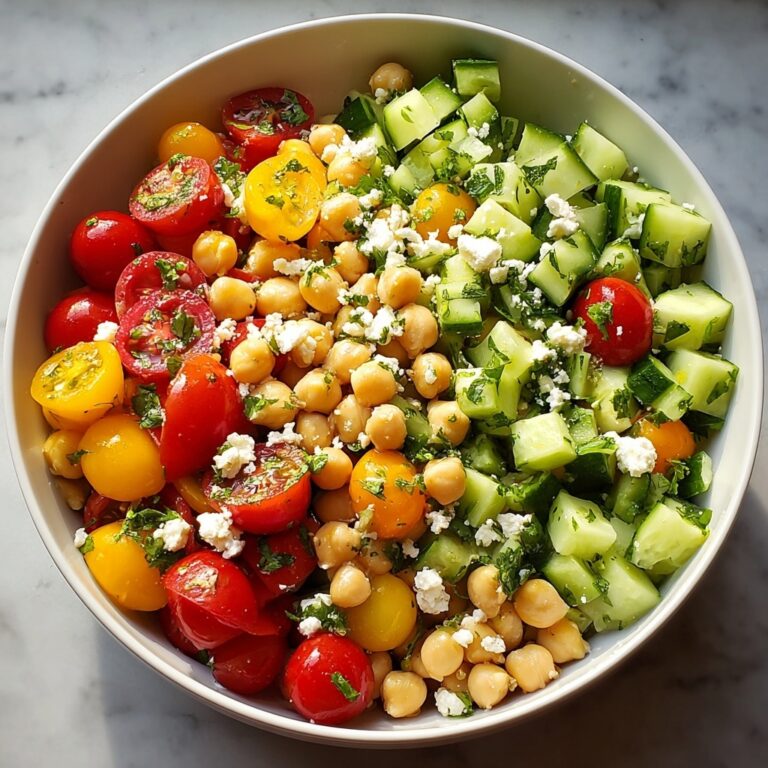
Pair your Ham and Egg Cups with lightly toasted English muffins or a crisp mixed green salad for a balanced meal. Roasted potatoes or a fruit salad also make bright, complementary sides that round out breakfast or brunch beautifully.
Creative Ways to Present
For entertaining, serve these egg cups on a decorative platter lined with baby spinach or arugula leaves to introduce some color and freshness. Alternatively, arrange them in a portable container for a grab-and-go breakfast that still feels homemade and special.
Make Ahead and Storage
Storing Leftovers
Ham and Egg Cups keep wonderfully in the refrigerator for up to 3 days. Store them in an airtight container to maintain their moisture and flavor, making them an excellent option for quick breakfasts on busy mornings.
Freezing
If you want to keep these delightful cups longer, freeze them individually wrapped in plastic wrap and placed inside a freezer bag. They can last up to one month, making meal prep even more convenient without any sacrifice in taste.
Reheating
When ready to enjoy, simply thaw refrigerated or frozen cups in the microwave for about 30 to 60 seconds until warmed through. You can also reheat them in a preheated oven at 325°F for about 10 minutes to preserve the cup’s texture and avoid rubberiness.
FAQs
Can I use a different type of cheese in the Ham and Egg Cups Recipe?
Absolutely! While cheddar is classic for its sharpness and meltiness, feel free to experiment with mozzarella for mild creaminess, pepper jack for a spicy kick, or even feta for a tangy twist.
Is this recipe suitable for meal prep?
Yes, definitely. These egg cups make excellent meal prep options since they store well in the fridge and can be quickly reheated for a nutritious breakfast or snack throughout the week.
Can I substitute the deli ham with bacon or turkey?
You can! Bacon will add extra crispiness and smoky flavor, whereas turkey slices offer a leaner, milder alternative. Just make sure to press the slices firmly to create sturdy cups for the eggs.
What if I don’t have a muffin tin?
A muffin tin is ideal for shaping and baking this dish, but if you don’t have one, try using small ramekins or oven-safe silicone molds to hold the ham and egg mixture during baking.
Can I add vegetables to the eggs?
Yes! Finely chopped vegetables like bell peppers, spinach, or mushrooms can be whisked into the eggs for added nutrition and flavor. Just be sure to keep the veggies finely chopped so the eggs still bake evenly inside the ham cups.
Final Thoughts
I truly hope you give this Ham and Egg Cups Recipe a try, especially if you’re after a breakfast that impresses without the complication. It’s a little bite of comfort and elegance all at once, perfect for sharing or indulging solo. Once you taste these delightful cups, they’re sure to become a beloved staple in your kitchen, just like they are in mine.