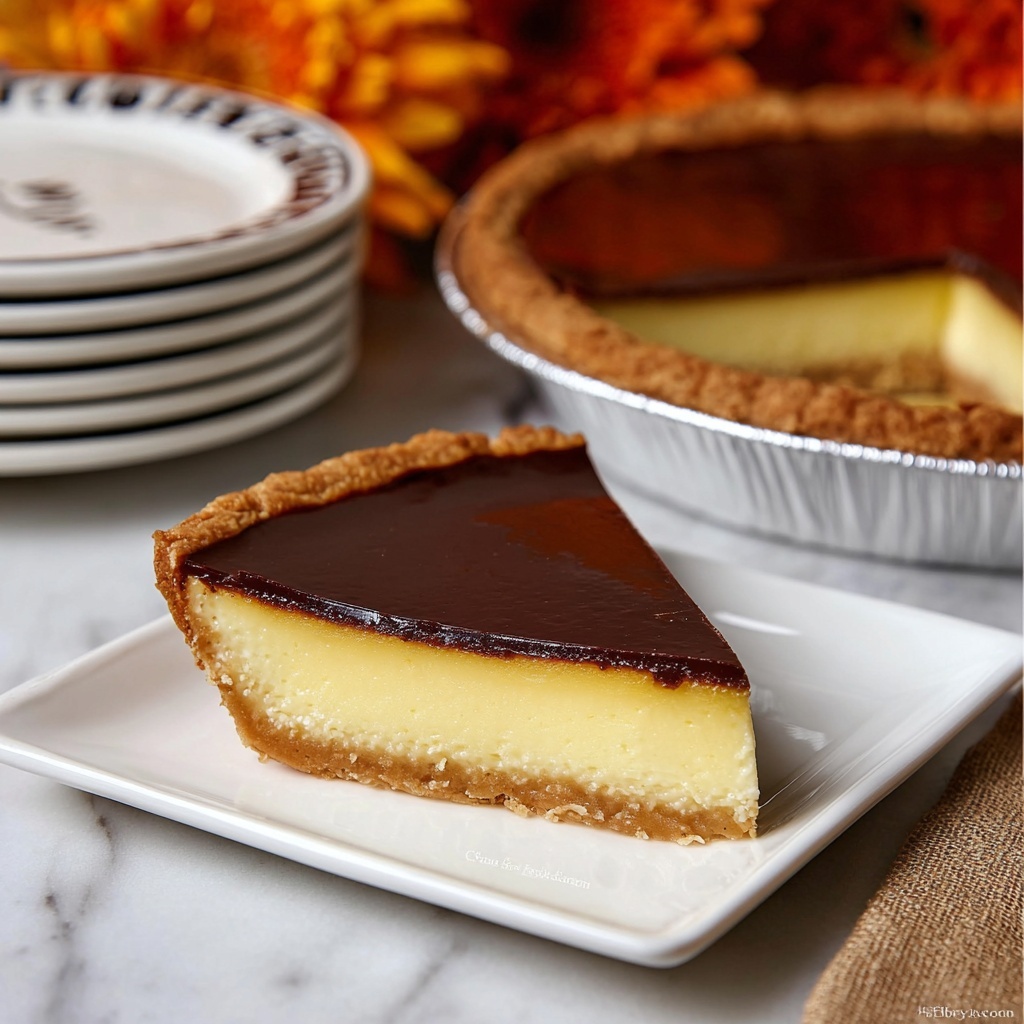
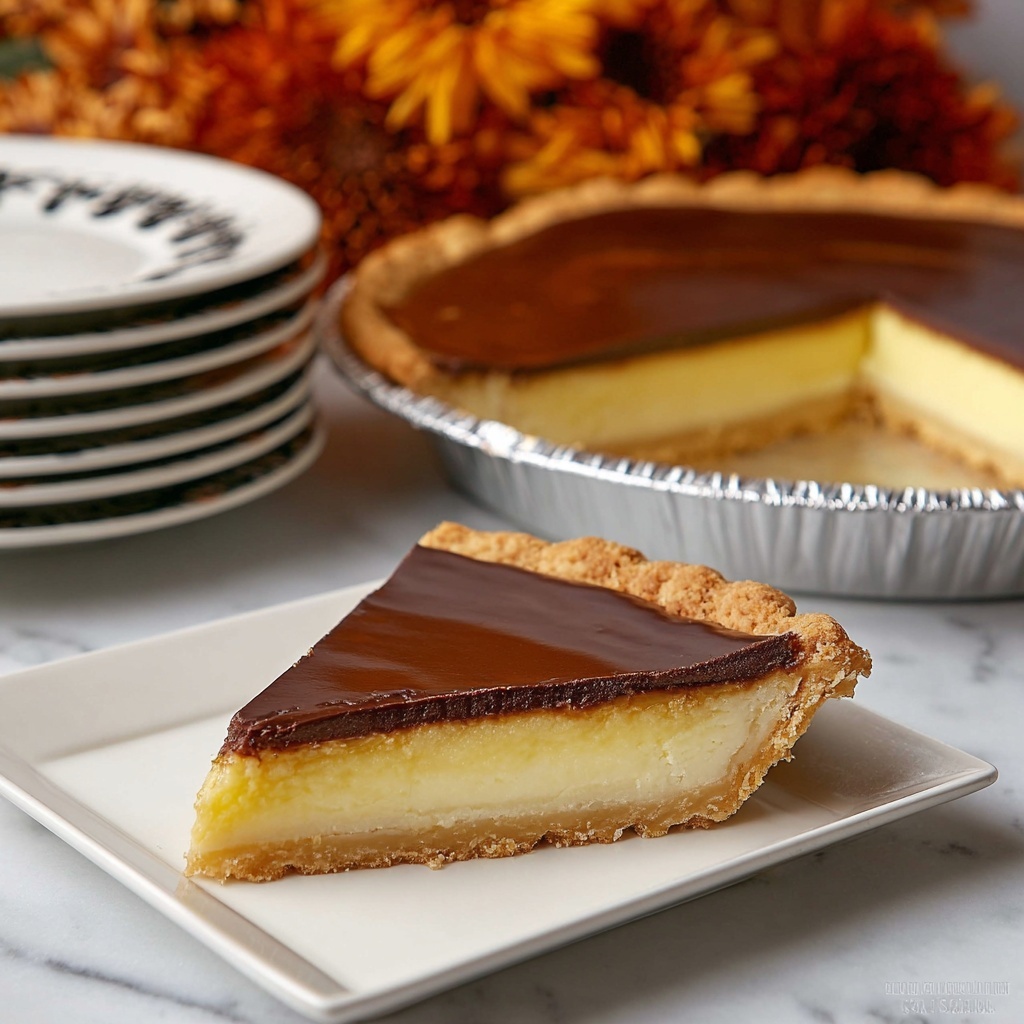
If you’ve never tried a rich, velvety pie that magically balances sweetness with just the right tang, then this Chocolate Buttermilk Pie Recipe is about to become your new favorite indulgence. Imagine a luscious chocolate filling made silky with buttermilk, baked into a golden crust that holds the perfect melt-in-your-mouth texture. This dessert is classic and comforting, yet intriguingly unique thanks to the subtle hints of nutmeg and the creaminess from hazelnut coffee creamer. Every slice offers a perfect harmony of flavors that will keep you coming back for more.
Ingredients You’ll Need
These ingredients are delightfully simple but essential for getting the best texture and flavor in your Chocolate Buttermilk Pie Recipe. Each one plays a unique role, from adding richness and moisture to enhancing that lovely chocolate taste and creating a beautifully baked custard.
- ½ cup unsalted butter (softened): Provides creamy richness and tender texture for the filling.
- 2 cups sugar: Sweetens the pie and helps achieve the perfect caramelized color.
- 3 large eggs: Bind the ingredients and give the pie its custardy consistency.
- 1 cup buttermilk: Adds a subtle tang and lightens the chocolate filling for a silky smooth finish.
- 3 tablespoons flour: Stabilizes the filling so it sets beautifully during baking.
- 2 teaspoons pure vanilla extract: Enhances depth of flavor and sweetness without overpowering the chocolate.
- ⅛ teaspoon kosher salt: Balances sweetness and intensifies the chocolate notes.
- ⅛ teaspoon nutmeg: Adds a warm, cozy hint that complements the chocolate perfectly.
- 1 9-inch deep pie dish (unbaked): The vessel for this delicious magic—make sure it’s deep enough for a luscious filling.
- 1 cup semi-sweet chocolate chips: Melts into the custard, giving pockets of chocolate heaven in every bite.
- ½ cup hazelnut coffee creamer: An unexpected twist that lends a creamy nutty flavor, elevating the pie to a new level.
How to Make Chocolate Buttermilk Pie Recipe
Step 1: Get Your Oven and Pan Ready
Preheat your oven to 350 degrees Fahrenheit and set your 9-inch pie dish on a cookie sheet. This setup ensures that any drips won’t mess up your oven and promotes even baking by distributing heat under the pie.
Step 2: Cream the Butter and Sugar
In a large bowl, use a hand mixer to cream together the softened butter and sugar until the mixture is fluffy and pale. This step is crucial because it incorporates air, making your filling light and creamy instead of dense.
Step 3: Add the Eggs One by One
Beat in the eggs individually, ensuring each one fully blends into the mixture before adding the next. This technique ensures a smooth, homogeneous base, which helps the filling set perfectly later.
Step 4: Mix in the Buttermilk and Flavorings
Pour in the buttermilk, then add the flour, vanilla extract, salt, and nutmeg. Beat everything together until just combined. The buttermilk adds a gentle tang, while the nutmeg provides a subtle warmth that makes this pie unforgettable.
Step 5: Incorporate the Chocolate and Hazelnut Creamer
Gently fold in the semi-sweet chocolate chips and hazelnut coffee creamer. These ingredients infuse the filling with rich pockets of melty chocolate and a delightful nutty creaminess that elevates the pie beyond the ordinary.
Step 6: Bake Until Set
Pour the filling into your unbaked pie crust on the cookie sheet and bake for 55 to 65 minutes. You want the center to be just set with a slight jiggle like a custard. Overbaking will dry out the pie, so keep an eye on the texture near the end.
Step 7: Cool and Chill
Allow your pie to cool completely on a wire rack, then transfer it to the fridge overnight. This chilling step helps the pie firm up beautifully, making slicing easy and flavors more pronounced the next day.
How to Serve Chocolate Buttermilk Pie Recipe
Garnishes
When it comes to garnishing this pie, keep it simple and elegant. A dollop of freshly whipped cream sprinkled with a pinch of grated dark chocolate or toasted hazelnuts perfectly complements the creamy, rich filling. You can also dust a bit of cocoa powder for that extra chocolatey flourish.
Side Dishes
This pie pairs wonderfully with fresh berries or a scoop of vanilla bean ice cream. The tartness of strawberries or raspberries balances the sweetness, while the ice cream melts gently over the warm pie, creating a delightful temperature contrast.
Creative Ways to Present
For a wow factor at your next gathering, serve individual slices in pretty dessert plates with a drizzle of caramel sauce or a sprinkle of crushed nuts for texture. You might even serve mini versions in tartlet shells to let guests enjoy perfectly portioned bites.
Make Ahead and Storage
Storing Leftovers
Store your Chocolate Buttermilk Pie Recipe leftovers covered in the refrigerator. Wrapped tightly with plastic wrap or placed in an airtight container, it will keep its creamy texture and fresh flavor for 3 to 4 days, making it perfect for enjoy later without losing any magic.
Freezing
If you want to keep the pie longer, it freezes well. Wrap the entire pie or individual slices tightly in plastic wrap and then in foil before freezing. It can be stored this way for up to 2 months. Thaw in the fridge overnight before serving.
Reheating
To warm up leftover pie slices, flash heat them in a microwave for 15 to 20 seconds—just enough to take the chill off without melting the filling. Avoid reheating the whole pie as the custard texture can be affected by prolonged heat.
FAQs
Can I use regular milk instead of buttermilk?
While you can substitute regular milk mixed with a little vinegar or lemon juice to mimic buttermilk, real buttermilk gives this pie its signature tang and tender texture. It’s worth seeking out for the best results.
Is it necessary to put the pie on a cookie sheet while baking?
Yes, placing the pie on a cookie sheet helps catch any potential spills and promotes even heat distribution, which prevents the crust from burning and ensures an evenly baked filling.
Can I make the pie without the hazelnut coffee creamer?
Absolutely! If you don’t have hazelnut coffee creamer on hand, you can use regular cream or milk. The pie will still be delicious, but the creamer adds a lovely nutty depth that’s worth trying if you can.
How do I know when the pie is done baking?
The pie is ready when the edges are set and the center has a slight jiggle but is not liquidy. Think of it like a custard that will firm up as it cools—overbaking dries it out, so check around 55 minutes.
Can I prepare this pie in advance for a party?
Definitely! This Chocolate Buttermilk Pie Recipe tastes even better the next day after chilling overnight. It’s a stress-free dessert option that can be made ahead to impress guests with minimal effort.
Final Thoughts
If you’re looking for a dessert that feels both nostalgic and a little unexpected, this Chocolate Buttermilk Pie Recipe is a must-try. Its creamy, chocolatey custard paired with subtle hints of nutmeg and hazelnut cream will have you savoring every last bite. Trust me, once you make it, this pie will become a cherished addition to your recipe collection—ready to share and enjoy anytime you want a little slice of homemade heaven.