“`html
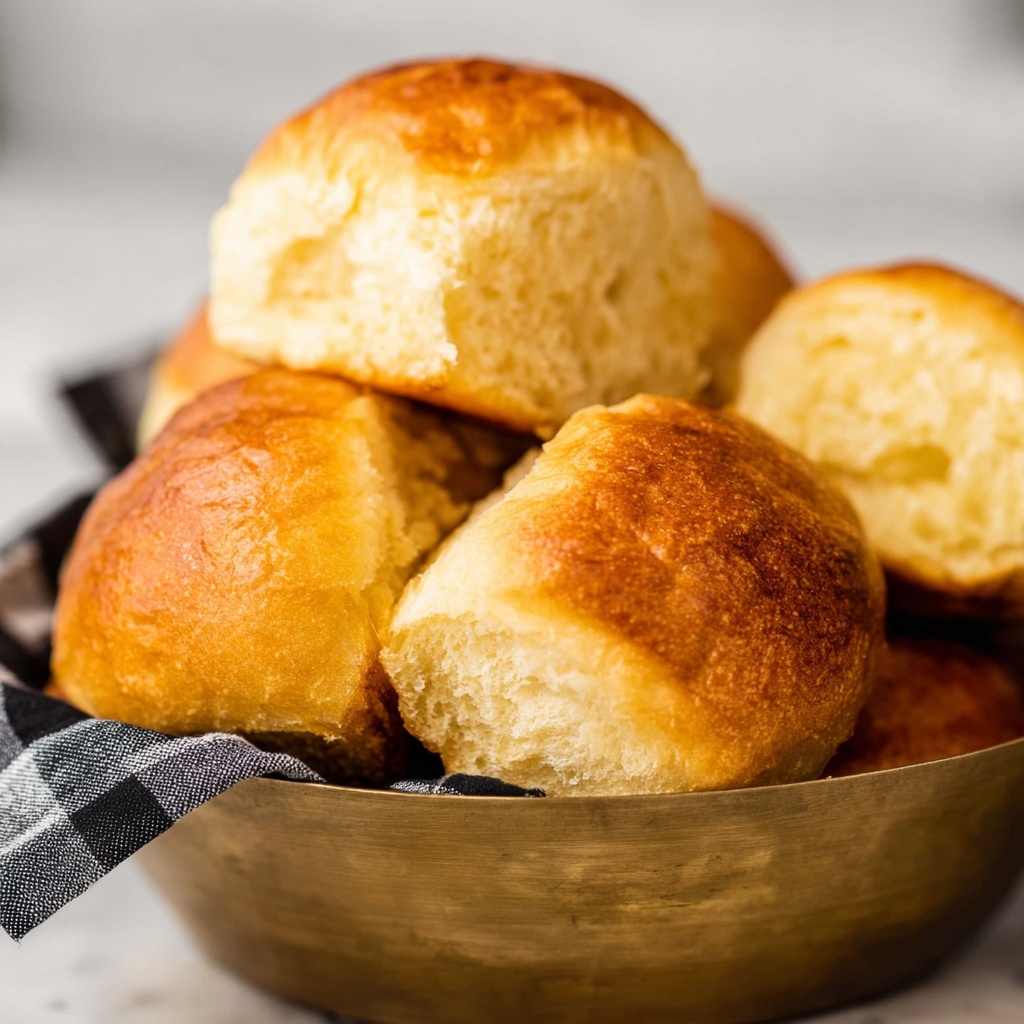
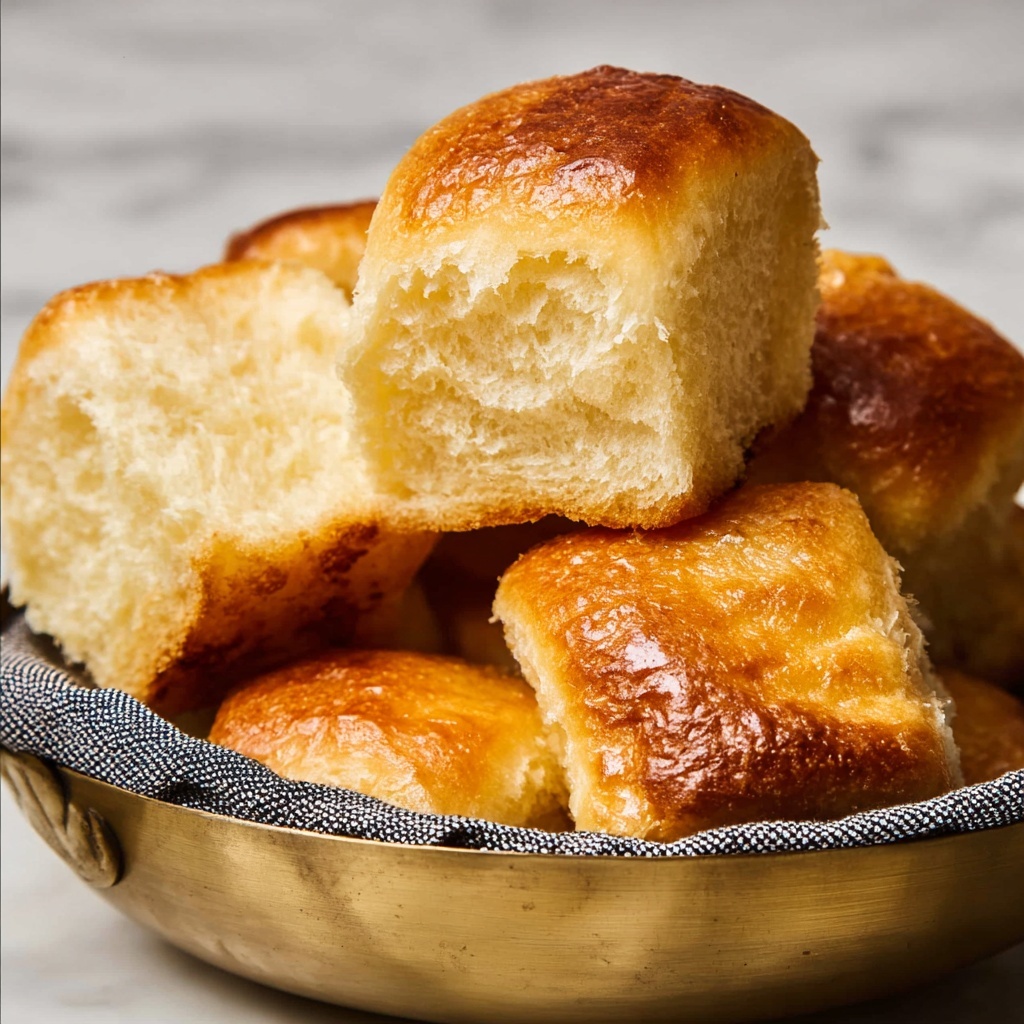
If you’re searching for a comforting, reliable bread recipe that fills your kitchen with irresistible aromas and delivers soft, pillowy goodness every time, this Make Ahead Yeast Rolls Recipe is an absolute winner. Perfectly tender with a golden crust, these rolls are not only easy to prepare but also incredibly convenient since you can make the dough in advance, refrigerate it, and bake fresh rolls whenever you want. They’re ideal for everything from busy weeknight dinners to holiday feasts, promising to become your go-to roll recipe that everyone will ask you to make again and again.
Ingredients You’ll Need
The magic of this Make Ahead Yeast Rolls Recipe lies in its simple yet essential ingredients. Each one plays a crucial role in creating the perfect balance of flavor, texture, and beautiful color in the finished rolls.
- Active dry yeast (4½ teaspoons): The powerhouse that helps your dough rise and become airy and light.
- Granulated sugar (½ teaspoon + ½ cup): The first small amount wakes up the yeast, while the larger portion adds a subtle sweetness for a delicate flavor.
- Warm water (1¼ cups): Activates the yeast and hydrates the dough; precise temperature is key for best results.
- All-purpose flour (4½-5 cups): The foundation of the dough, its protein content helps develop structure and chewiness.
- Eggs (3 large, room temperature): Add richness, color, and tenderness to the rolls.
- Vegetable shortening (½ cup, melted and cooled): Keeps the rolls soft and tender with a subtle buttery texture.
- Kosher salt (4 teaspoons): Enhances flavor while balancing the sweetness in the dough.
- Salted butter (½ cup): Used for dipping the dough balls and brushing the rolls for a savory finishing touch and beautiful shine.
How to Make Make Ahead Yeast Rolls Recipe
Step 1: Activate the Yeast
Begin by combining the yeast, ½ teaspoon of sugar, and ¼ cup of warm water in a measuring cup. Stir gently and let it stand for 5 minutes until the mixture bubbles and foams. This shows the yeast is alive and ready to transform your dough. If nothing happens, it’s best to start again with fresh yeast for perfect rolls.
Step 2: Mix the Dough
In a large bowl, add the activated yeast mixture along with the remaining warm water, 2 cups of flour, eggs, melted shortening, ½ cup sugar, and salt. Using a wooden spoon or Danish Dough Whisk, beat the mixture for about 2 minutes until well combined. Slowly incorporate the remaining flour until you have a soft dough that’s slightly tacky but not too sticky—the perfect texture for easy handling.
Step 3: Prepare for First Rise
Lightly spray a large glass bowl or proofing container with nonstick spray and transfer the dough into it. Roll the dough around in the bowl so every surface gets a light coating of oil, preventing it from drying out as it rises.
Step 4: First Proof
Cover the bowl loosely with sprayed plastic wrap or a damp, clean kitchen towel. Place the dough in a warm spot, around 100°F, or a cozy proofing oven to let it double in size. This should take about 1 hour. The dough will become bubbly and airy, setting the stage for incredible texture.
Step 5: Refrigerate the Dough
After the first rise, punch down the dough to release excess air, cover it tightly, and refrigerate for at least 8 hours. This overnight step not only adds convenience but also enhances the dough’s flavor and texture, making your rolls even more delicious.
Step 6: Prepare for Baking
About 2 hours before baking, remove the dough from the fridge. Spray two 9-inch square pans with nonstick spray and melt the butter you’ll use for dipping the dough balls.
Step 7: Shape the Rolls
Punch the dough down a second time and place it on a lightly floured surface. Knead gently 5-6 times to redistribute yeast and gluten. Divide the dough into two equal halves, then cut each into 16 equal pieces. Shape each piece into a 2-inch ball, dip it in melted butter for extra moisture and flavor, then place the rolls spaced evenly in the prepared pans.
Step 8: Second Proof
Cover each pan loosely with sprayed plastic wrap and set them aside in a warm, dry place to rise for about 1½ hours, until the rolls have doubled in size once more. This step guarantees they’ll bake up light, fluffy, and irresistibly soft.
Step 9: Bake the Rolls
Preheat your oven to 375°F. Bake the rolls for 12 minutes or until they’re golden brown on top. For accuracy, check the internal temperature with an instant-read thermometer; it should register between 200°F and 205°F inside a center roll.
Step 10: Cool and Butter
While baking, cover a metal cooling rack with a clean dish towel. Once baked, transfer the rolls to the rack and cool for 1 minute. Then turn the rolls out onto the towel-covered rack, stand them upright, and brush with melted butter if you want an extra glossy, flavorful finish.
Step 11: Serve or Store
Enjoy the rolls fresh out of the oven or allow them to cool completely and freeze them for future cozy meals. These versatile rolls hold up beautifully and taste just as good the next day.
How to Serve Make Ahead Yeast Rolls Recipe

Garnishes
For a simple yet stunning presentation, brush warm rolls with melted butter and sprinkle a pinch of flaky sea salt or fresh herbs like rosemary or thyme. This adds a burst of aromatic flavor and a gorgeous finishing touch that makes every bite feel special.
Side Dishes
These yeast rolls are a star sidekick to hearty soups, savory stews, roasted meats, and festive holiday dinners. Their tender crumb soaks up gravies and sauces perfectly, making every meal feel complete and comforting.
Creative Ways to Present
Try stacking the rolls in a beautiful bread basket lined with a colorful napkin for brunch, or serve them warm with mini butter pats and flavored compound butters like garlic herb or honey cinnamon. You can even slice and use them for sliders or mini sandwiches—endlessly versatile!
Make Ahead and Storage
Storing Leftovers
If you find yourself with leftover rolls, store them in an airtight container or resealable bag at room temperature for up to 2 days. This keeps them soft and fresh while retaining their delicate crumb.
Freezing
Freeze cooled rolls by placing them in a freezer-safe bag, removing as much air as possible. They freeze beautifully for up to 3 months—perfect for meal prep or unexpected guests.
Reheating
To bring frozen rolls back to life, thaw them at room temperature, then warm in a 350°F oven for about 10 minutes. Wrapping them in foil helps maintain softness while warming through evenly.
FAQs
Can I use instant yeast instead of active dry yeast in this Make Ahead Yeast Rolls Recipe?
Yes! If using instant yeast, you can skip the activation step and mix it directly with the dry ingredients. Keep in mind that rising times may be slightly shorter, so monitor the dough accordingly.
How important is the refrigeration step in this recipe?
The overnight refrigeration is key for flavor development and makes the dough easier to handle. It also allows you to prepare the dough ahead of time, which adds great convenience without compromising texture or taste.
What is the best way to shape the rolls?
After dividing the dough into portions, gently shape each piece into a smooth round ball by folding the edges underneath and pinching the bottom. A light dip in melted butter before placing them in the pan ensures softness and adds flavor.
Can I make smaller or larger rolls with this dough?
Absolutely! Just adjust the baking time—smaller rolls will bake faster, and larger rolls will need a bit more time. Always check for a golden brown color and an internal temperature around 200°F for perfect doneness.
Is it necessary to brush the rolls with melted butter after baking?
While optional, brushing with melted butter adds a lovely shine and rich flavor to the crust. It also keeps the crust soft if you plan to store leftovers, making the rolls taste freshly baked for longer.
Final Thoughts
I truly hope this Make Ahead Yeast Rolls Recipe becomes one of your treasured kitchen staples as it has for me. It’s simple, forgiving, and oh so rewarding to pull warm, golden rolls from the oven whenever you desire. So go ahead, gather your ingredients, take your time with the process, and share the love of fresh-baked rolls with everyone at your table. You’ll be so glad you did.
“`